
How to Build a DIY Craft Table with Storage (Free Plans)
I built this table by accident.
I was trying to make a coffee bar because I could not find anything that fit our space. So I sketched a design and just started building. When I finally put it all together, I realized it was too big and bulky for the spot I had in mind.
I was frustrated. Then I looked around my office, and it hit me.
My craft supplies had taken over every surface. I had no real place to work. The coffee bar I just built was the perfect size for a craft table. Problem solved twice in one project.
What You Will Build
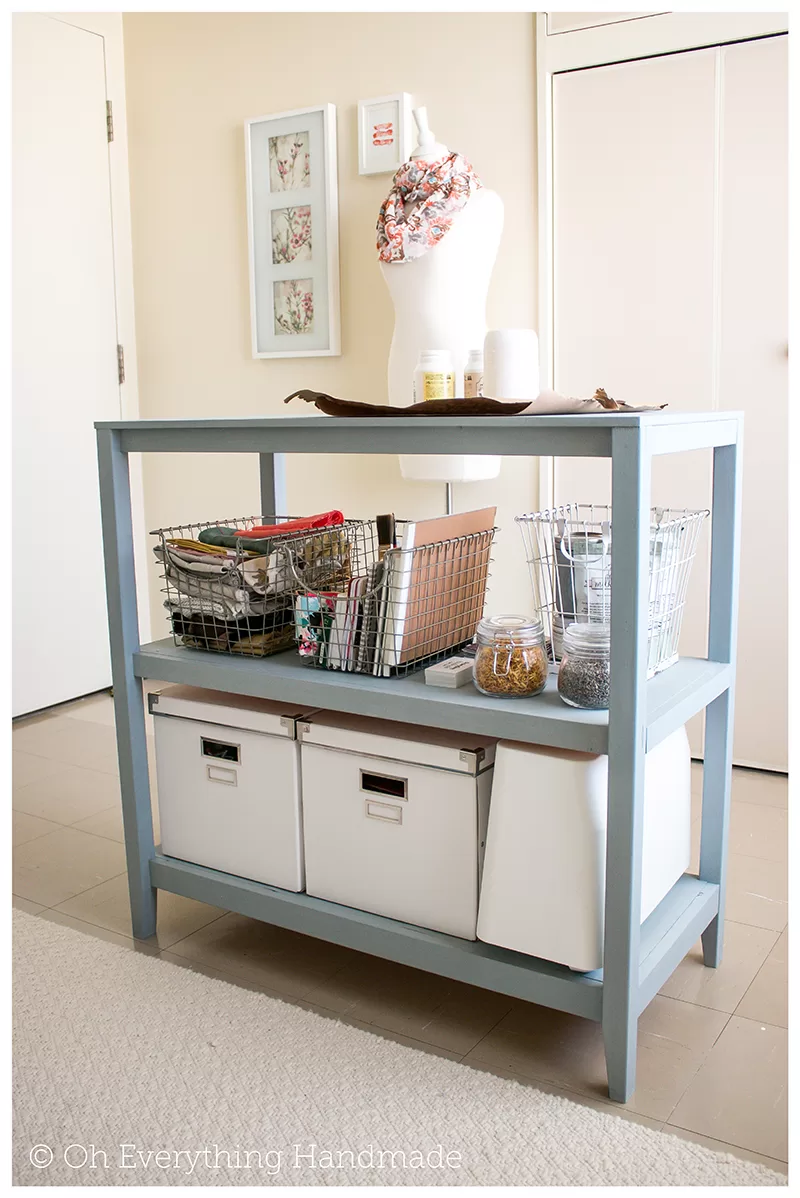
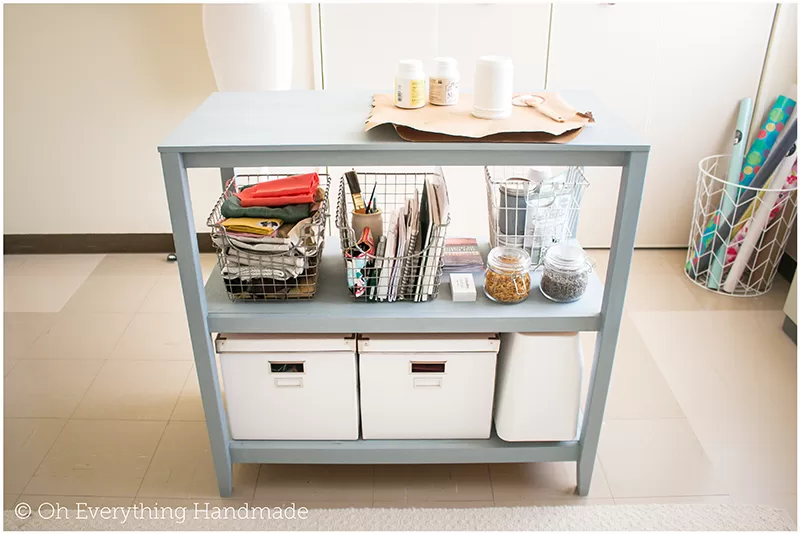
A solid DIY craft table with tapered legs and two open shelves underneath. It sits at 37″ long x 18″ deep x 36-3/4″ tall. Perfect for a craft room, office, or anywhere you need a functional work surface with built-in storage.
And the best part? You can use this same table as a garage workbench, a kitchen island, a gardening table, or even a display unit for markets and craft shows.
Table of contents
Before You Start
This post contains affiliate links. If you buy through my link, I may earn a small commission at no extra cost to you. I only recommend products I have personally used.
Read through the entire plan before you pick up a single tool. Here are the rules I follow on every build:
- Work on a clean, flat, level surface
- Always use straight boards (check them at the store before you buy)
- Check for square after every single step
- Predrill holes before attaching screws
- Use wood glue with finish nails for a stronger hold
- Wipe excess glue off bare wood right away if you plan to stain. Dried glue will not take stain.
Supplies List
Lumber
- 2 – 2×2 @ 6 feet long
- 4 – 1×2 @ 6 feet long
- 1 – 1×2 @ 3 feet long
- 1 – 3/4” thick Plywood board ( size 3 ft x 6 ft )
Hardware and Tools
- Measuring tape
- Pencil
- Kreg Jig
- Drill
- Jig saw or Circular saw
- Level
- Screwdriver
- Electric sander and sandpaper
- Square level
Finishing
- 1-1/2″ pocket hole screws
- Elmer’s Wood Glue
- Sandpaper (120 and 220 grit)
- Paint or stain of your choice
- Paintbrush or foam roller
If you only buy one tool: Get the Kreg Pocket-Hole Jig. Every step in this build uses pocket holes. It is the most useful tool I own for beginner DIY projects.

NOTE FOR INTERNATIONAL BUILDERS: Japanese plywood boards run slightly smaller than US standard sizes. If you are building outside the US, buy individual sheets and have them cut to size at the store rather than relying on standard dimensions.
Summary:
Free plans to build a Craft Table.
Room: Storage | Office | Gardening | Kitchen | Skill Level: Beginner | Style: Craft Table | Dimensions: 37L x 18D x 36 3/4H
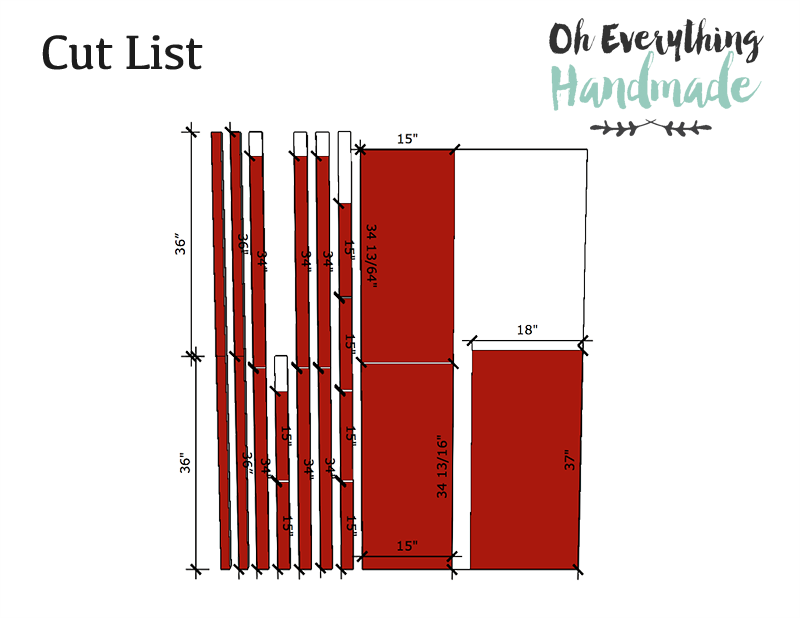
Dimensions & Cut List
| Dimensions: | Cut List: |
|---|---|
| 2 – 2×2 @ 6 feet long 4 – 1×2 @ 6 feet long 1 – 1×2 @ 3 feet long 1 – 3/4” thick Plywood board (size 3ft x 6ft) | 4 – 2×2 posts @ 36″ (legs) 6 – 1×2 @ 34″ (long aprons) 6 – 1×2 @ 15″ (short aprons) 2 – 3/4” plywood @ 34 13/64″ x 15” – 34 13/16“ (shelving boards) 1 – 3/4” plywood @ 37″ x 18” (table top) |
Step-by-Step Building Instructions
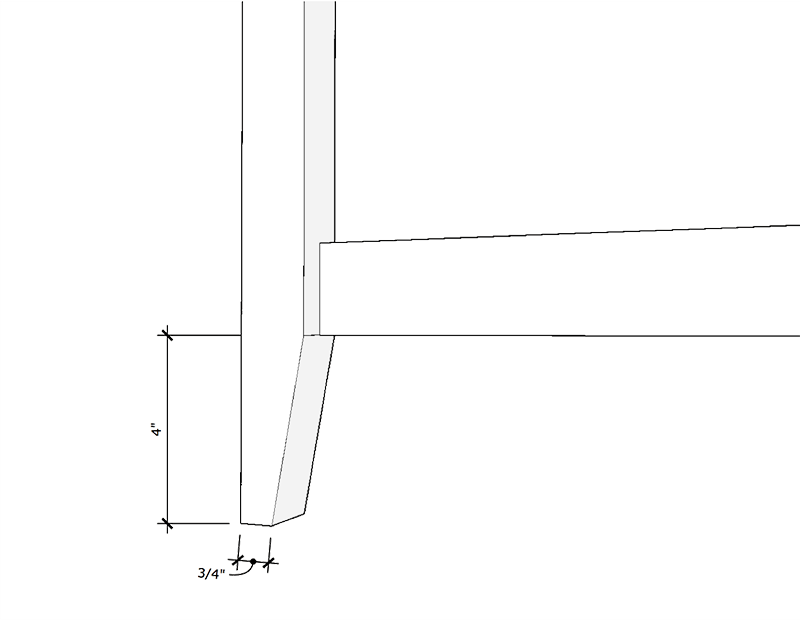
Step 1. Taper the Legs
 Click Here to Zoom Image 1. measure 4” up on all legs and set a mark. 2. set another mark at the center of each leg 3. use a jigsaw or circular saw to taper the leg. 4. sand the surface smooth once done. |
This is what gives the table its clean, modern look. Do not skip this step or you end up with chunky straight legs that look heavy and unfinished.
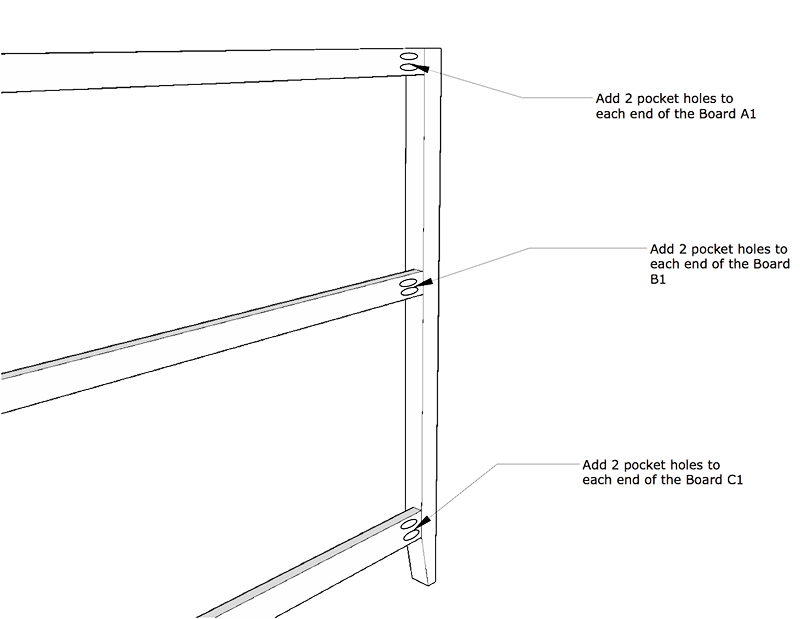
Step 2: Drill Pocket Holes in Your Apron Boards
Once the legs are tapered, drill 3/4″ pocket holes on the inside faces of Boards A1, B1, and C1. Drill two holes per side apron.
NOT SHOWN IN DIAGRAM (visible in step 4 image): Also drill 1/2″ pocket holes on the insides of your top aprons (Board A1) facing upward. You will use these holes later to attach the tabletop. Drill two holes per side apron here too.
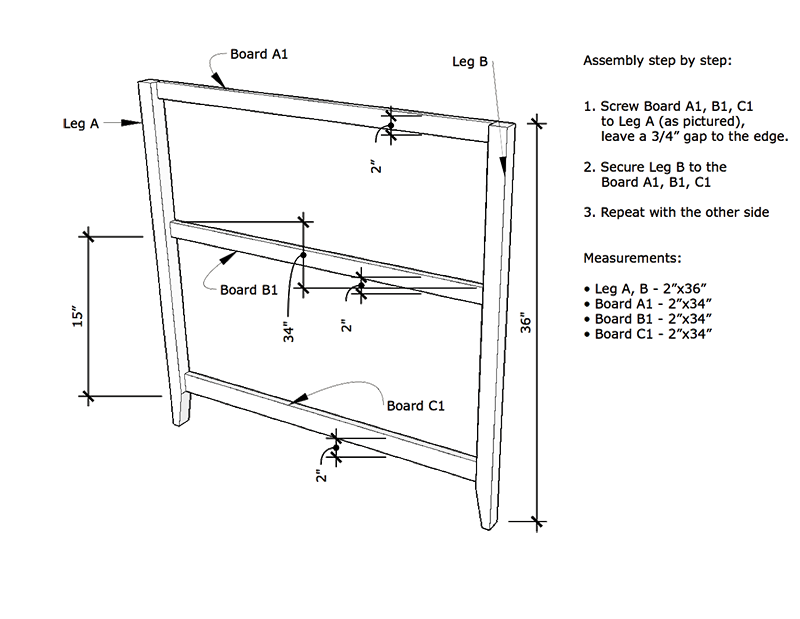
Step 3: Build the Side Frames
This step creates your two side panels. These are the left and right walls of the table.
Measurements for this step:
- Leg A and Leg B: 2″ x 36″
- Board A1: 2″ x 34″
- Board B1: 2″ x 34″
- Board C1: 2″ x 34″
- Screw Boards A1, B1, and C1 to Leg A as shown in the diagram. Leave a 3/4″ gap to the edge.
- Secure Leg B to the opposite end of Boards A1, B1, and C1.
- Repeat with the remaining boards to build the second side frame.
Check for square before the glue dries. Fix it now. You cannot fix it later.
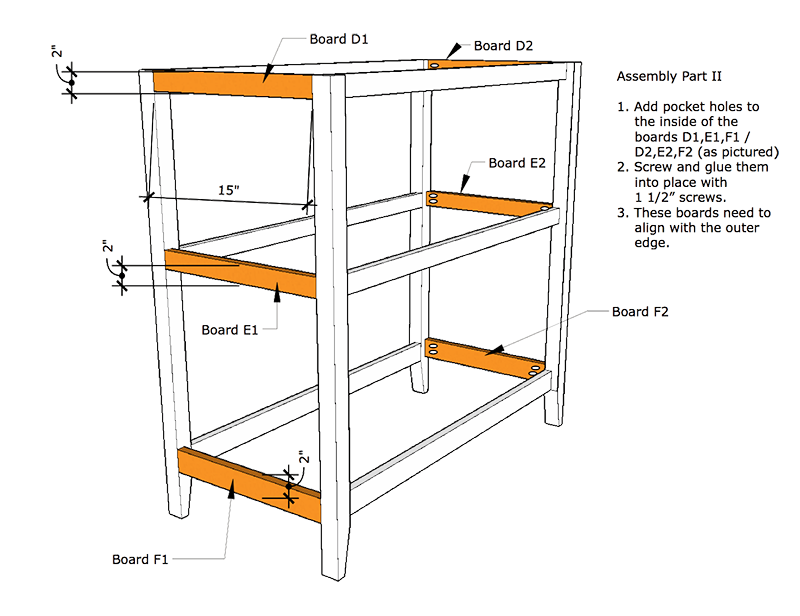
Step 4. Add the Front and Back Aprons
This step connects your two side frames, creating the full table structure.
- Drill 3/4″ pocket holes on the insides of Boards D1, E1, F1 and D2, E2, F2. Drill two holes per side support apron.
- Screw and glue them into place with 1-1/2″ pocket hole screws.
- Align each board flush with the outer edge.
Step 5. Install the Plywood Shelving Boards
The plywood shelves drop into the openings and get attached from below.
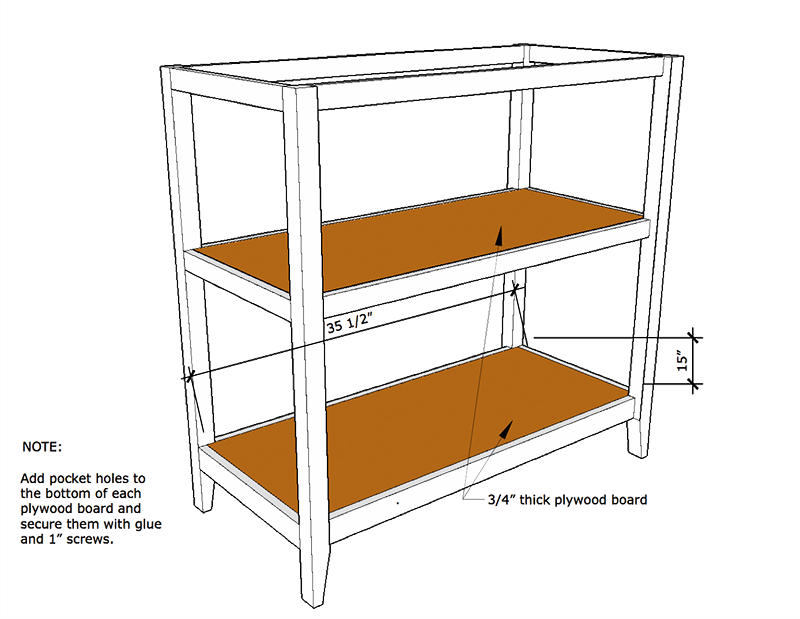
NOT SHOWN: Drill 1/2″ pocket holes on the underside of each plywood shelving board. Attach the aprons with glue and pocket-hole screws. Drill four holes per side of the apron for a solid hold.
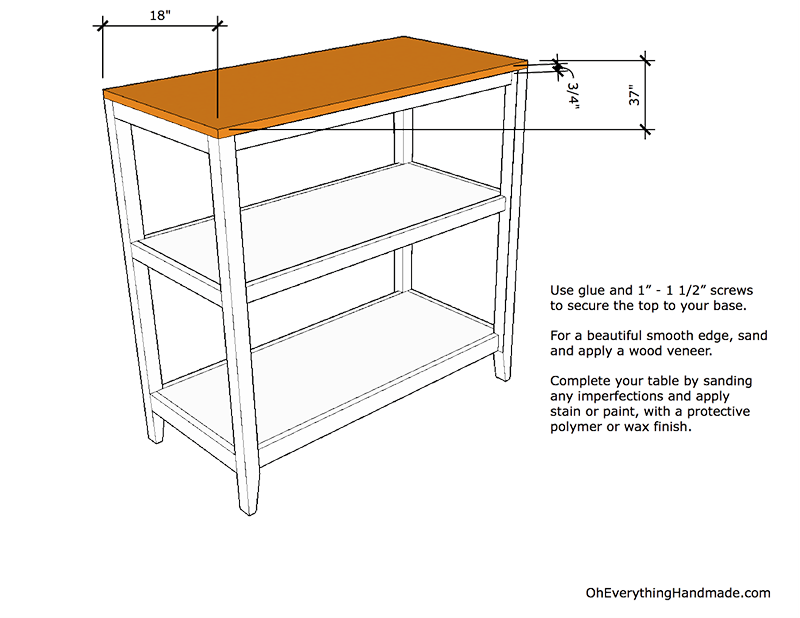
Step 6. Attach the Tabletop
Place the 37″ x 18″ plywood panel on top of the base.
Attach the base to the tabletop from below through the predrilled 1/2″ pocket holes using 1″ pocket hole screws and glue. This locks everything together.
For a smooth, clean edge on the tabletop, apply a wood veneer strip along all exposed plywood edges before finishing.
Finishing & Preparation Instructions
| Do not rush this part. The finish is what takes raw lumber and makes it look intentional. • Sand with 120 grit in the direction of the wood grain across every surface. • Vacuum all sanding dust off the project and off your work surface. • Wipe the whole piece down with a damp cloth to catch any remaining residue. • Always test your stain or paint on a hidden area first to check color evenness and adhesion before committing. • Apply primer or wood conditioner as needed. • Finish with your choice of stain or paint, then seal with a protective polymer or wax finish. |
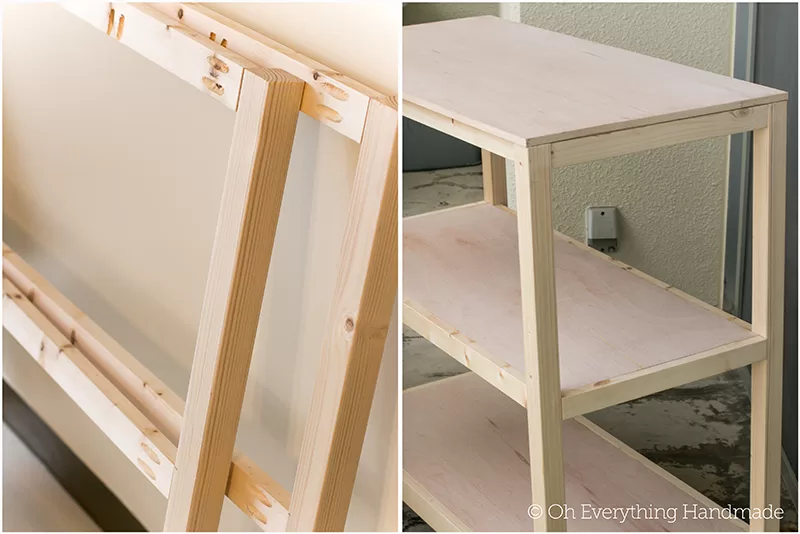
How It Turned Out
The finished table gave me a real flat workspace on top and two open shelves underneath for bins, baskets, and supplies. It completely changed how my office functions. No more craft supplies taking over every surface. Everything has a home.
And yes, I never did get my coffee bar. But honestly? This was better.
Want the Free Building Plans?
I put the full set of diagrams together so you can print them and take them right to the lumberyard. Grab the free PDF below.
Other Ways to Use This Table
This is one of the most flexible builds I have done. A few ideas beyond the craft room:
- Garage workbench with tools on the lower shelves
- Potting table for a patio or garden shed
- Kitchen island with a butcher block top added
- Craft show display to sell your handmade products at markets
- Kids activity table with labeled bins on each shelf
More DIY Builds You Will Love
If you enjoyed this project, check out how I built a Kitchen Nook Bench from scratch. Same pocket hole method, totally beginner-friendly, and it became one of the best projects I ever finished.
And if you are working on a full room overhaul, my Laundry Room Makeover reveal is full of budget ideas that make a real difference.
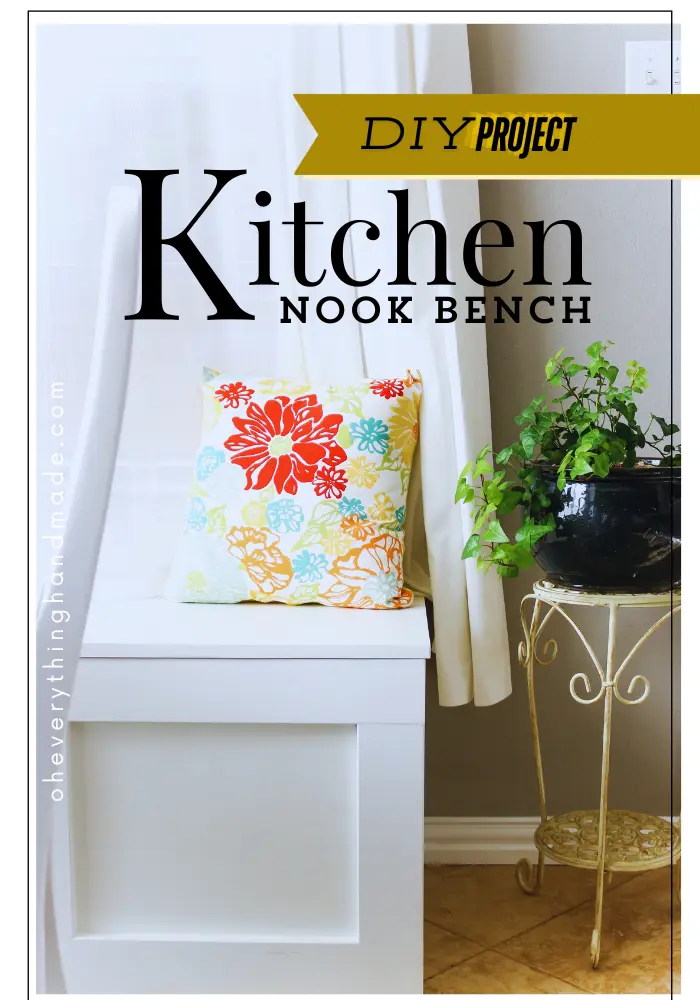
How to Build a Kitchen Nook Bench (Step-by-Step for Beginners)
Built from scratch with 2x4s and a Kreg jig. This kitchen nook bench cost a fraction of store-bought and became…
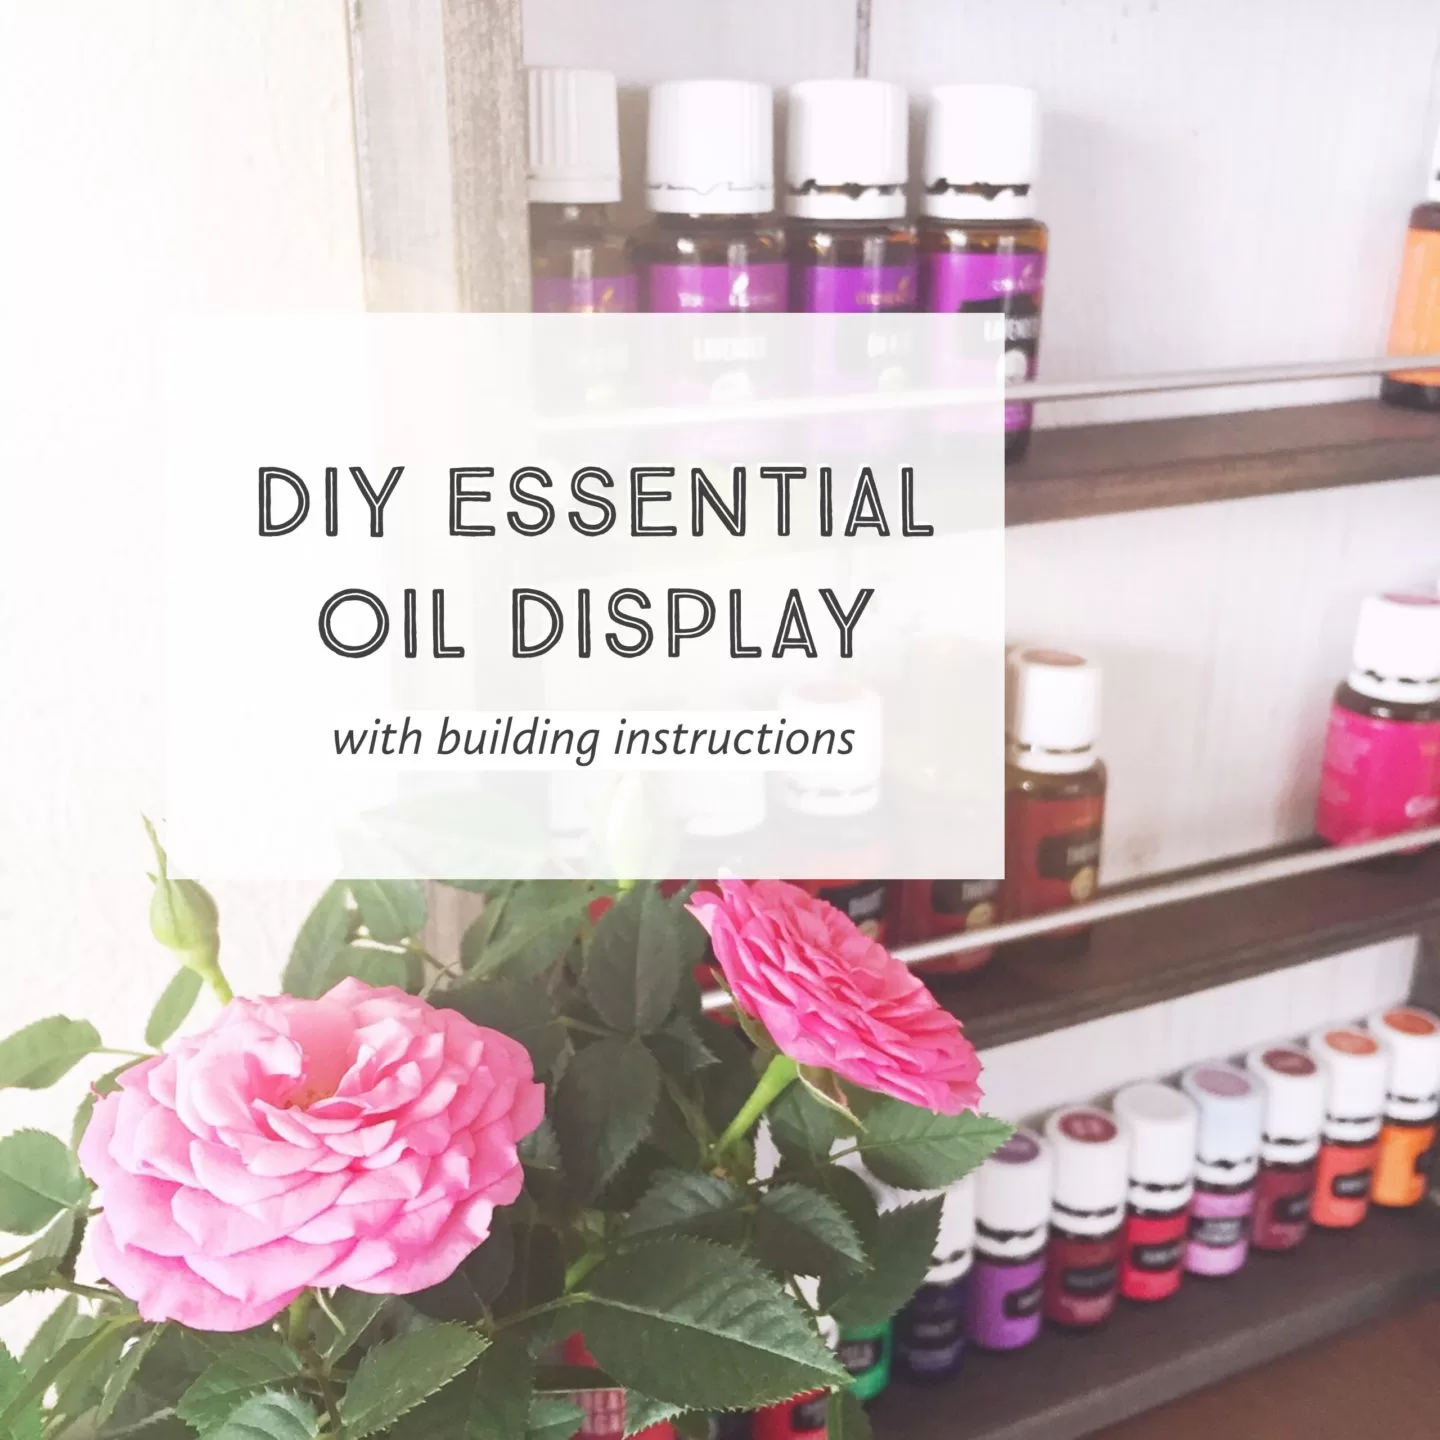
DIY Essential Oil Display
Welcome to my DIY Essential Oil Display tutorial, hope you enjoy this quick and simple tutorial. 2017 started off really bad…
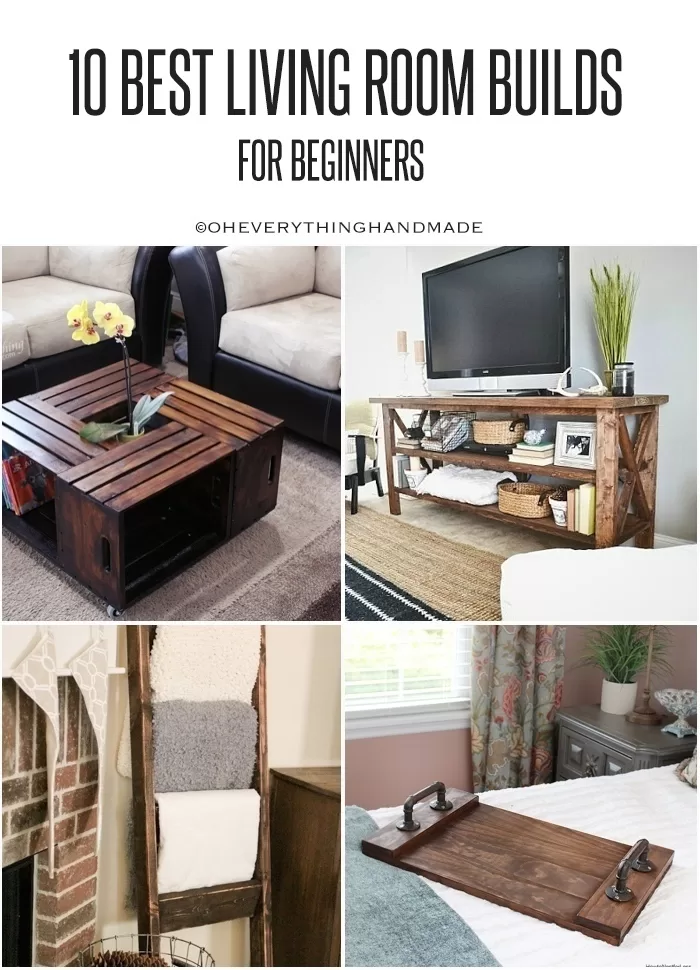
10 BEST Easy to Build Living Room DIYs
Hi, you know I like my simple building plans. So today, I’ll be sharing the 10 Best Living Room Builds…
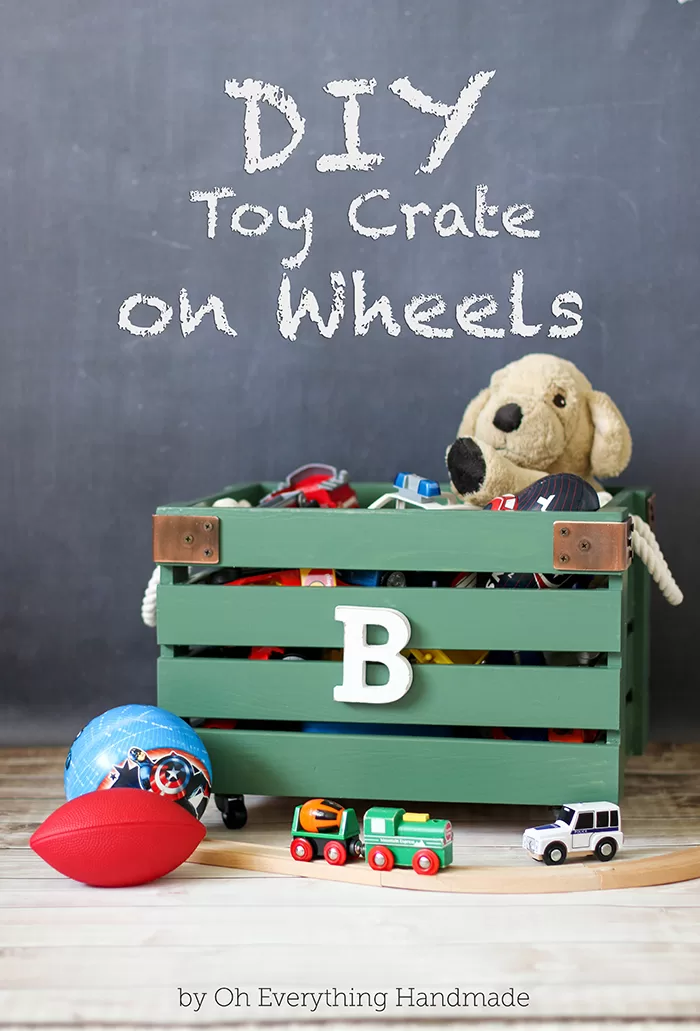
DIY // Toy Crate on Wheels
Crates are always a cute organizing solutions, they can be finished in so many different ways. I created this little boy Toy Crate…
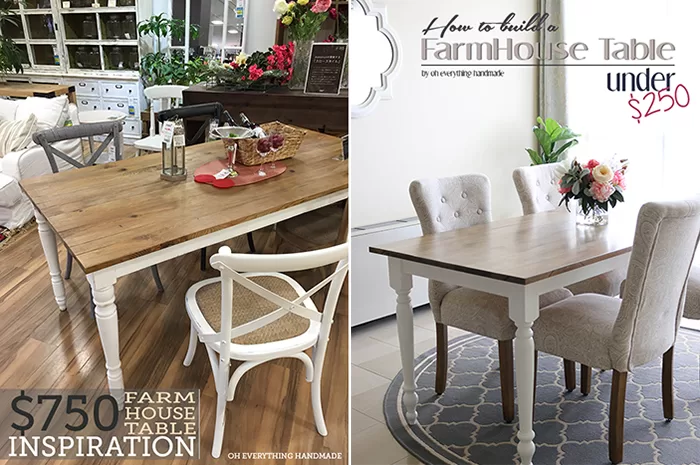
FarmHouse Table with Apron & Corner Brackets
Hope you all had a great 4th of July weekend! And because its Monday – I wanted to finally share “How…

DIY // The Bench Makeover
What a fun little DIY // The Bench Makeover project this was, I am pretty sure that finding this cute…
![How to Organize Me Pretty – [Kitchen Series]](https://oheverythinghandmade.com/wp-content/uploads/2014/10/Organize-Me-Pretty-featured-image.jpg)
