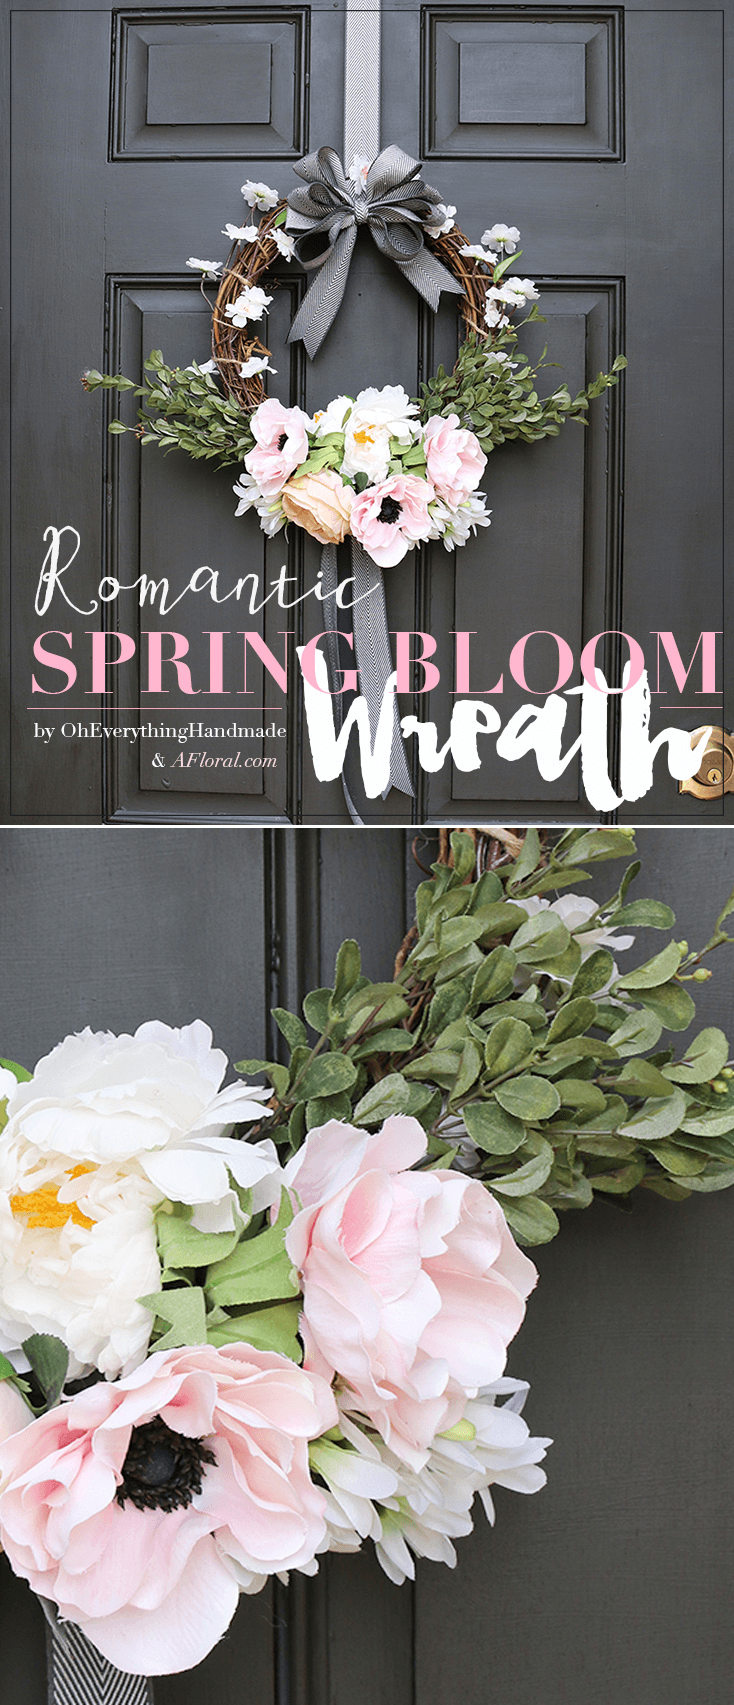
Romantic Spring Bloom Wreath Tutorial
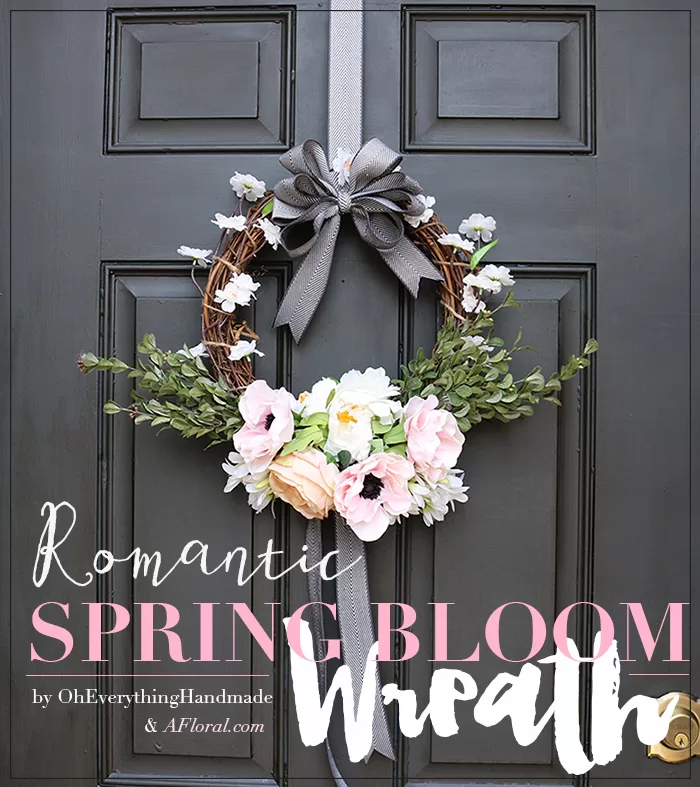
With spring around the corner, I wanted to share my Romantic Spring Bloom Wreath Tutorial with you. And hopefully inspire you to make your own Spring Wreath.
I had the pleasure to work with faux flowers from Afloral for my Romantic Spring Bloom Wreath project, the silk flowers are incredibly realistic, easy to clean, or store away during the months not needed. They can simply be used again year after year!
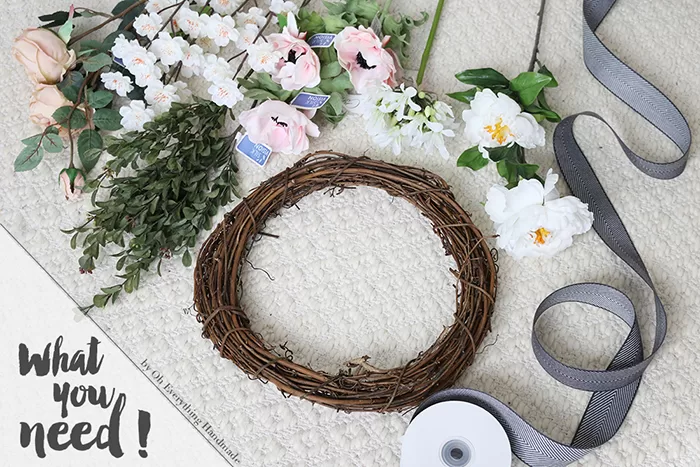
Here are the items I used for this tutorial.
What you need:
- 1 x Natural Grapevine Wreath – 12″
- 1 x Striped Herringbone Cotton Ribbon in Grey White – 1.5″ Wide
- 1 x Blossom Flower Bush in White – 27″ Tall
- 1 x Peony Stem in White – 28″ Tall (SOLD OUT) – substitute flower
- 1 x Cabbage Rose Spray in Beige 29″ Tall
- 2 x Lily Cluster Stem in White 28″ Tall (SOLD OUT) – substitute flower
- 3 x Anemone Flower in Pink with Black Center – 17″ Tall
- 2 x Mini Boxwood Leaf Spray in Sage Green – 24″ Tall
Romantic Spring Bloom Wreath Tutorial
Instructions
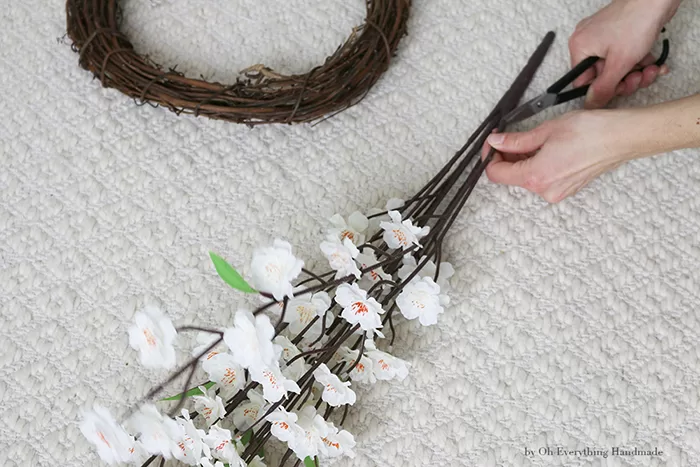
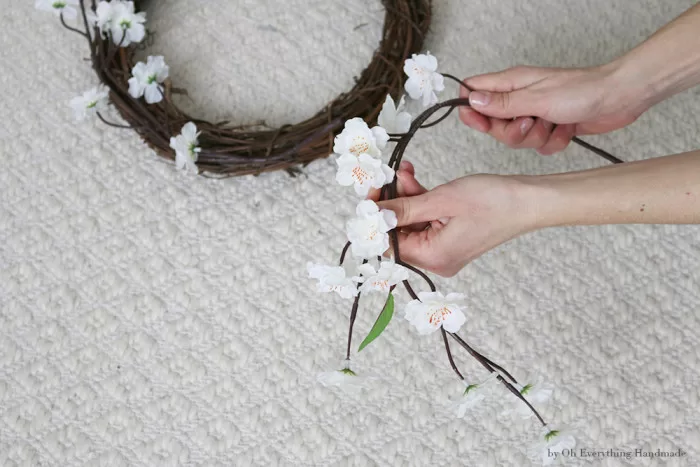
Step 1.
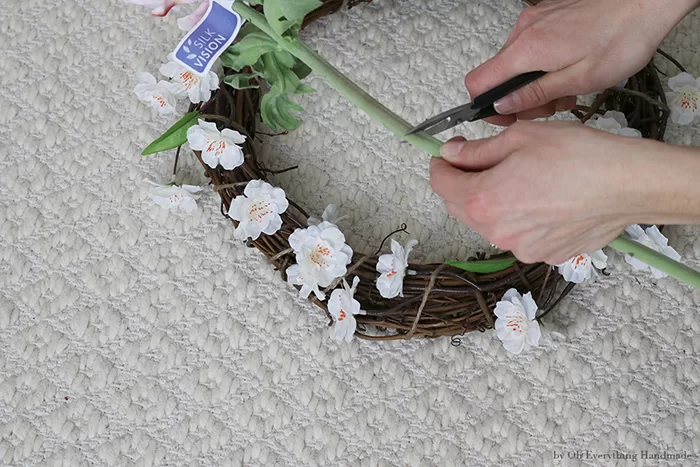
Cut off two Blossom Flower Bush Stems, and bend them to a half circle.
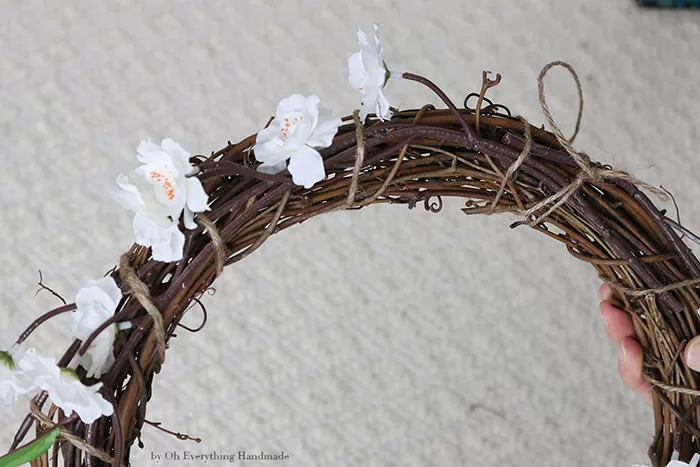
Step 2.
Secure the stems to your wreath with thick twine (You can use any other material to do this, I just happen to have some twine left over from another project).
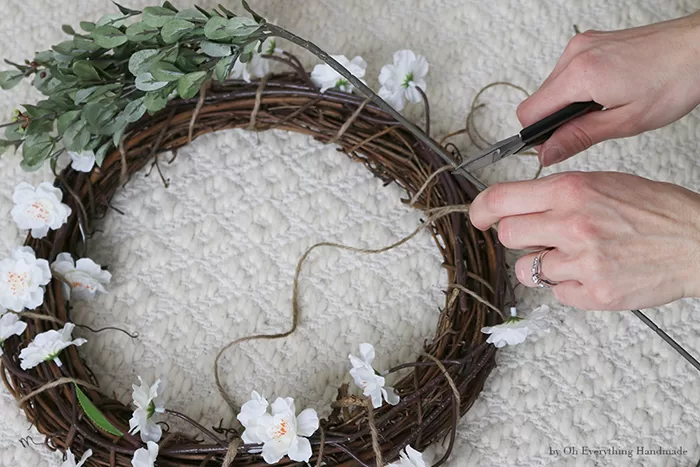
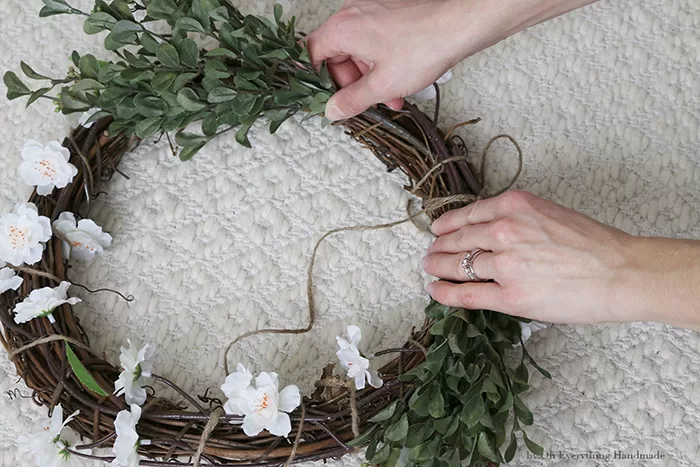
Step 3.
Cut down both your Mini Boxwood Leaf Spray, and slide them in between your Grapevine wreath.
Step 4.
Trim the Anemones, leave them at about 5-6inches and lay them across each other right over your boxwood leaves.
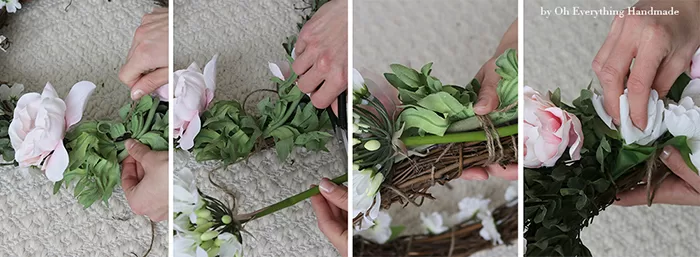
Secure the Anemones by tying them onto the wreath with the twine.
Step 5.
Trim the Lily Cluster Stem down to 5inches, and slide them behind the twine.
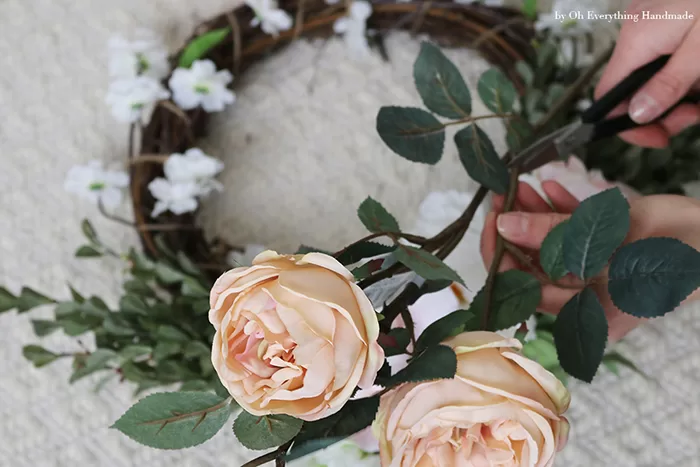
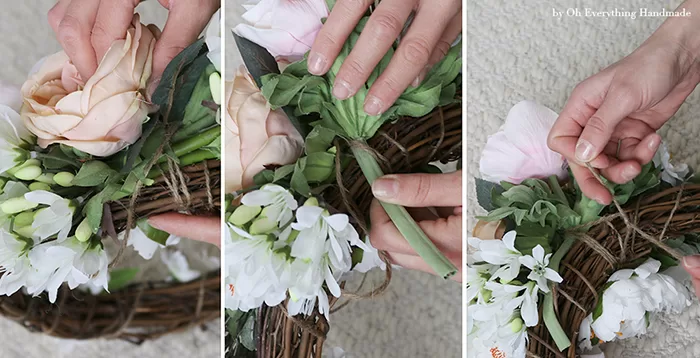
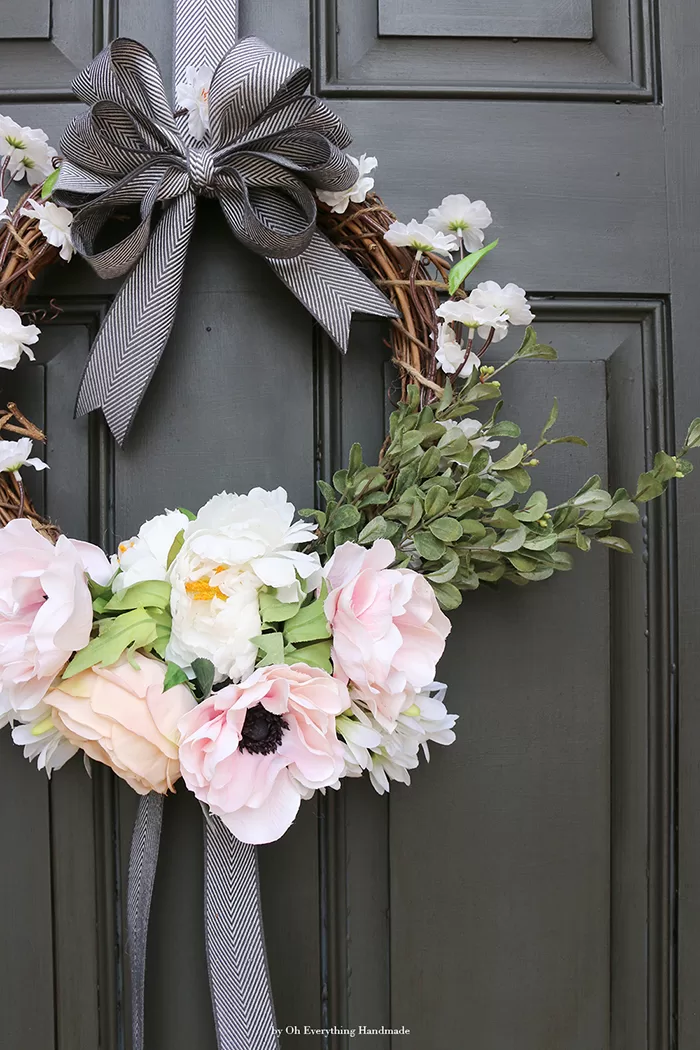
Step 6.
Trim the rest of the flowers down to 4-6inches, and secure them the exact way as in step 4.
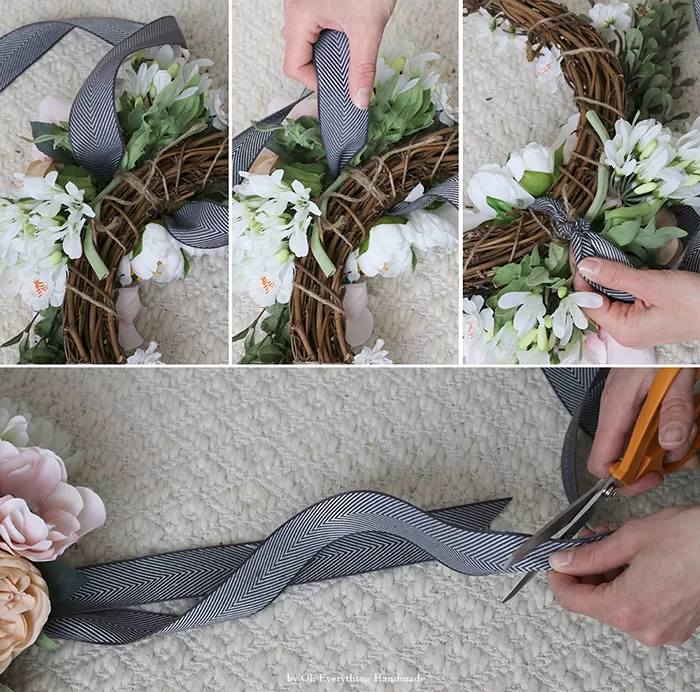
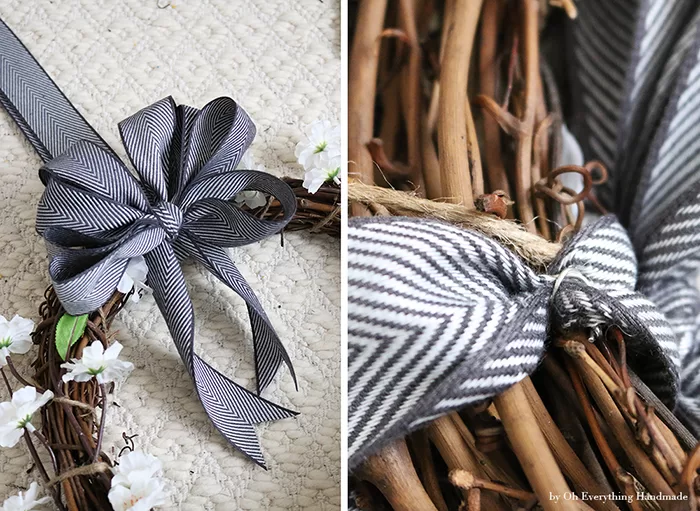
Step 7.
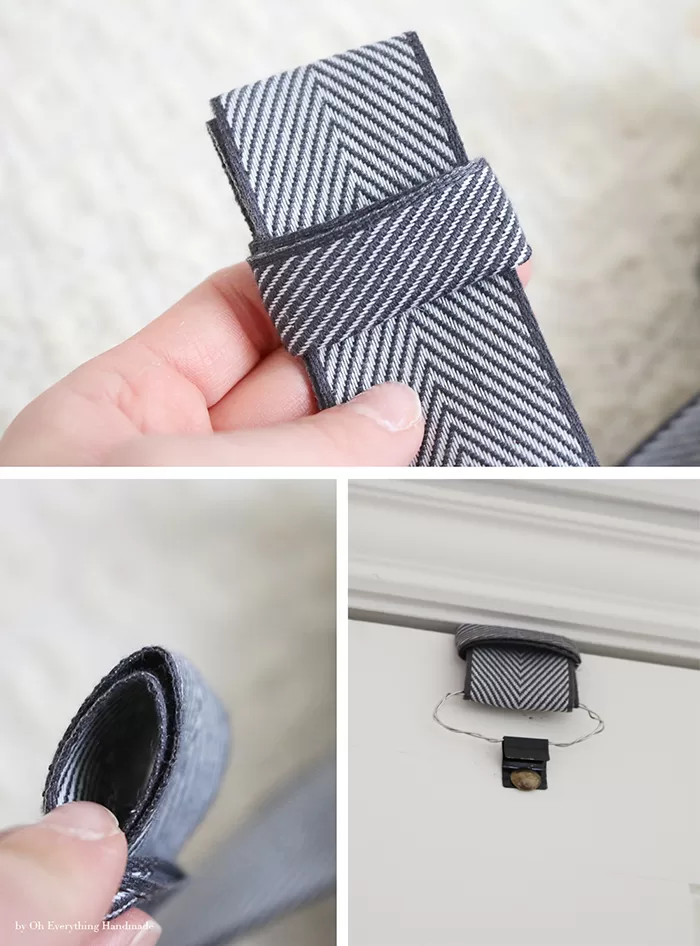
Slide the ribbon in between the flowers, and tie a knot. You can give the ends a nice appearance, by cutting them.
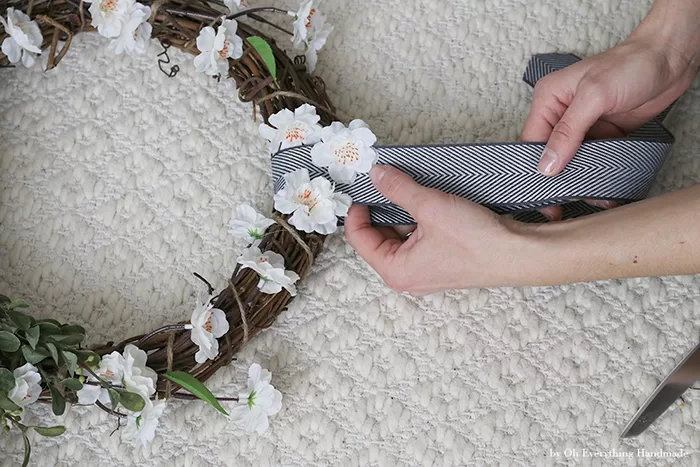
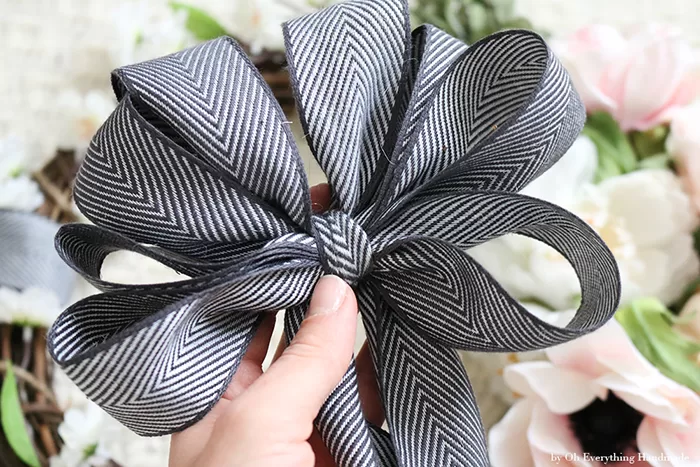
Step 8.
On the opposite side, slide another piece of ribbon through and secure the bow to the ribbon with a piece of wire (I used a frame hanging wire).
Step 9.
Finish the ends of your ribbon by sewing them together. I used the frame hanging hardware on my door. It works perfectly!
[PIN IT]
Did you like my Romantic Spring Bloom Wreath Tutorial, please feel free to share this tutorial on pinterest, facebook and instagram.