How to Re-Caulk a Bathtub in One Weekend (Beginner Friendly DIY)
I noticed dark spots forming along the caulk line in our guest bathtub. Mold. The kind you cannot scrub out.
The previous owner must have rushed the job before we moved in, because the caulk was already cracking and lifting. I decided to rip it all out and do it right.
Here is exactly how to re-caulk a bathtub, even if you have never done it before.
What You Will Learn
A simple, beginner-friendly way to remove old moldy caulk and apply a clean new silicone bead that lasts for years.
Supplies You Will Need
- Utility knife or caulk removal tool
- Lift-Off Caulk & Silicone Remover
- Scotch pad
- Bleach or Comet powder
- Lint-free rag
- Painter’s tape
- Silicone bathroom caulk (100% silicone, mildew resistant)
- Caulk gun
- Caulk-Rite smoothing tool (optional but worth it)
- Gloves
My Favorite Tools for This Job
This section contains affiliate links. If you buy through them, I may earn a small commission at no extra cost to you. I only link to products I actually use.
These are the exact tools I reached for when I re-caulked our guest bathtub. A few of them are the difference between a clean pro-looking line and a messy one you will regret.
- Lift-Off Caulk & Silicone Remover — The one product that actually dissolves stubborn old silicone. Do not try to scrape it off dry.
- Stainless Steel Caulk Removal Tool — Faster and safer than a utility knife, and it gets into the corners cleanly.
- Caulk-Rite Smoothing Tool — Worth every penny. Gives you a perfect bead with no finger mess and no rework.
- GE Silicone 2+ Kitchen & Bath Caulk — 100% silicone, mildew-resistant, and what I used for this job. One tube is plenty for one tub.
- Dripless Caulk Gun — The dripless feature matters more than you think. Saves your floors and your patience.
- Blue Painter’s Tape (1 inch) — Any brand works, but skip the cheap stuff. It will leave residue or tear.
If you are only going to buy one upgrade over the basics, make it the Caulk-Rite tool. It turned a job I was nervous about into something that looked like a professional did it.

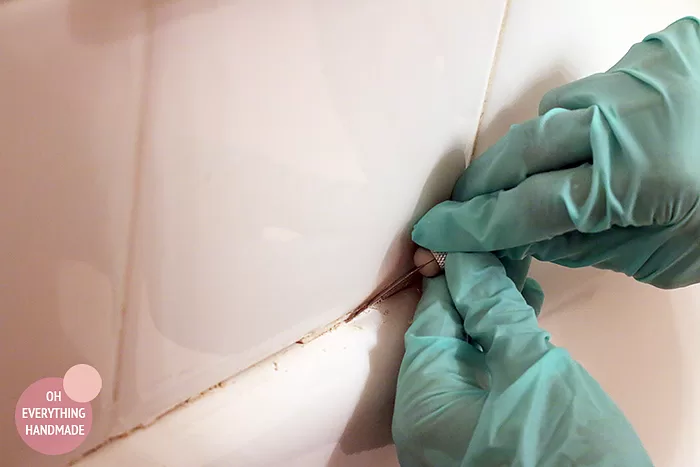
Step 1: Remove the Old Caulk
Use a utility knife to cut and pull out every bit of the old caulk. Get close to the seam and work slowly so you don’t scratch the tub.
Do not skip this step. New caulk will not stick to old caulk.
Step 2: Dissolve What’s Left
Spray Lift-Off Caulk Remover over the entire area. Let it soak for a few minutes.
Scrape again with your knife. Wipe it clean with a damp rag while wearing gloves.

Step 3: Clean and Disinfect
Scrub the seam with a scotch pad and a little bleach or Comet powder. This kills any lingering mold spores.
Step 4: Dry the Area Completely
Wipe down the seam with a lint-free rag and let it dry overnight. You can also speed this up with a hair dryer.
Silicone will not bond to a damp surface. Make sure it is bone dry.
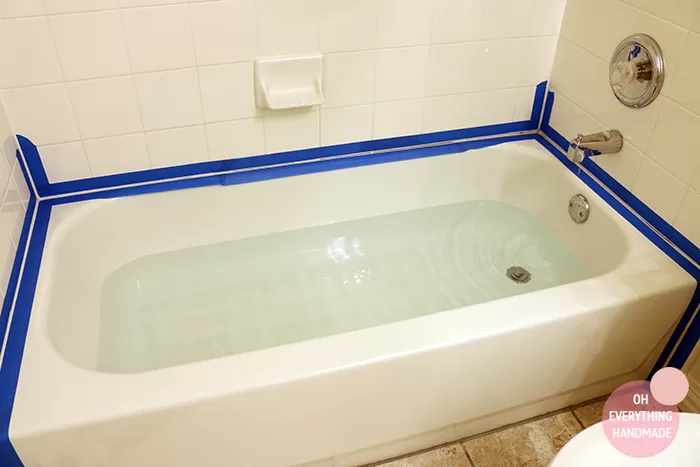
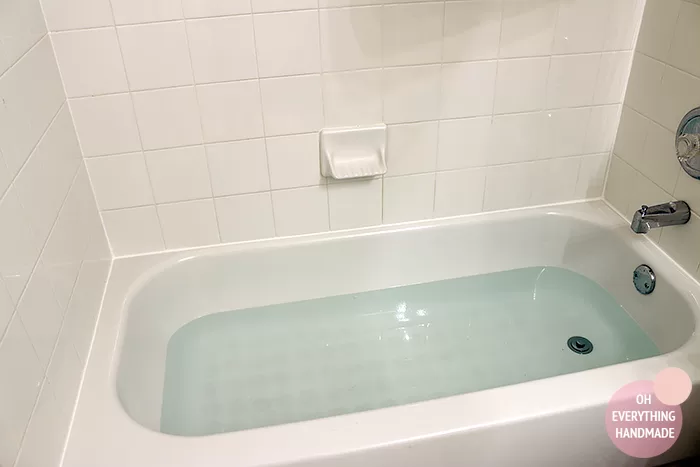
Step 5: Fill the Tub with Water
Fill the tub three quarters full before you caulk. The weight makes the tub sag into its natural resting position.
If you skip this, the tub will drop the first time someone steps in and pull right through your fresh caulk.
Step 6: Tape the Seam
Run painter’s tape about 1/8 inch above and below the seam. This gives you a straight, clean line and makes cleanup painless.
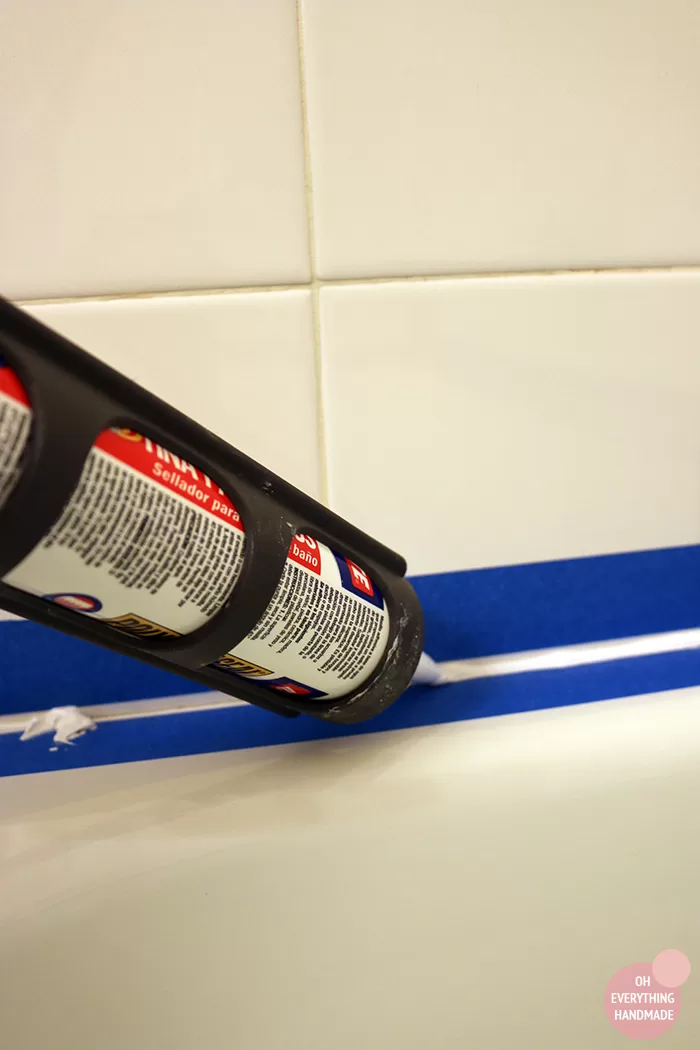
Step 7: Apply the Caulk
Load your caulk gun. Apply steady, even pressure as you move along the seam in one smooth pass.
Don’t stop and start. A continuous bead looks cleaner and holds better.
Step 8: Smooth the Bead
Run a wet fingertip along the caulk to smooth it. Or use a Caulk-Rite tool for a professional-looking edge with no mess.
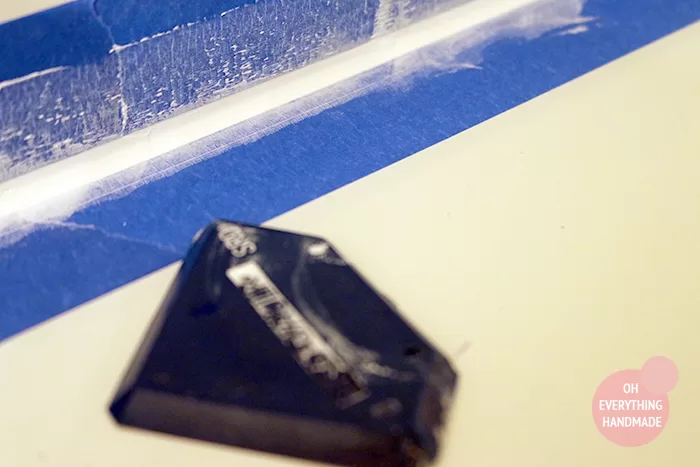
Step 9: Pull the Tape Right Away
Remove the painter’s tape before the caulk starts to skin over. Pull it at a 45 degree angle, away from the fresh caulk.
Step 10: Let It Cure for 24 Hours
No showers. No baths. Drain the tub only after the caulk is fully cured.
The water weight step only works if you wait the full 24 hours.
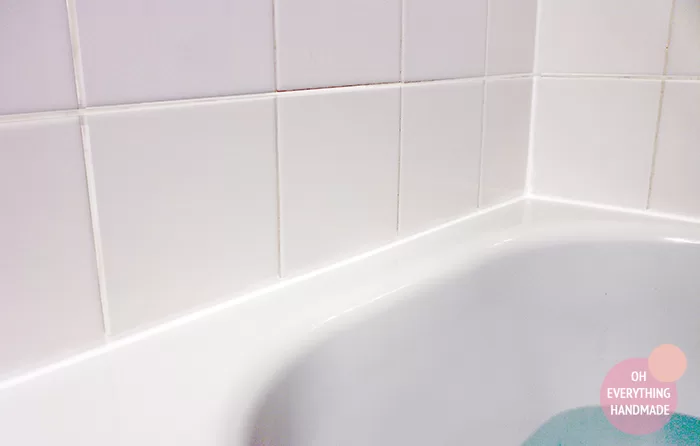
The Result
A clean, white, mold-free seam that looks like it was done by a pro. Total project time is about an hour of active work, plus drying and curing time.
The best part? A tube of silicone costs under $10 and one tube is enough for most tubs.
Want More Budget Bathroom Projects?
If you are working through your bathroom one project at a time, you might also like my post on DIY Bathroom Makeover Floating Shelves. It was the first project I tackled when we started our bathroom remodel.
And if you are on a bigger home improvement roll, check out my DIY Laundry Room Transformation for more budget-friendly before and after ideas.
Your Turn
Have questions about any of the steps? Drop a comment below and I will get back to you.
Want more weekend DIY projects like this one? Grab my free Home Project Planner and I will send you one new budget-friendly idea every week.