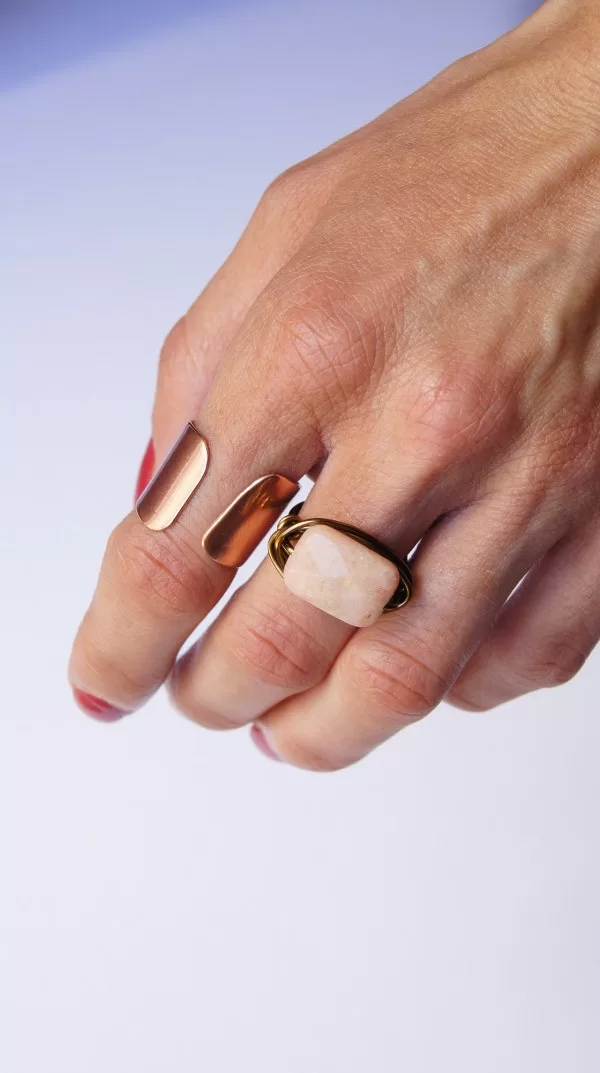
DIY // Beautiful Wrapped Peach Aventurine Ring [How to]
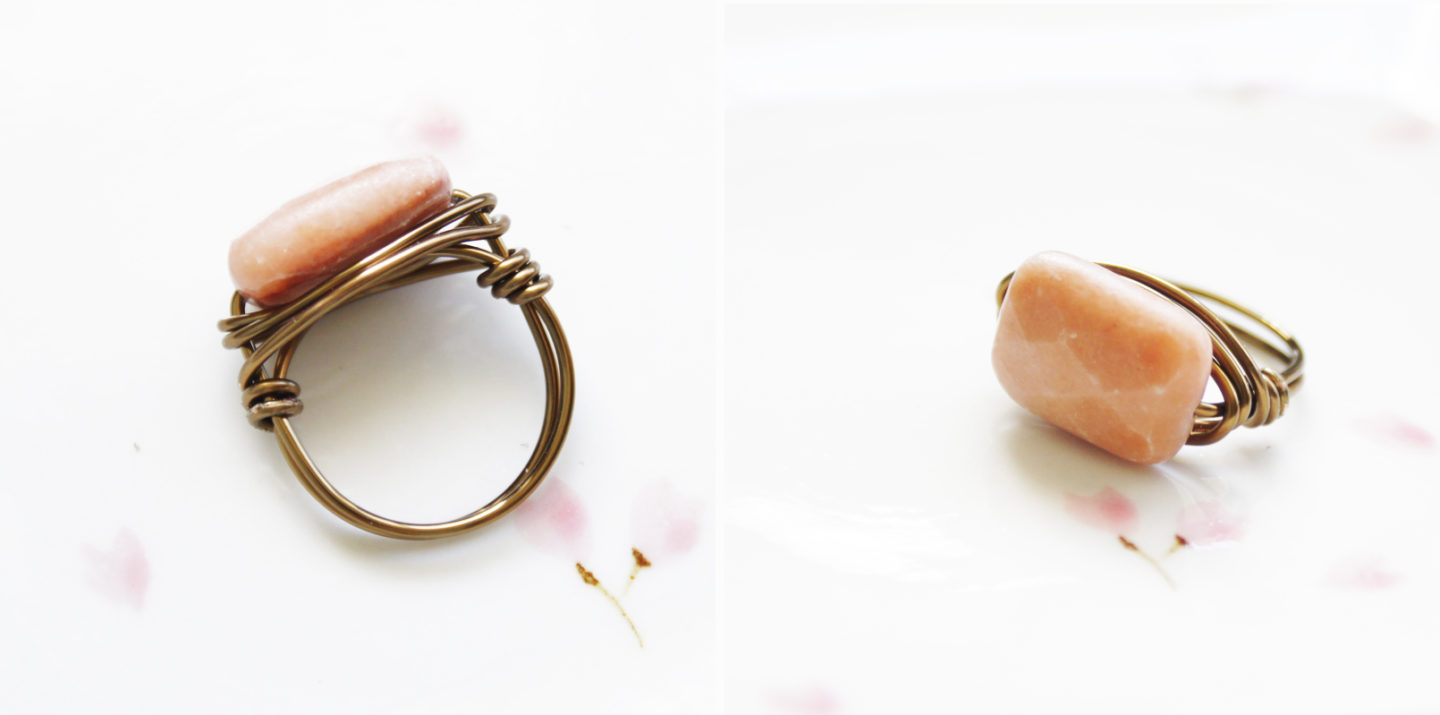
Here is my 3rd Episode of the Made by color DIY’s, and today I’ll be making a very cute, easy to make and comfortable ring with a gorgeous Wrapped Peach Aventurine Ring.
Are you a jewelry lover, don’t just stop at this post, I have been a jewelry designer and jewelry metal smith for a few years before I became pregnant and moved overseas, so hope over to my other Jewelry DIY’s on my blog. I hope you will enjoy them as much as I did enjoy making each piece.
What You Need For The – DIY // Wrapped Peach Aventurine Ring:
- Artistic Wire 18-Gauge Tarnish Resistance Silver Wire
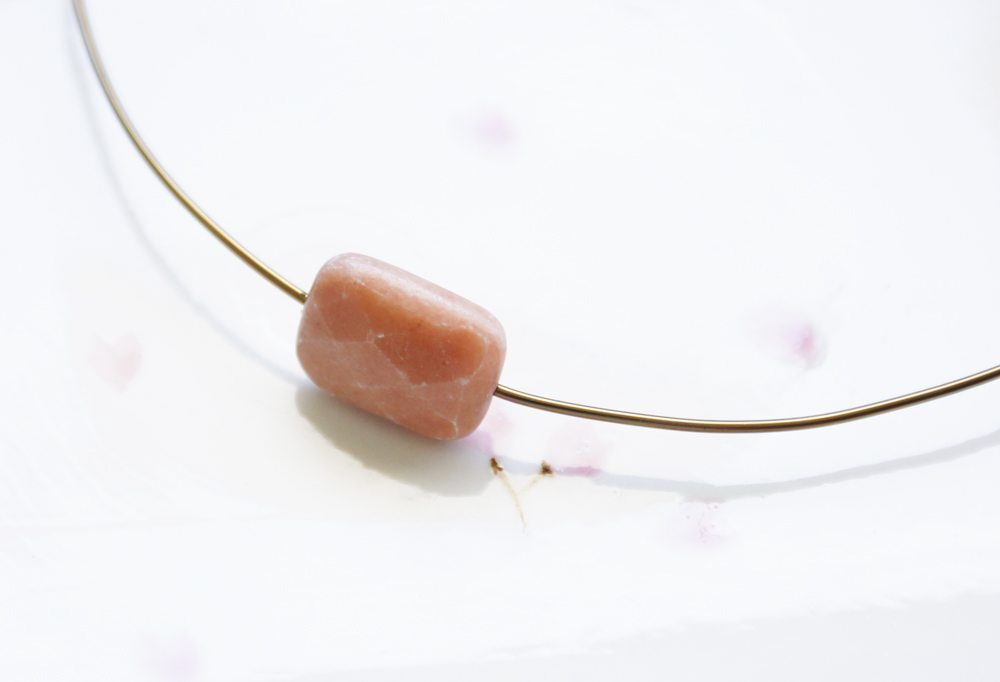
(Artistic dead soft wire 1ft) - 1 Aventurine Bead (11x6mm)
- Ring Mandrel Finger Sizer Gauges Find Exact Size Rings
- Jewelry Plier Set, Set of 5




You have the BEST tutorials! 🙂
Holly
Yay, thank you Holly! Glad you enjoy them.
AHHH-MAZING! What a brilliant tutorial 🙂
Thank you Emily
That looks amazing!! Venturing out to Joanns for supplies tomorrow!!
My girlfriend and I wanted to do a very unique wedding ring using really pretty pebbles from our favorite family vacation beaches, but I’ve been completely stumped as to how to do it. Thank you for this post!! I do have a question… Obviously, using pebbles from the beach aren’t going to have the hole through them like a bead. Any suggestions on how to make it into a bead, if that is even possible?
Dear Devon,
I am glad my DIY helped you to find a way to create your rings, unfortunately I haven’t tried drilling into a stone/pebble yet. But you could try it with a stand-drill and water running over it while you drill, so the drill bit won’t burn or break.
This may help you as well: http://etsymetal.blogspot.jp/2009/07/pebble-drilling-tutorial.html let me know if you have any other questions, and good luck with the project.
I have had good luck using a Dremmel tool and a diamond drill bit. You can find the tiny diamond drill bits on eBay. I put my pebble on a small sponge in a plastic cup and added water. Then drilled away.
I love your tutorials! Thank you so much for taking the time to make them so easy to follow!
Thanks, so glad you enjoy my tutorials. I will have a giveaway for the last 4 DIY’s on Tuesday, make sure to subscribe to my blog. That way you don’t miss the Giveaway.
This ring will be included in the giveaway!!!
This is so cute! Looks pretty easy too! How much is the ring mandrel? Even if it cost a little bit, I be willing because I think I’d use it alot.
Lauren G. a ring mandrel can be between $5-$20 really depends what material it’s made out of.
Have fun crafting!
I love this ring – and I love that with a few different materials, I could create a different ring for every single outfit!
I just started making rings, can’t wait to try it!!
what a sweet ring, great tutorial!!
I printed this out and am going to my nearby bead store to see if I can recreate it. I really hope so!
[email protected]
yay, let me know how it goes or if you need help!
I love this! It is such an easy and affordable way to have beautiful, custom jewelry!!
Where did you buy the bead you used in this tutorial?
hi Kayla,
you can get beads like that in your local bead store (hobby lobby, michaels or etsy). search for peach aventurine cushion cut on etsy.!
Any suggestions on how I can keep the wire from moving on the mandrel. I haven’t conquered the knack of keeping it tight and the rings are all the same size.
Thanks.
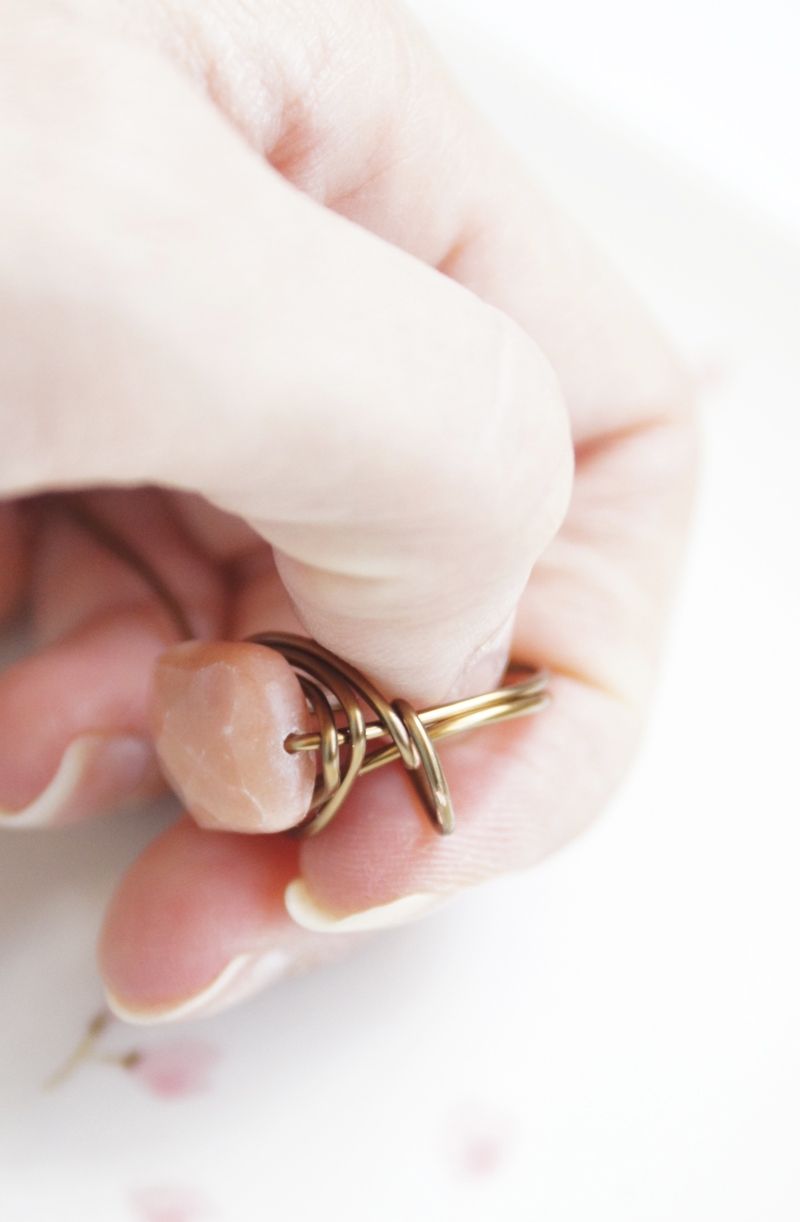
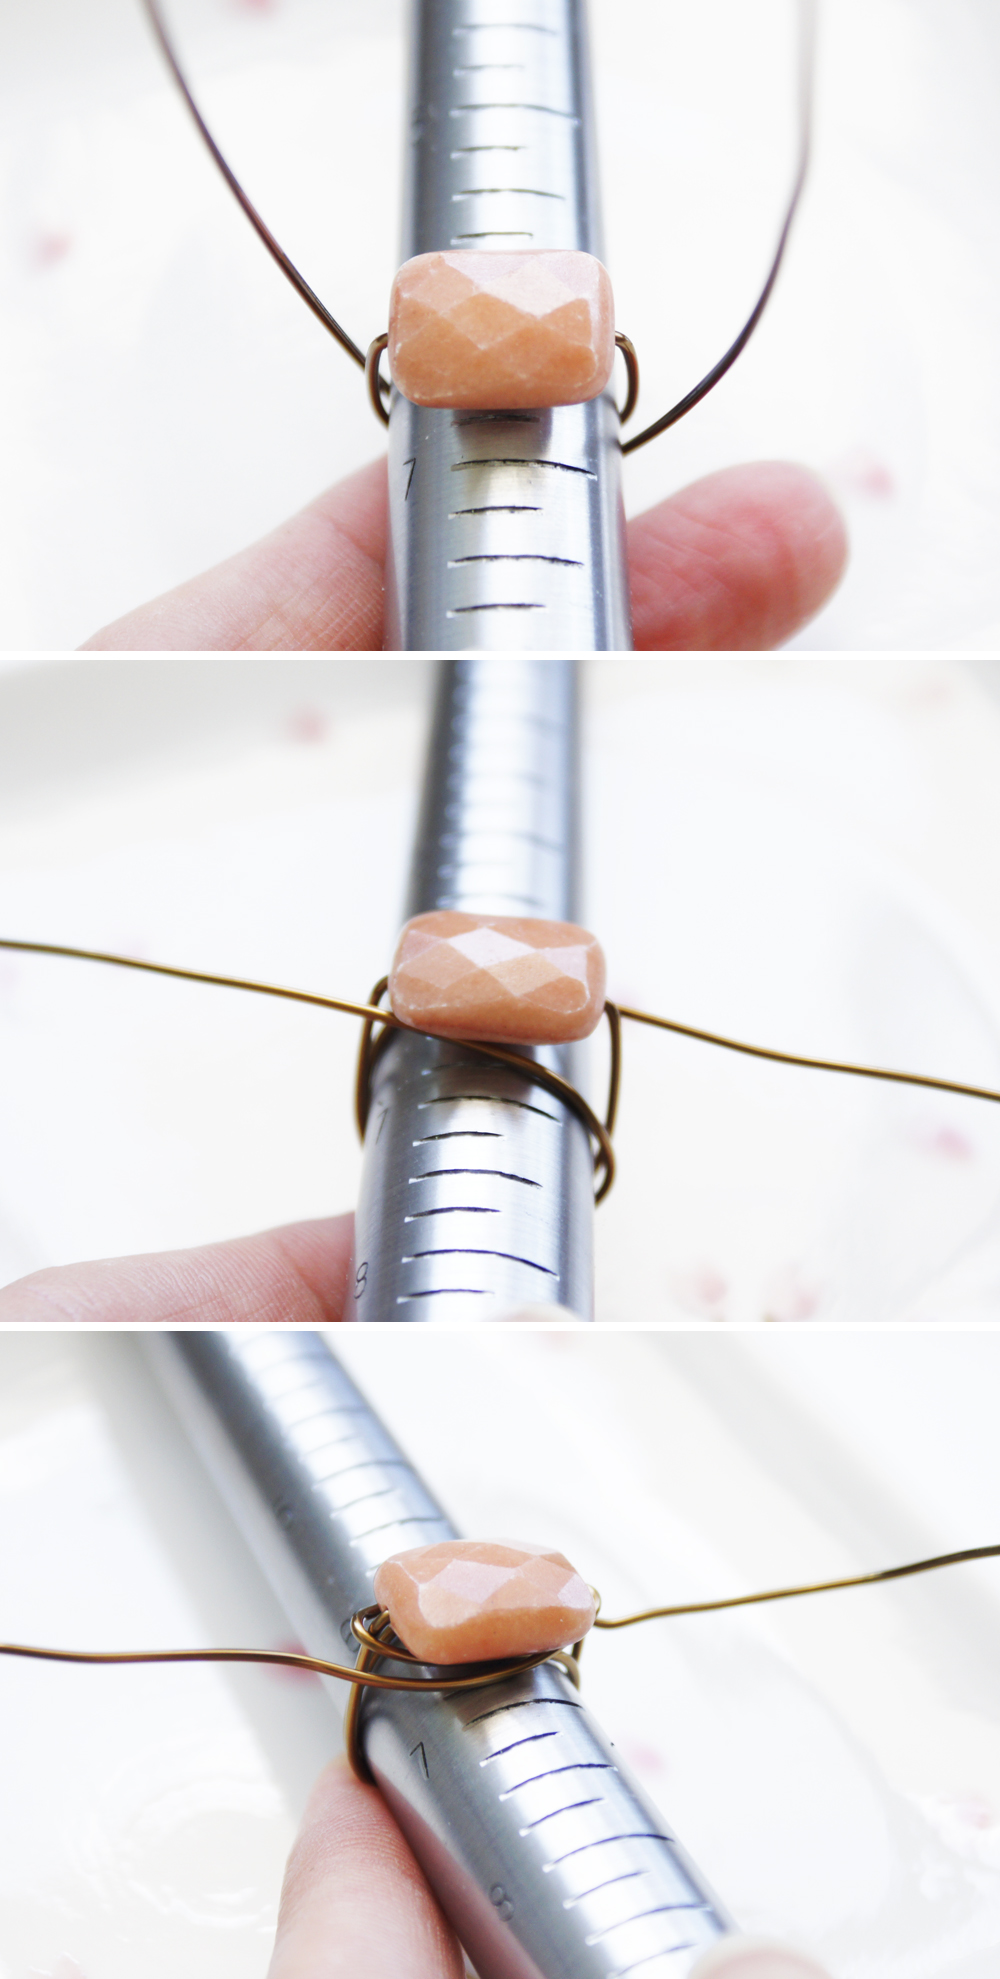
Try to keep your mandrel steady in between your legs, and when you start wrapping the wire as seen in the second image, make sure to keep it tight.
Also, if you end up with a bigger ring, start by laying the wire higher up the mandrel (smaller size), so if you slide down you won’t be too far off on your actual size.
Hope this helps?
I love this and you make it simple to understand, thank you.
You’re welcome Janice!
Nice one, will definitely try it!
It’s really simple. Hope you have fun making your own!
This tutorial is awesome. I finally got around to making some handmade rings. I am going to write about it on my blog today and mention your tutorial (with full credit of course).
AptToCraft.blogspot.com
🙂
Can’t wait to read about it!
I lightly hammer the wraps to keep them round and true. Once the ring is fully wrapped I hammer everywhere possible. You need to start about a size smaller. Fancy buttons make great ring designs as well. The procedure is the same.
I made two of these today. Your tutorial was so easy to follow and the rings are gorgeous. Thank you so much!!!
So glad the tutorial came in handy! Thank you for stopping by.
Hello. 🙂 Thank you for posting this ring and how to make it. I want to make it, but I’m not clear on all of the steps with maneuvering the wire to make the ring . 🙁 I think a video will help me. I’ve looked here on your page for a video, but I’m not seeing it and I’m not sure if I’m just not seeing it… Do you have a video showing everything step by step with forming the wire and everything? I’m just having trouble figuring out how to wrap the wire and I don’t know how to use the jewelry sizer thing, etc. I’m a newbie lol . I hope you can help me. I hope I’m not coming across as difficult… 🙁 I hope this message finds you doing well. <3
This ring is super cute and beautiful! Thank you for sharing