DIY Essential Oil Display
Welcome to my DIY Essential Oil Display tutorial, hope you enjoy this quick and simple tutorial.
2017 started off really bad for me, but after 7 months it turned out to been full of good things for my family and I. You remember me talking about my health issues in the beginning of this year, if not then catch up here with this post.
I also sent out a long newsletter about my test results, if you like to get an update on my current health sign up for the monthly newsletter and you will receive that last love letter + a freebie.
But for today, I want to share a quick and spontaneous DIY, which I finished in a couple of hours. It’s very simple and all you need are household tools; hammer, nails, electric drill with drill bit, measurement tape, wood glue, scissor and some stain.

Can you imaging that I had half of these oils at home, but didn’t really use them. I mean I did, but not consistently. Which is such a crutual part if you want to see improvement.
Something changed in me and I realized that I had to stand up for myself and grab the horse by the hair (not even sure if people still use this term, lol).
I believe August was a big game changer for me, it’s when I started implementing oils into our life’s. Now it’s a routine, we wake up or go to bed and apply oils, we diffused them and I also take them internally every day.
Ever since, my essential oil collection has grown. I had to come up with something that could be accessed quickly, so this adorable essential oil display is doing just that!
DIY Essential Oil Display
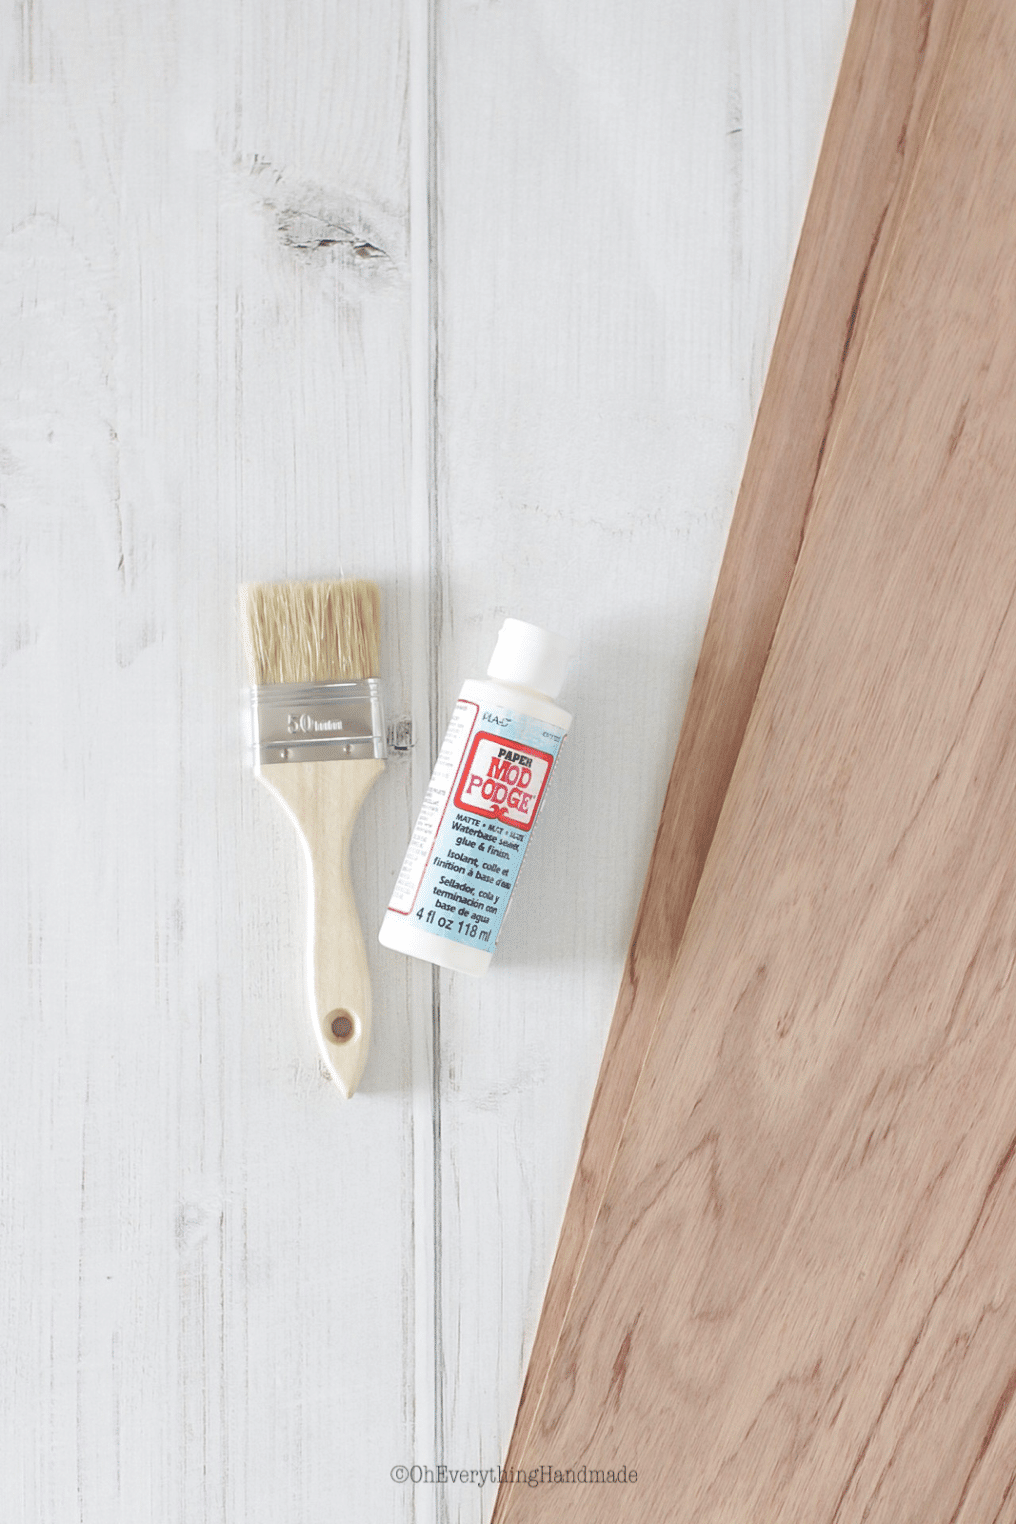
I ended up making two of these, but you will only see one displayed.
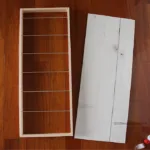
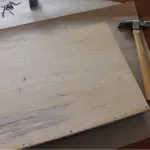
1. For the backing I used some leftover plywood from a previous project. The size is 30x76cm.
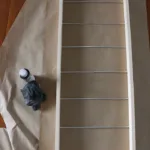
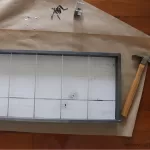
2. To brighten up the background, I went with the whitewashed wallpaper from Milton & King. Cut the wallpaper to a rough size of the plywood backdrop.
3. Then apply mod Podge to the plywood and press the wallpaper on top.
4. While the backdrop dries, continue with assembling the frame for your display.
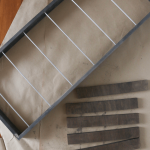
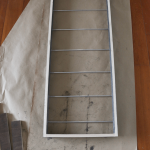
5. The frame size is 76cm x 27.6cm, my boards were 1.2cm in width so I subtracted -2.4cm for the top and bottom boards to make them fit in between the two longer side pieces. If you use a different thickness for the boards make sure to measure the backdrop first.
NOTE: If you don’t have a table saw or miter-saw have your local home improvement store cut the pieces for you. I’ll add a cultist at the bottom.
6. Measure the shelf placement and mark them on the longer side boards. I went with 10cm in between each board.
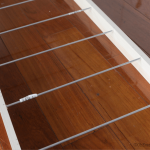
7. Now measure the placement of the rail, pipe whatever you like to call it. I went 2cm up on each shelf.
Cultist:
*coming soon…
You can place the shelves at any height, I just wanted to have them aligned and 10cm was enough room for the big bottles and even for theroller bottles.
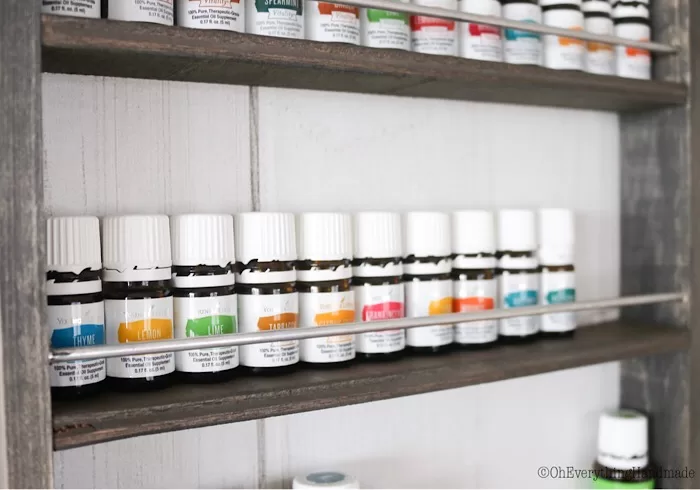
I love those white labeled essential oils. Did you know they are called the vitality essential oils? Meaning that all those white labeled oils are OK to be ingested.
Which is so important for me because I have IBS and Gastritis, and the tummy and immune system is or let me rephrase, was all jacked up.
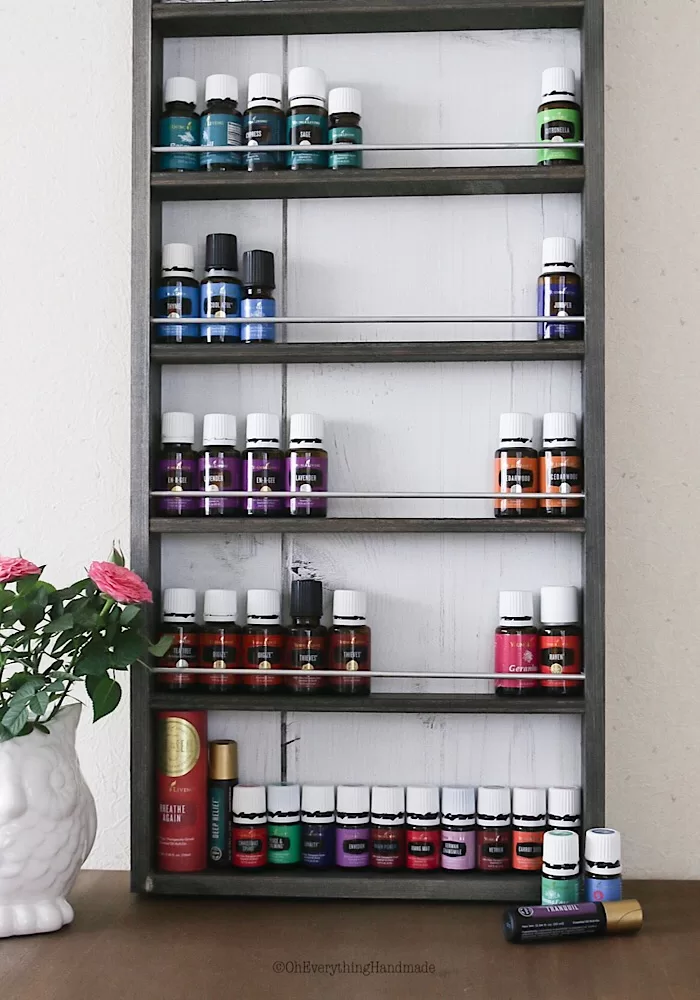
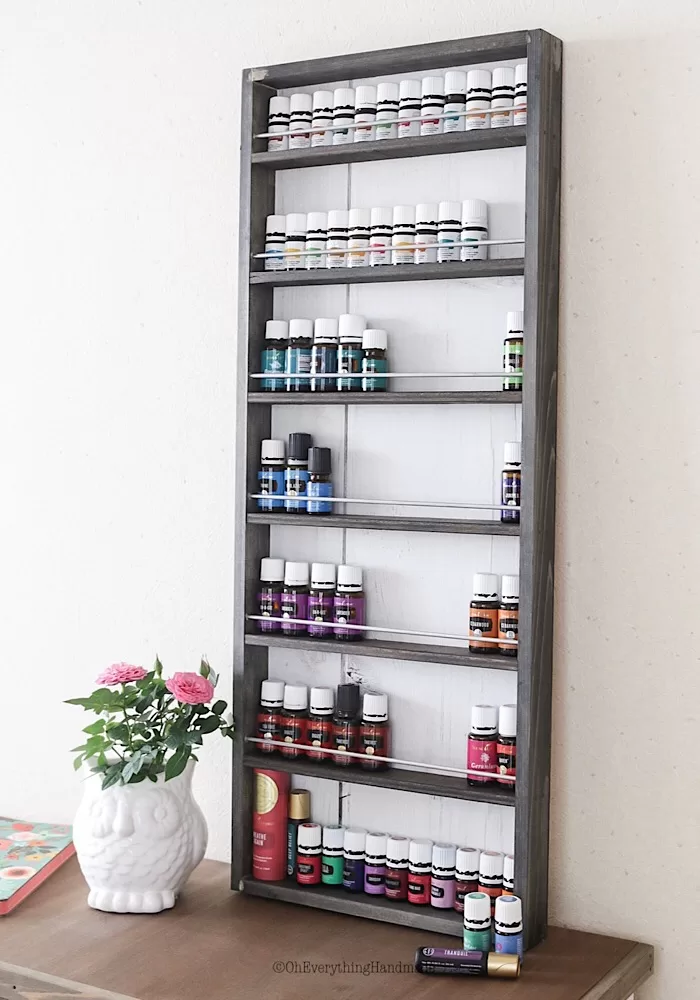
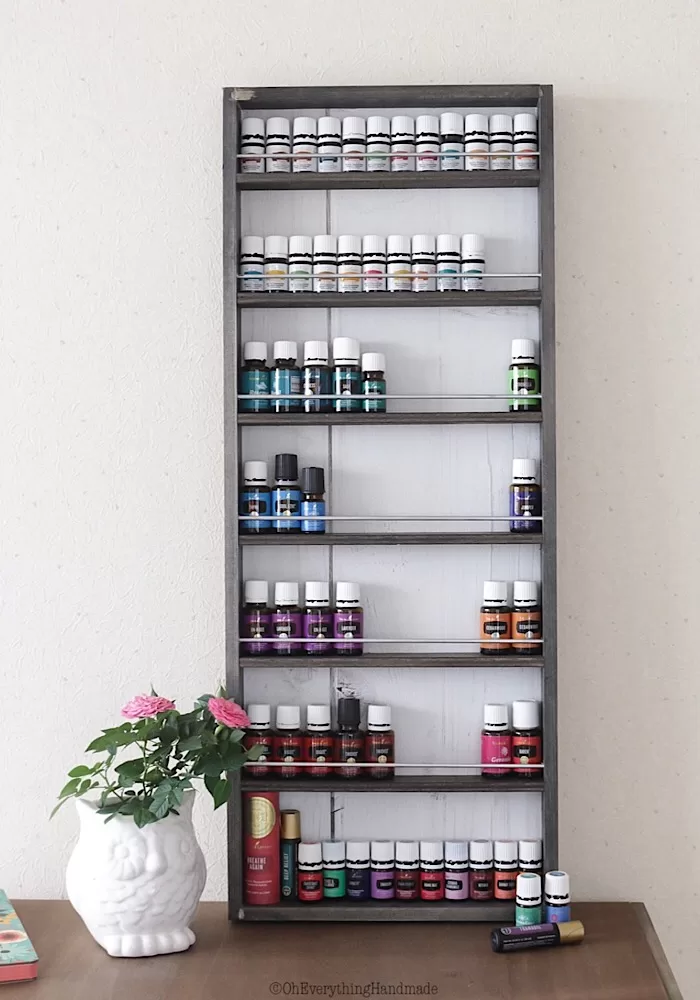
I hope you enjoyed my quick DIY Essential Oil Display tutorial and hopefully you will make your own essential oil display.
If you are not using essential oils just yet, why don’t you message me and we can chat about it.
Before I leave for the weekend, I like to also address something which you may have already picked up on if you are following me on my IG or Facebook. I am focusing on getting better by using my oils at the moment, so lots of my posts may include or will mention oils.
I am still planning to post DIY’s and tutorials as you can see, but my blog will most likely become my oil outlet, where I reconnect with my team and also where I’ll be sharing lots of oily goodness.
Just a heads up, my priority has shifted and health has become very important to me, so I like to focus on that. Posting about decor made me happy for a while but didn’t improve my health.
If you decide to leave, I wish you all the best and hopefully you will be back when you need some oily advice.
Xo 😘 Betty

Looking forward for your cut list. Email me when you have it available if you can.
Are you going to put the cut list up?
Hello, I just came across your Oils shelf and would love to have your cut list if that is possible. [email protected]. Thanks so much
I would love to get your cut list. I also have a ton of health issues and have decided that oils may be one of my best bets. I also just started a Reiki studio (dancingenergyreiki.com) to help others focus on their health. I think if people haven’t gone through things like us then they don’t really understand. This is also my way of showing them that they are not alone. If you can, please send the cut list to [email protected].
Best of luck with your health,
AlisaBeth Nash
Hi AlisaBeth, one can only understand through experience. I hope you have found your path and will inspire others through your journey. Best of luck
xo Betty