How to Install Kitchen Tile + FireClayTile Giveaway [DIY]
Hi there, glad you are here. This post is all about Kitchen Tile Installation. In other words, if you are new to kitchen remodeling, then you may want to start with our
- Install drywall – [instructions]
because you most likely will need to apply this process if you plan on remodeling. But just in case you installed your drywall already, installing tile would be your next step after the cabinets are installed.
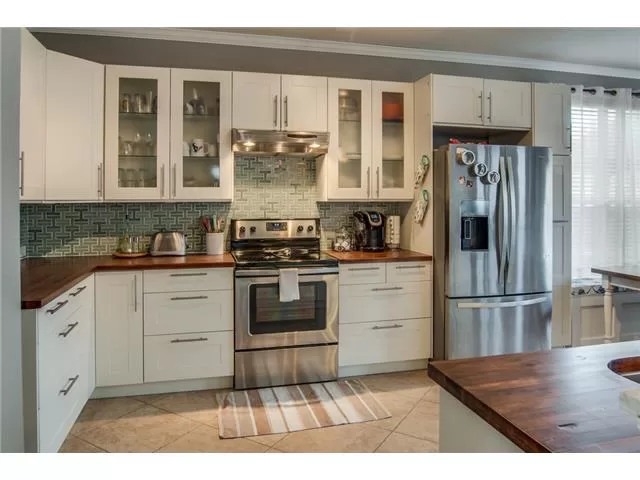
Above all, we are so glad that we finally finished our NEW Ikea kitchen, it’s been 2 months since we first started with the design for our new kitchen. We LOVE the outcome and would do it all over again!
How to Install Kitchen Tile + FireClayTile Giveaway [DIY]
Therefore, I am not only sharing our Kitchen Tile Installation, but we have also collaborated with FireClayTile – an amazing company that believes that new isn’t necessarily better and that trash really can become a treasure.
Handmade things have soul, and good design will prevail as one of our most sustainable assets. They believe in the power of teamwork and that work should be fun. They believe that life should be lived boldly and with purpose.
GIVEAWAY [closed]
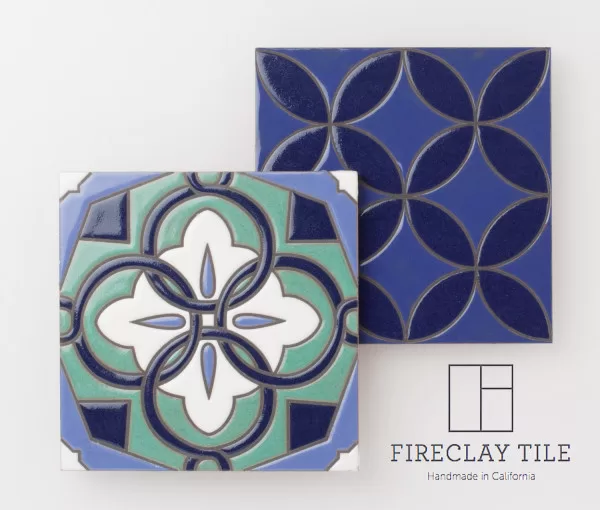
FireClayTile is giving away 2 Handpainted 8×8 trivets tiles, the Jerez tile in the color Cool Motif from the MEDITERRANEAN COLLECTION and the Jardin Fretwork tile in the color Cool Motif from the MOROCCAN COLLECTION to one of our lucky readers, so make sure you enter at the bottom of today’s post! – Eligibility to enter: Open to legal residents of the USA who are 18 years or older.
Kitchen Tile Installation and where it all began
Before I get started with my Kitchen Tile Installation tutorial for today, I like to share my little story about the tile and how it all brought this new kitchen to life.
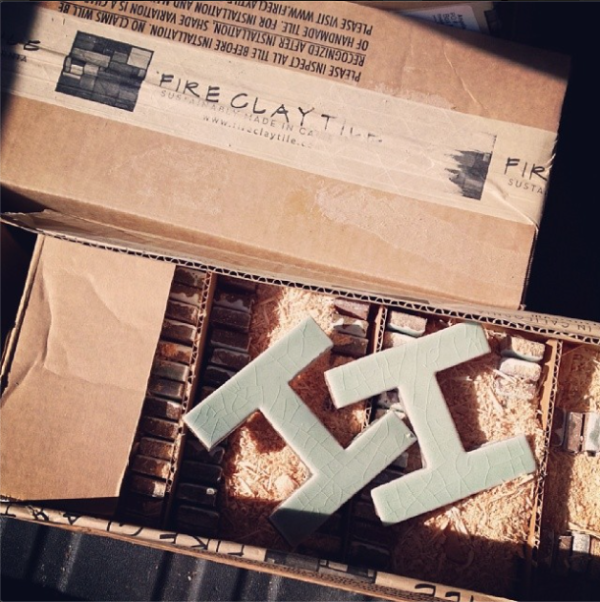
I was searching craigslist for a tile to remodel our bathroom, but instead, I stumbled across this amazing tile and “Had To Have Them”!
Long Story short
In conclusion, I was able to talk my husband into a new kitchen from Ikea, and a couple of weeks later we started taking cabinets down. The tile was my inspiration for the entire kitchen, I love rustic, modern, chic, and most of all if it’s unique. Very grateful to have found the Chaine Homme FireClayTile – it was meant to be!
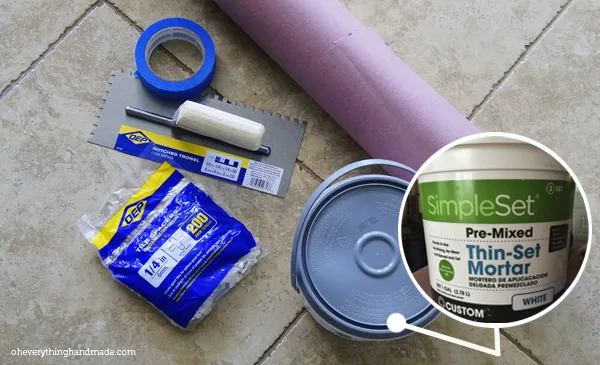
Ok, so let’s get started with our Kitchen Tile Installation. Here are the things I used to install the FireClayTile tiles.
Supply list:
- Wet Tile Saw
- Painters tape
- 1/4″ tile spacer
- 1/4″ notched trowel
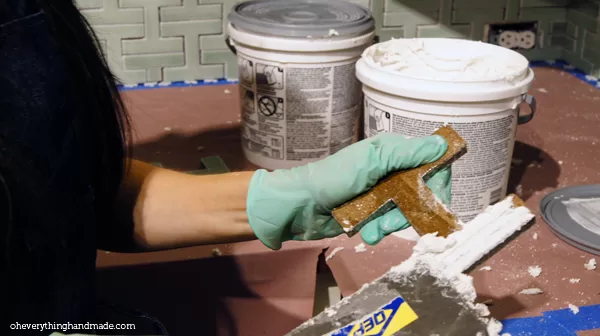
- Thin-Set Mortar – white (I used 2 GAL for my kitchen which was a bit over 28 sq/ft)
- Brown Builder’s Paper
- Latex Gloves
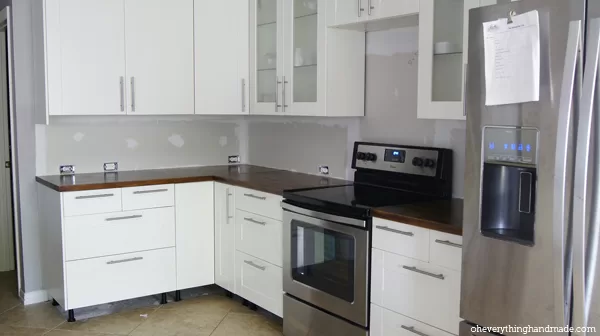
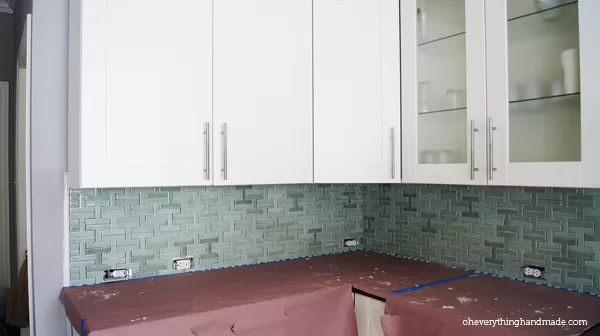
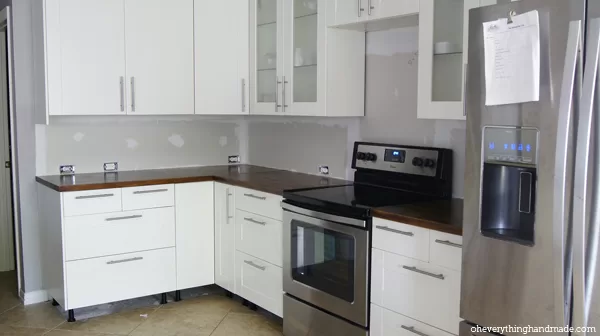
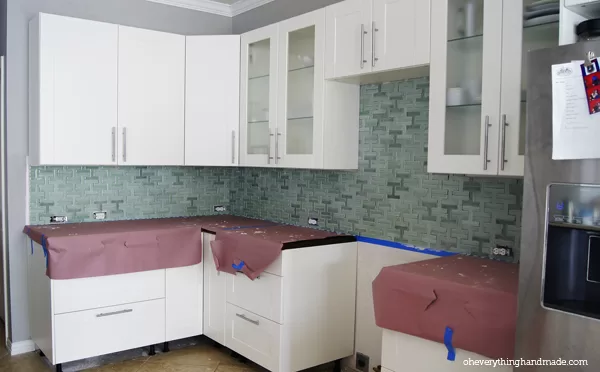
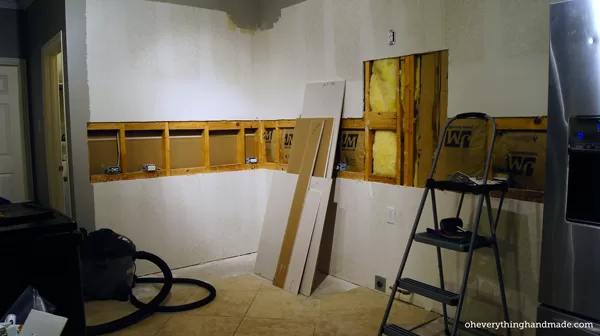
Bare Kitchen – Before tiling
Unfinished kitchen’s don’t look that great, and so did ours. It looked so bare without the backsplash, and I couldn’t wait to install these tiles!
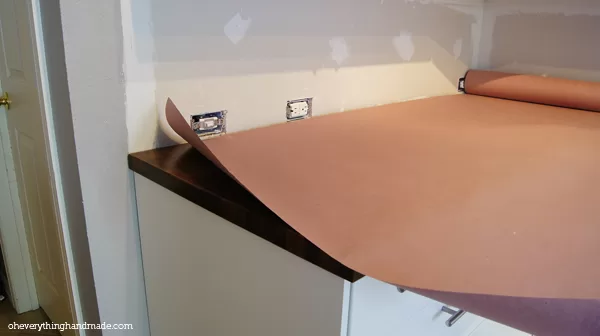
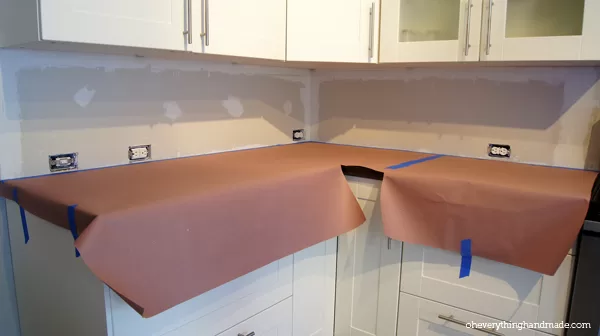
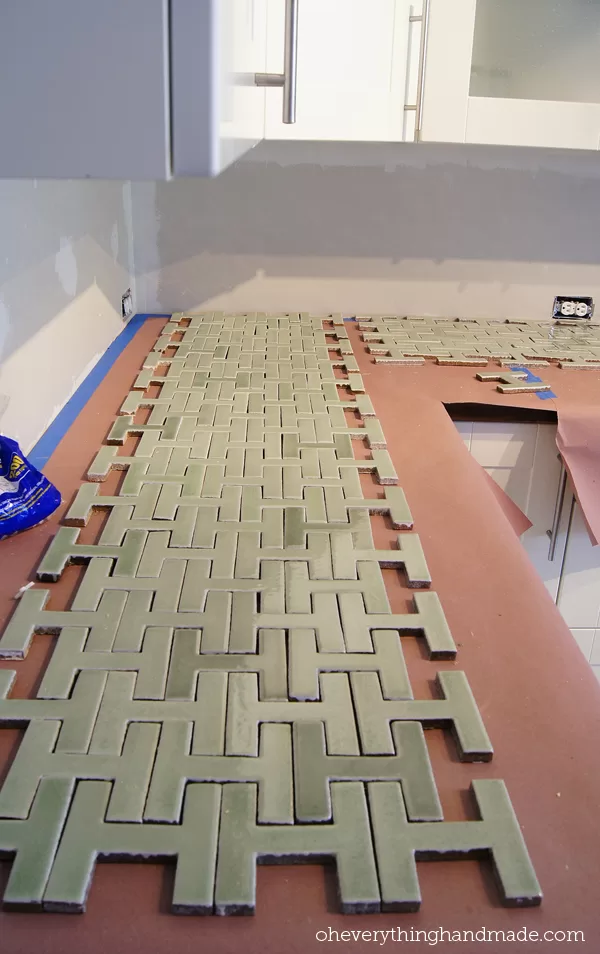
To begin with, I had to protect my butcher block from any damage, in order to do that I used a water-blocking paper that I got at Home Depot (find the link above in the Tools and Material you need, section).
After that, simply roll the paper out on the counter, cut it to fit, and tape it down with some painter’s tape.
Drywall Prep
Next, you want to smooth out the drywall, this can be done with a sanding block of 220. I skipped this step since I had done a good job applying the sheetrock all-purpose joint compound, you can find my tutorial for the drywall installation here.
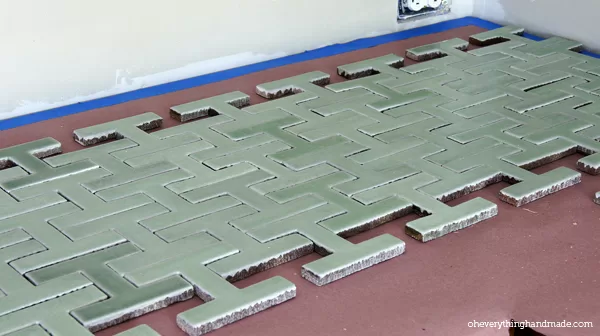
However, before I got started with anything, I laid out my tile – FireClayTile’s are handmade and there can be some variation in the color and fitting, so make sure you lay them out the way you like them to go on the wall.
What to watch out for if wood counters are used?
In addition, I had to make sure the countertop was leveled. A simple leveler should do the trick! I added 1/4″ spacer’s to the bottom of my tile, this is done in case the butcher block starts expanding.
The moisture content of the butcher block will vary due to the movement of moisture into and out of the wood. Natural humidity (dry and wet), air conditioning, and machines that dispel heat or moisture (eg. Dishwashers, cooking appliances, etc.) will affect the moisture content of the wood. As moisture in the air increases, it is absorbed by the butcher block, and the wood will expand. The butcher block contracts as moisture in the air decrease.
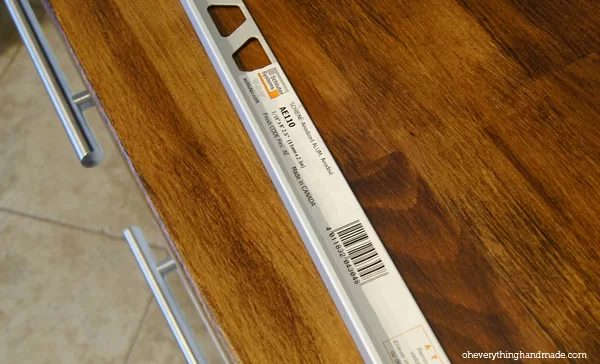
I chose a finishing trim for a smooth and professional look on the outside of my ending tile. I used the Schulter Metal trim (Shiene profile, 7/16″ AE110).
Grouting [instructions]
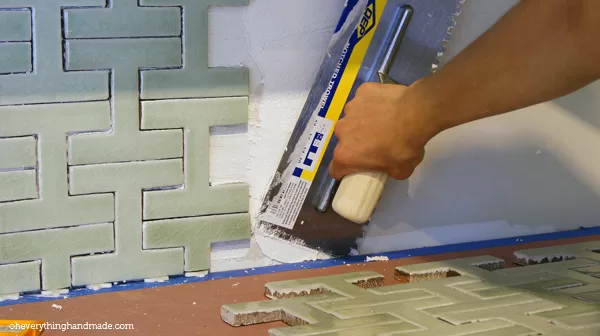
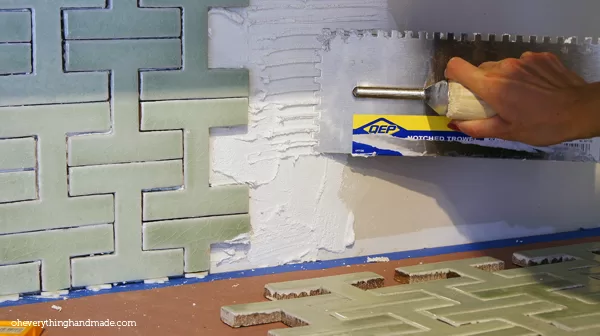
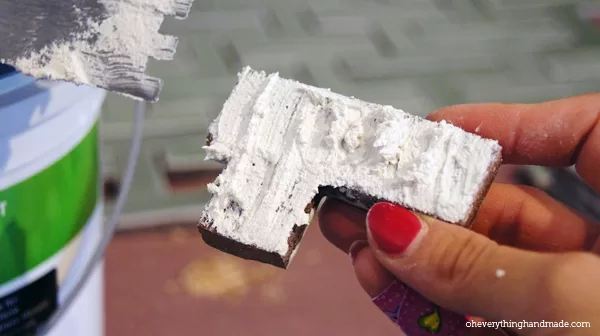
To add the trim I started by applying the thin-set at a 45-degree angle as if you would for the tile, you then press the trim into its marked position and tile right over it. I back-buttered my backsplash just to give everything a stronger hold once done.
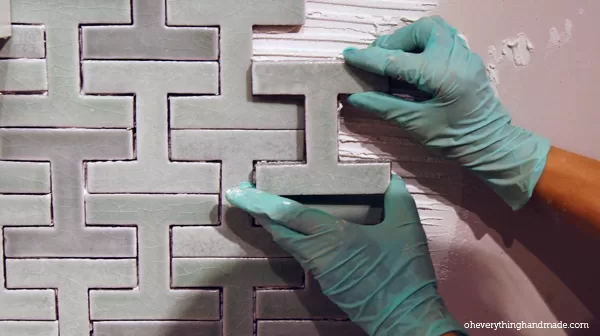
Back-Buttering [instructions]
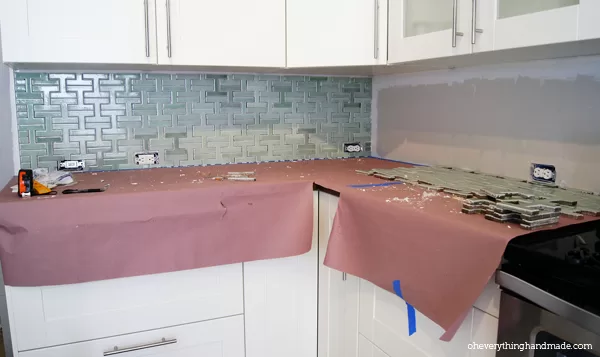
The first wall of backsplash took me forever to install, but I finished everything the next day since hubby was home and kept the kids occupied.
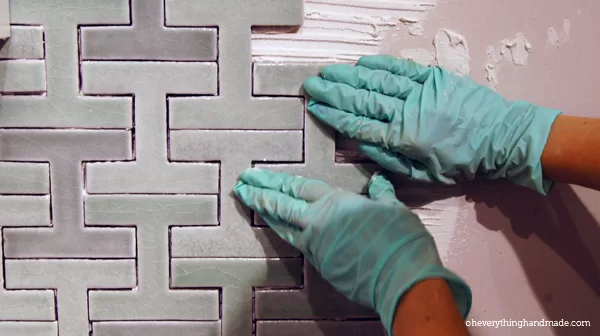
Here are a few extra steps of the back-buttering and applying process, so you can see how easy it is.
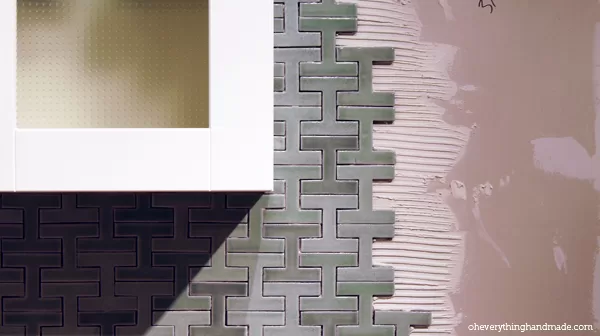
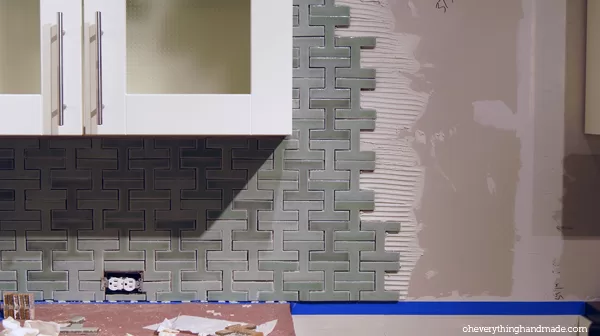
With the drywall prepared with a thin set, I then applied the back-buttered tile to the wall.
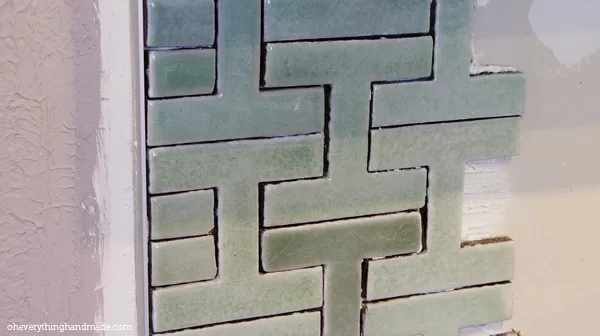
I read that FireClayTile recommends in their installation guide to use spacers in between tiles as well, I didn’t use them to space each tile, because the tile fit so snugly that I didn’t have room to add them. However, I made sure to leave 1/4″ on the left and right side of each tile.
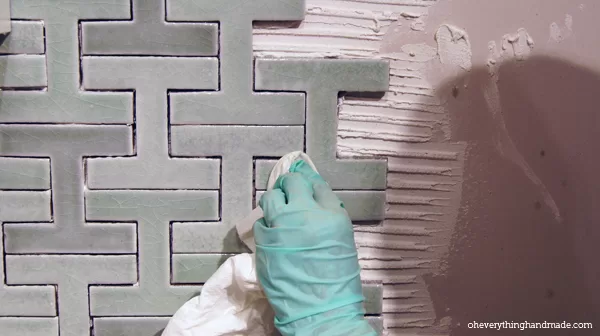
TIP: To get thin-set out in between tiles, I used a business card to scrape excess mortar out.
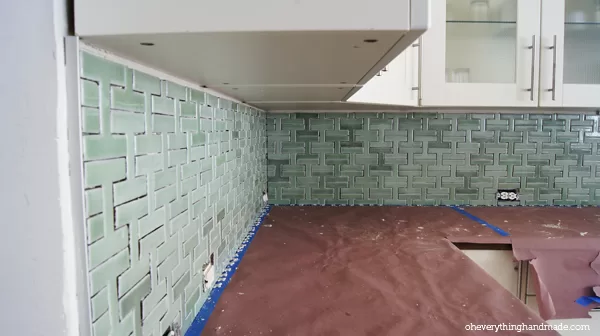
When I reached the stove area, I decided to tile in a straight line along with the countertop. I used a leveler and some painter’s tape to keep the tile straight. The area was first marked with a straight line and then taped with painter’s tape right below.
Therefore, the excess mortar ended up on the tape, and all I had to do was to remove the tape before drying and I had a clean look at the end.
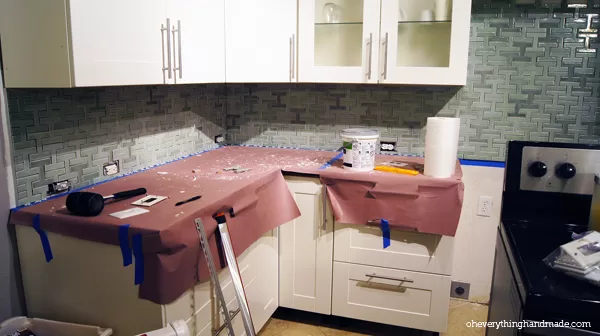
Messy counter, exhaustion, and some super sore arms after two days.
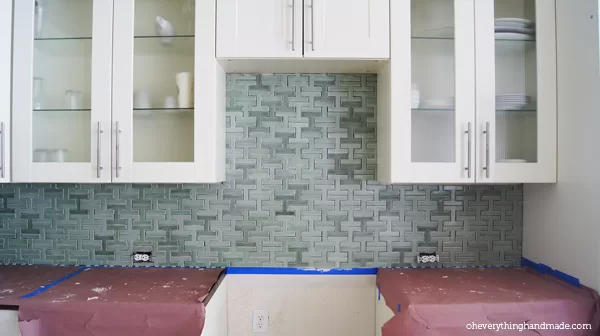
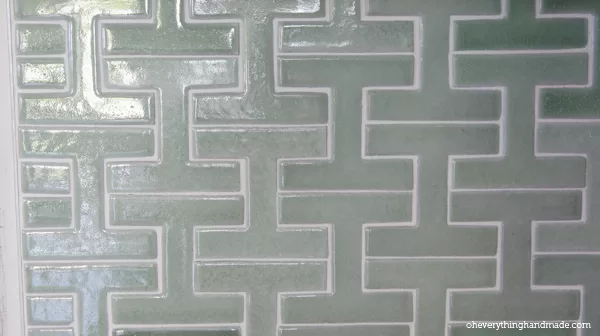
After 24h of drying, the tile was ready for grouting.
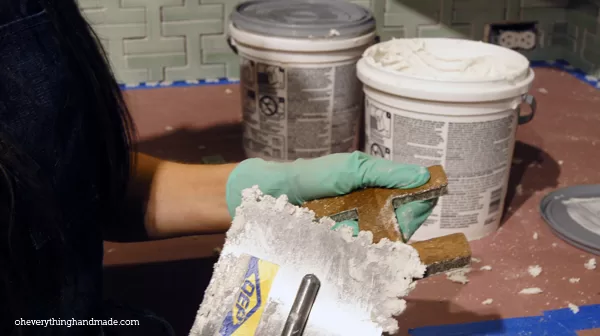
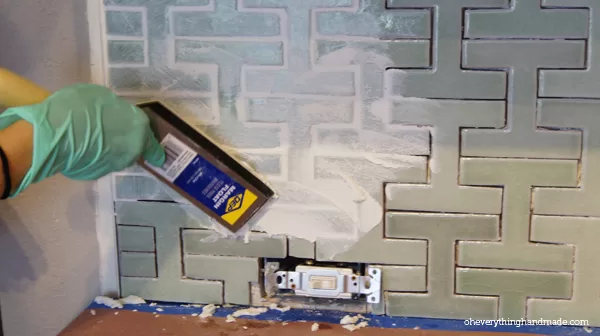
What you need for grouting tile:
- Bucket
- Gloves
- Microfiber Sponge for Grouting
- 1x Fusion pro grout, Color: #381 Bright White
- Margin Float For Grout
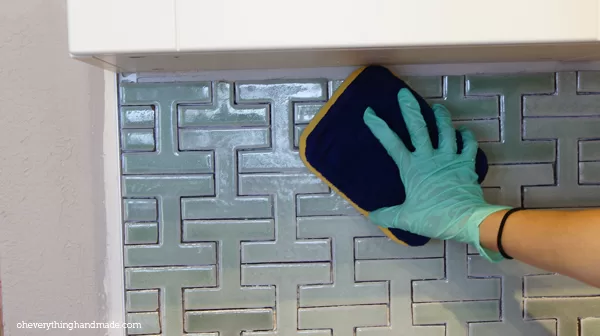
Start by cleaning your tile, and wiping them down with a damp sponge.
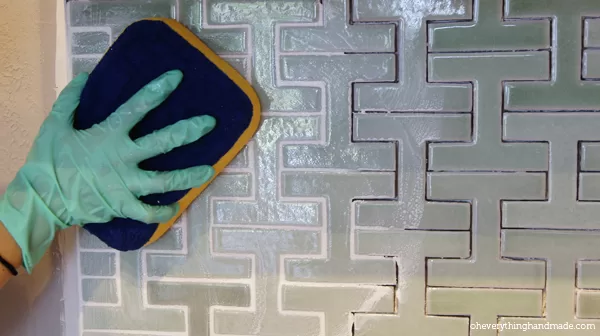
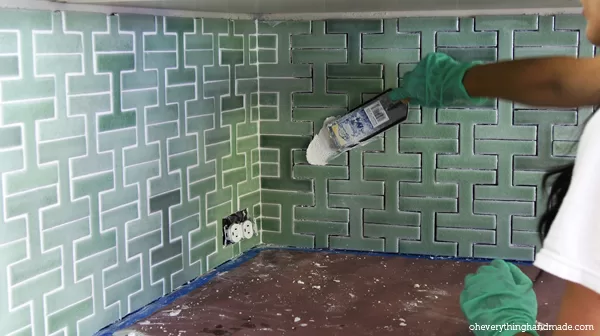
Let the fusion pro grout set 3-4min before wiping off the excess in a circular motion.
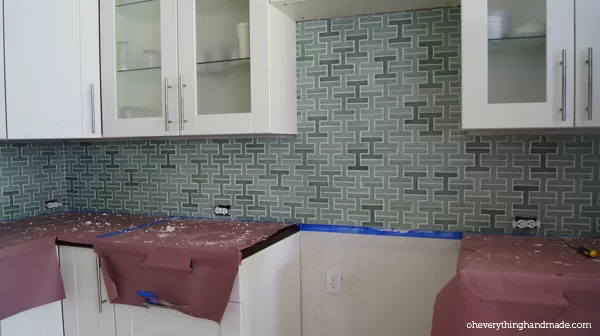
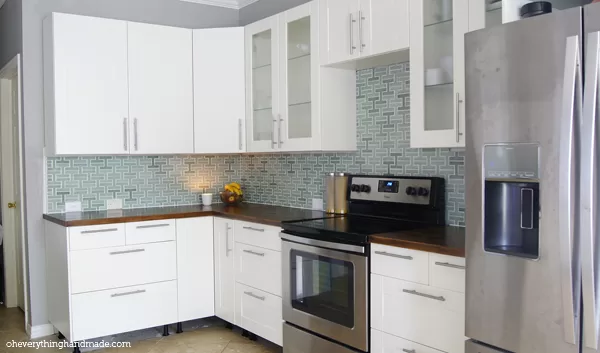
This corner was the hardest to get to, but it turned out beautifully and all the sweat was well worth it!
What a transformation!!!
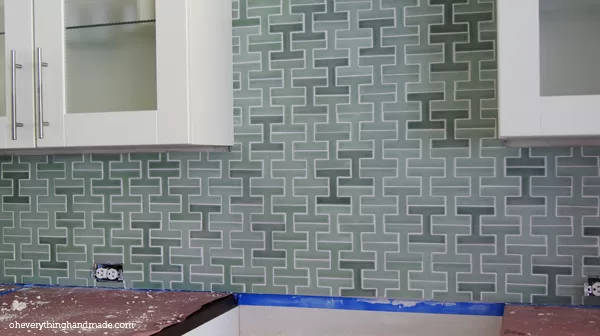
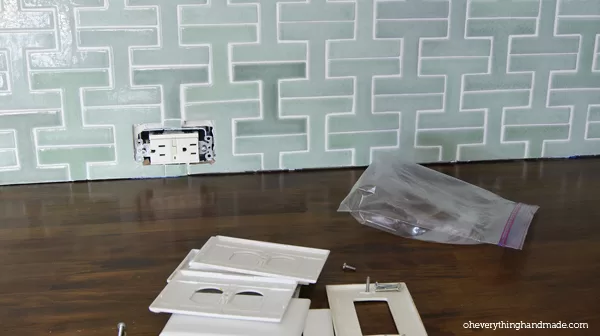
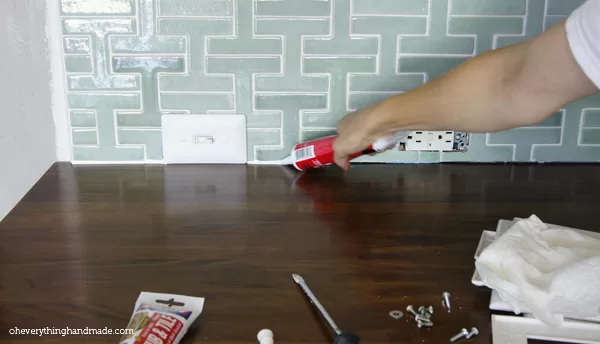
After 24h of dry time, it was time to give this kitchen its finishing touch. Cleaning up, removing the tape, adding outlet covers, and applying silicone along with the countertops.
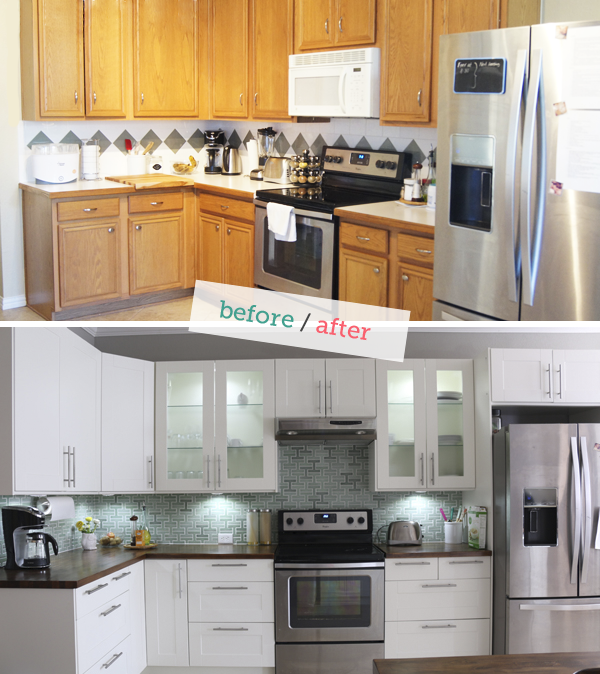
Amazing how tile can transform a space!
Here is a before and after of the old kitchen and the new kitchen after I applied some other finishing touches, like; lighting and some decor. More about that coming soon in another post!
GIVEAWAY CLOSED
Enter to win 2 Handpainted 8×8 tiles from FireClayTile right below.
PREVIOUS ON MY KITCHEN MAKEOVER:
If you like to start reading about our kitchen takedown from the beginning, you may start here:
- My Kitchen design
- Where and how I designed our new kitchen
- Remove upper kitchen cabinets – [instructions]
- Countertops, base cabinets, and backsplash/tile – [instructions]
- Install drywall – [instructions]
- kitchen cabinet installation – [instructions]
- How to cut an IKEA Butcher block
- Kitchen Bar Makeover
I’m also sharing lots of sneak peeks of projects on instagram, you can follow me at @oheverythinghandmade



Bettina, You and your husband did an amazing job, your new kitchen looks amazing. Hope you guys enjoy it!
I love the Stream tile from the CONTEMPORARY COLLECTION: http://www.fireclaytile.com/handpainted/detail/stream?color=cool-motif
Hi Silvia, Thank you so much, we are very pleased with our new kitchen. Cooking is more fun now!
I loved your kitchen transformation. It gave light and life to your kitchen. I am also impressed with the tutorial you presented on the tile. The tiles were a revelation. I’ve never seen anything like it before. What creativity!
Hi kssunflower, glad you stopped by. We are so glad that fireclay tile popped into our lives, it turned out exactly how I pictured it.
Your kitchen is wonderful!! I know you are so excited to have it done. I love your backsplash tile
Linda, thanks. We are so happy and excited to be able to call this kitchen our own!
I love your new kitchen, especially the tile color variations!
Barbara, the reason I had to have this specific tile, was the shape and the color. I keep catching myself looking at the tile and thinking “wow, I did it!!!” Best feeling ever!
My favorite is the Ensenito and I would love it in my bathroom