Reveal // Powder Room Makeover
This post was brought to you by: Build.com
This is not a sponsored post, all opinions are 100% my own.
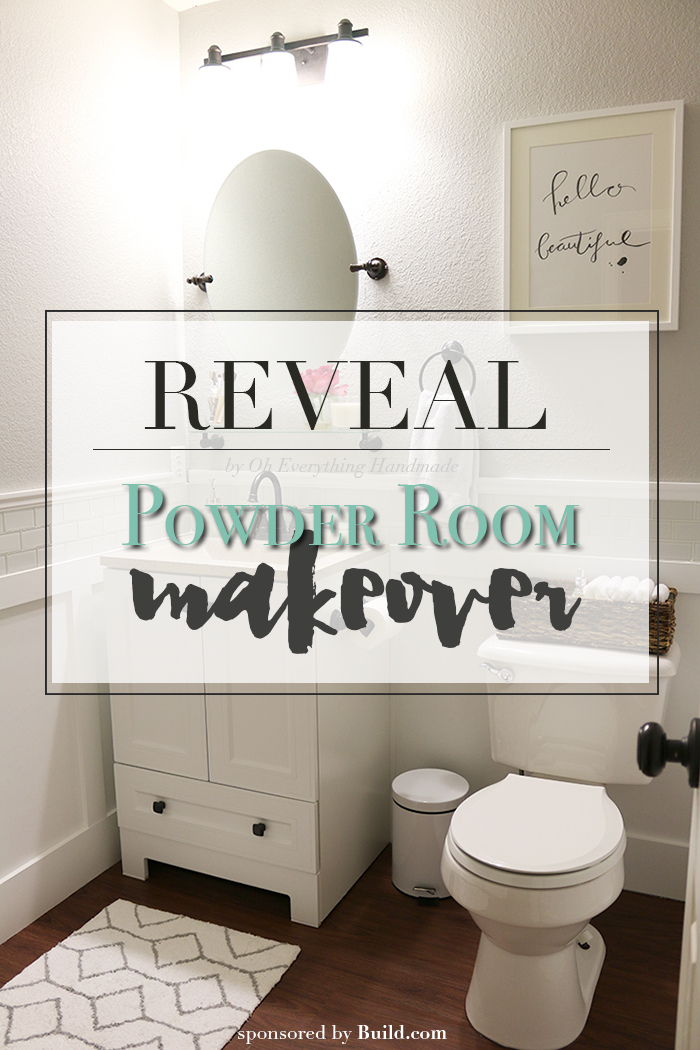
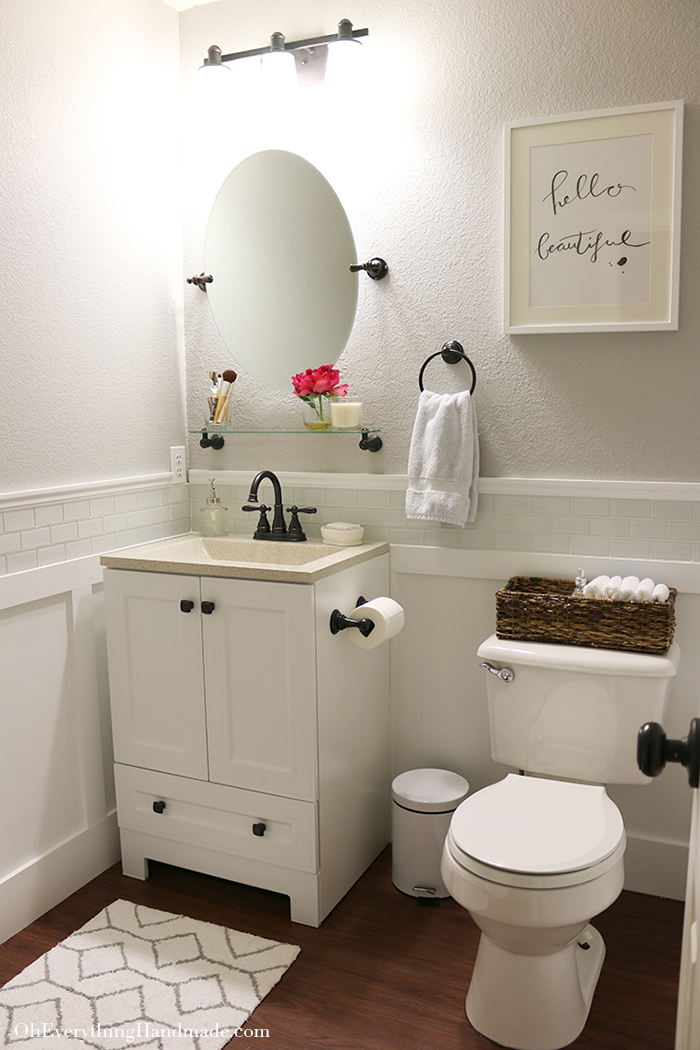
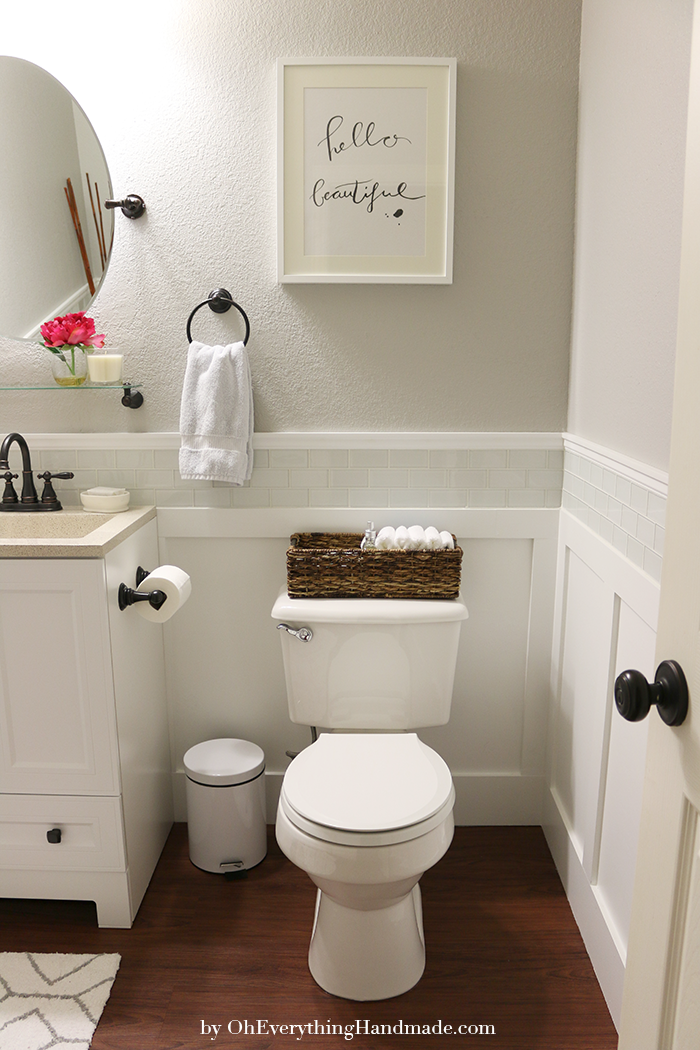
I finally found some time to give our old and outdated powder room a makeover. With red paint on the walls and no style whatsoever, this was the worst room in our home!
A couple of months ago I was contacted by Build.com and they offered me to check out their wonderful selection of home improvement products. They offer mirrors, stylish, decorative lighting, fixtures, wall art, flooring and so much more. But that’s not all, Build.com is one of the largest home improvement sites with over 1 Million products to improve your home.
Powder Room Makeover

I haven’t told you guys yet, but we are going to sell our home this year. So, we felt that giving our powder room a makeover would be the best way to go.
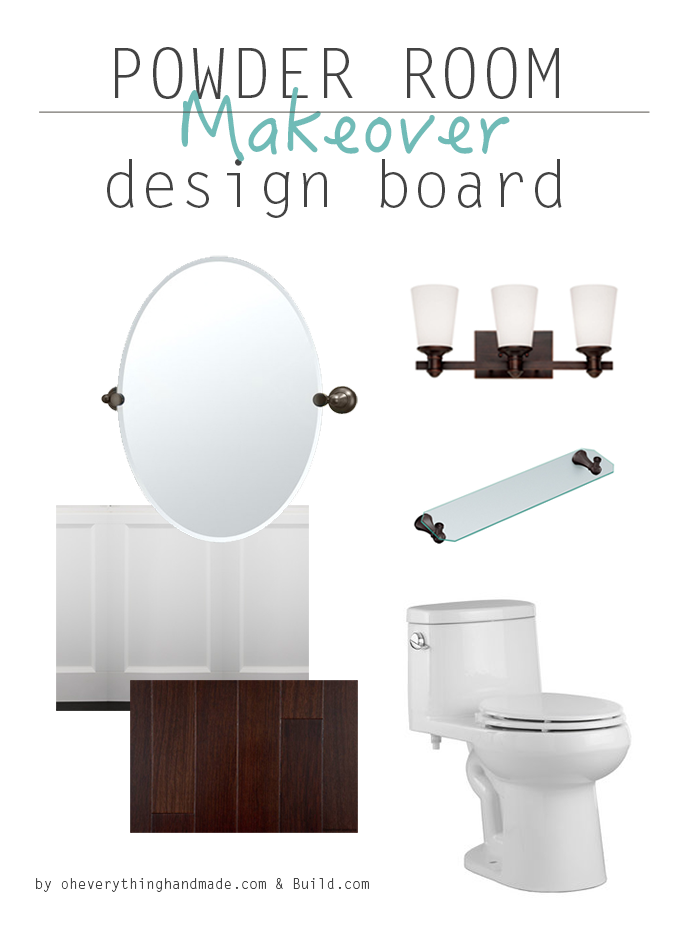
Before I chose a few items for the makeover on Build.com, I created a design board to help me along the way.
Design Board
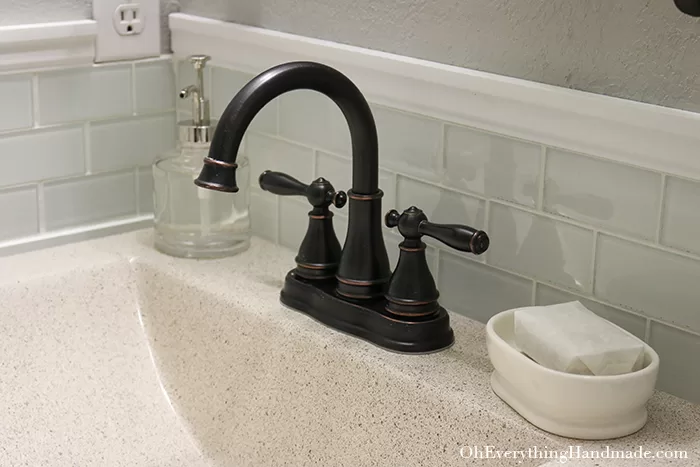
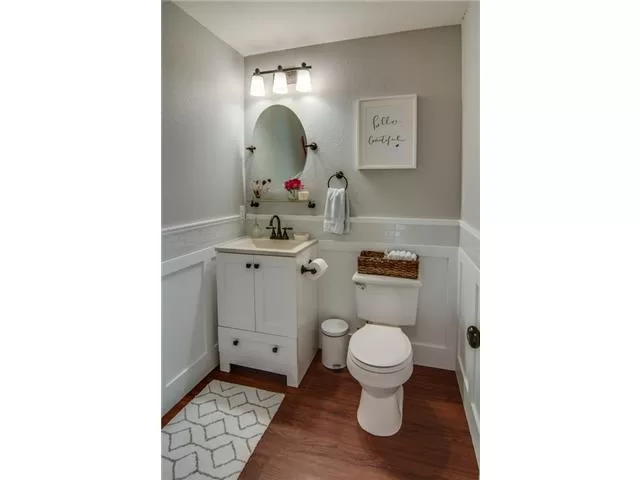
- We chose to go with oil rubbed bronze fixtures, to give the all white bathroom a contrast
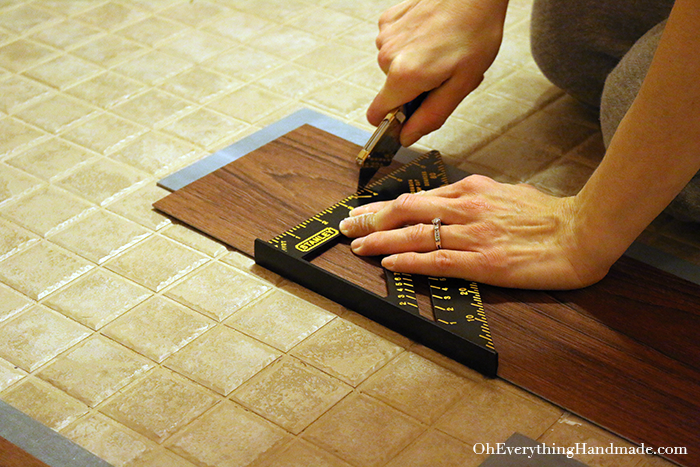
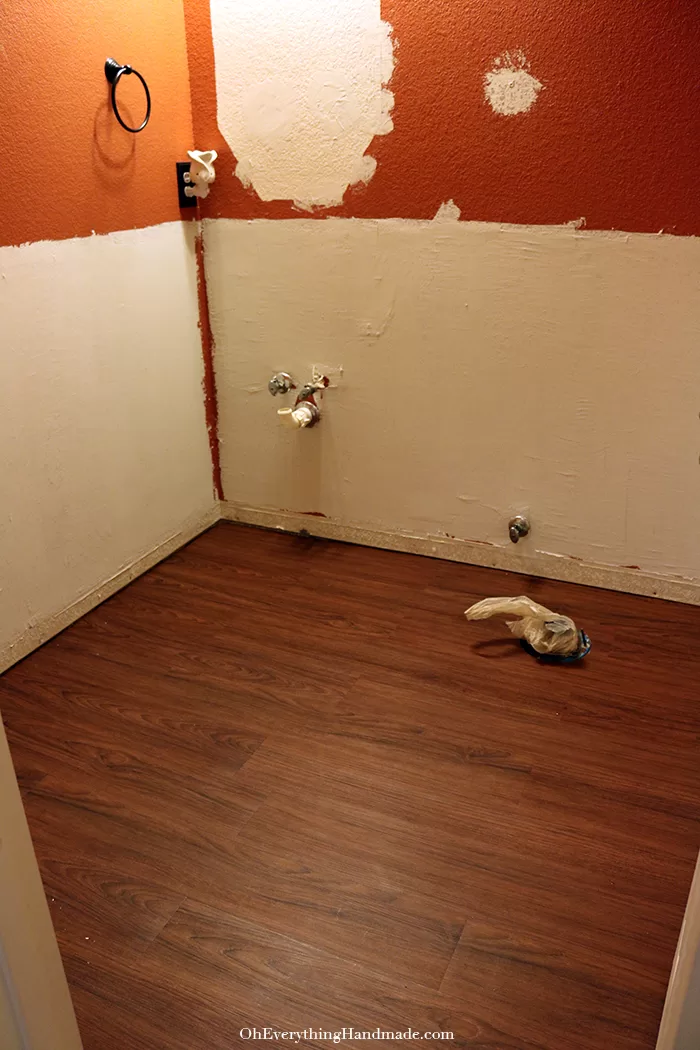
- Cover the old ceramic tile with waterproof laminate wood flooring from allure flooring
- Upgraded from a toilet wax ring to the Danco Perfect Seal Toilet Wax Ring
- Painted the walls a custom light gray from Sherwin Williams (#
- Upgraded the light fixture with the Moen DN0892 oval mirror
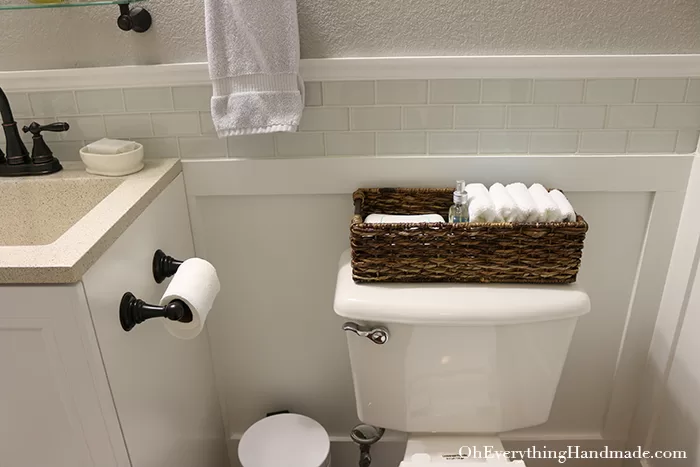
- Added paneling, glass tiles and the Moen YB5690 glass shelving
I had seen really beautiful paneling on pinterest, which is where my inspiration came from for this makeover. But, because I wanted to save money on this makeover, I covered our knockoff texture with joint compound. This way I didn’t have to buy extra paneling for the wall.
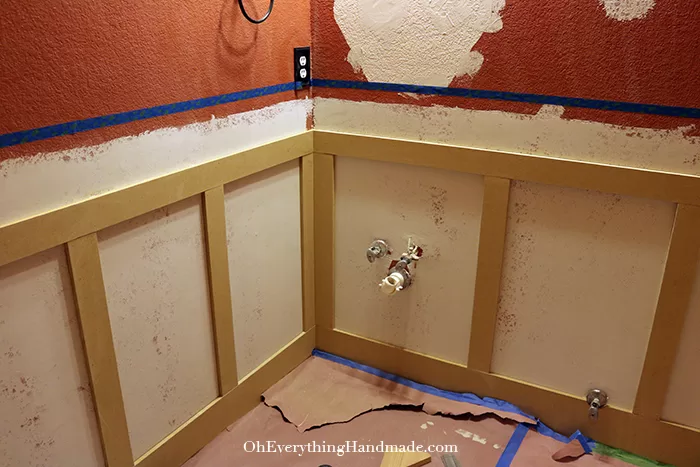
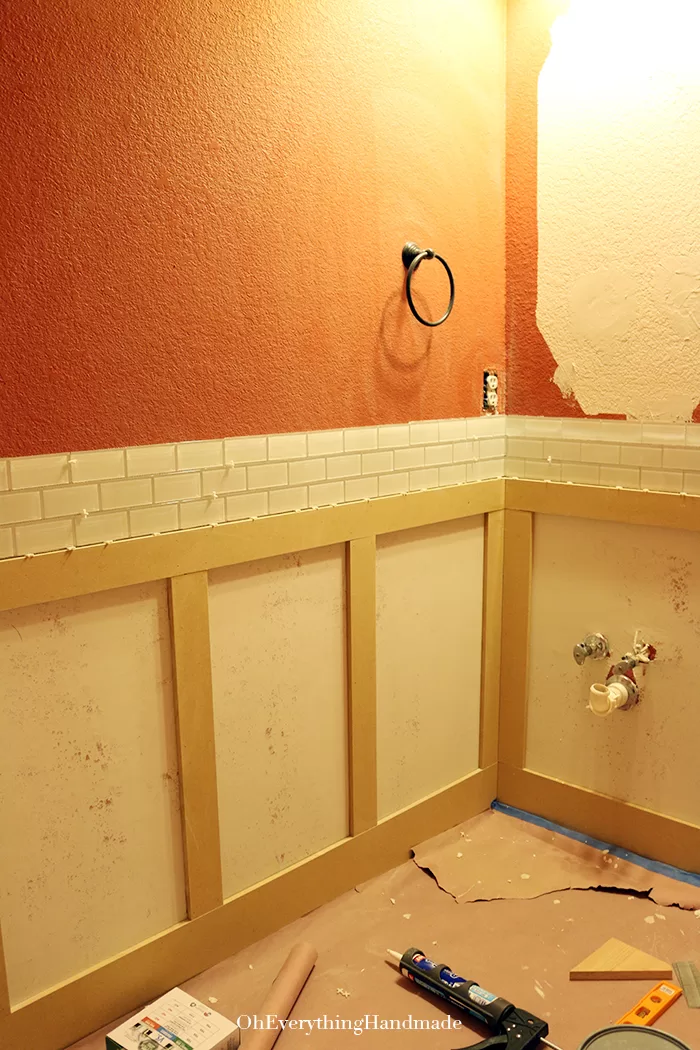
Next step, was to measure our walls for the 1/2inch MDF paneling boards, I went with a 6inch border, with 14inch spaces in between each panel and a 3inchx26inch width and height for each panel board. Topped with another 3inch board!
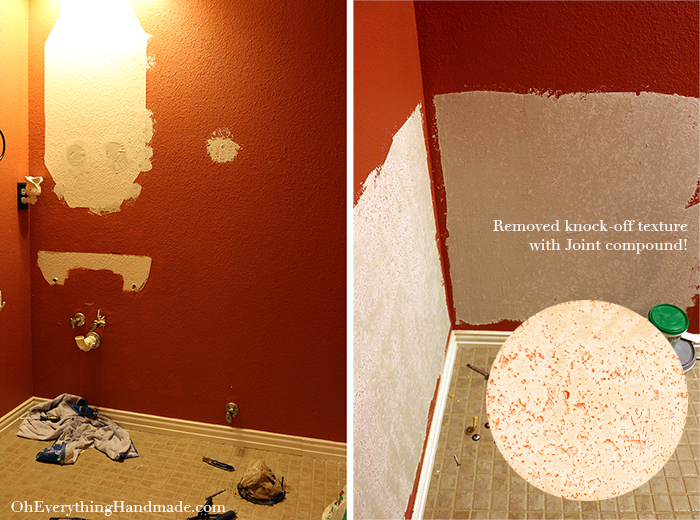
To cover the texture, I simply sparkled joint compound onto the wall where the paneling went. I applied two light coats, with a 24h dry-time in between. Then, I sanded everything smooth with an electric sander (if you have a window to air the room, PLEASE open it. This made a huge mess!)
I scrubbed the floors so I was able to install the Waterproof Allure Flooring. I sanded the walls after the floor installation (making sure the floor was covered and taped up so no dust and dirt got on it).
Applying glass tile
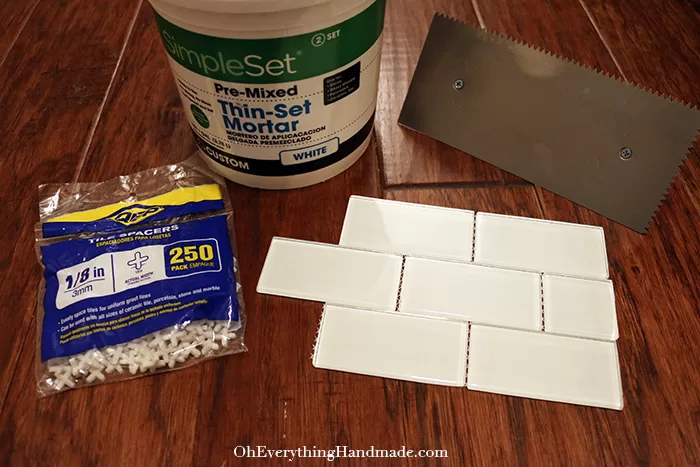
At the last minute, I ran across these glass tiles and decided to add them along our paneling.
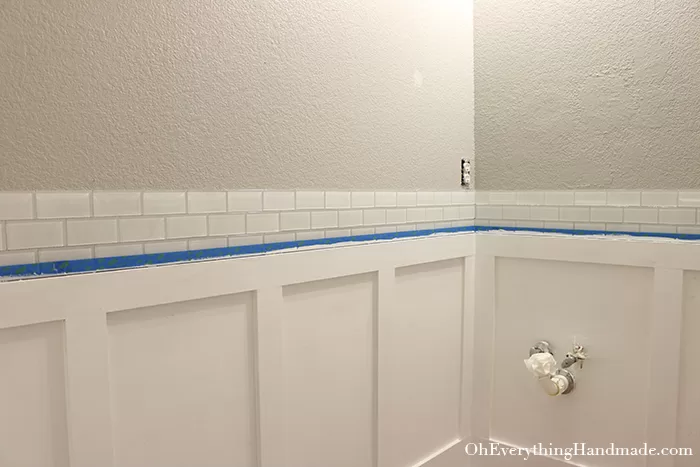
Once we had installed the toilet with a quite close toilet seat Kohler K-4639, and the new vanity. The bathroom started to look like a bathroom again.
Powder room Reveal Video
If you enjoyed my Powder room Makeover Reveal, check out all my other projects around the house.
LIST OF SOURCES:
|
Oval mirror: Millennium Lighting 2163 Glass Shelving: Moen YB5690 White Vanity: Maydene 24 in. Vanity in White Toilet Seat: Kohler K-4639 Joint Compound: Pre-Mixed Joint Compound Glass tile: glass tile MDF: 1/2 MDF board Mortar: Pre-mixed mortar Grout: Fusion Pro Grout
|
Wall Paint: Custom Shervin Williams
Rug: Marshall’s Faucet: Delta Trash can: Marshall’s Wicker Basket: Target Soap dish and dispenser: Target Wall art: Made by me Candle: IKEA Vase and bamboo sticks: IKEA Flooring: Waterproof Allure Flooring |

oh i love it! the floors look amazing!
Thank you Cassie, I am so glad we finished it. It feels like a hotel bathroom now, definatley the best part about it! Allure Flooring who would have thought, it was super easy and inexpensive.
Looks amazing, Bettina! Love everything about your powder room!
Awe, thank you so much Aniko! I just wish we had a window for natural light…
Looks so so good Bettina! We have allure flooring in our basement too.
Thank you Julia, I wish I would have known about it sooner. Glad you like the makeover!
Could you share where you got your “Hello Beautiful” print?
I made the print, it’s one of my brush lettering prints.
Hi, how did you adhere the MDF board to the walls?
I used a staple gun to attach them.