Kitchen // Removing Base cabinet, Countertops & Backsplash
Hi friends, so after a long weekend filled with fun and lots of work, we are finally back into a fresh week, which gives me a little bit of a break from the kitchen remodel. I have been sore for the past week, but the hardest part of building this kitchen is already complete and we can use the kitchen a bit.
However, today I like to share how we removed the base cabinets and the backsplash. Here we go…
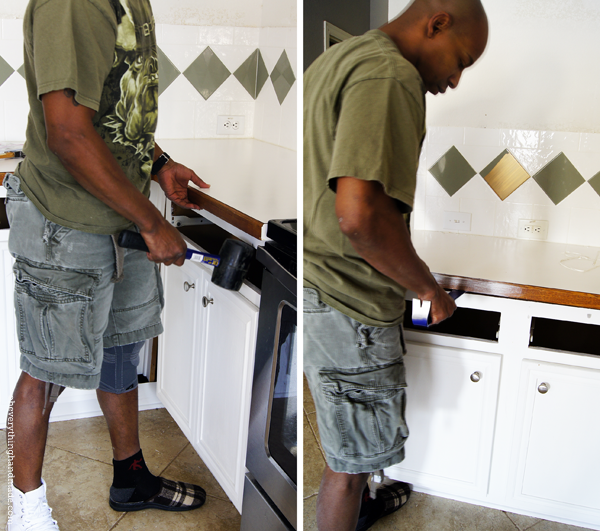
Nakia, used a rubber hammer (not sure if that’s what it’s called) to lift a bit of the countertops, by hammering it from underneath so he could get with a crowbar into the opening to lift it with a greater force. You may remember that I mentioned we gave our old kitchen away in my first post where I also showed you how we removed the upper cabinets. We had to be careful to take the countertops off, because we didn’t want to damage anything, so after about 10 minutes of lifting, pulling and hammering Nakia decided to continue with a smaller piece of counter top on the other side of the oven.
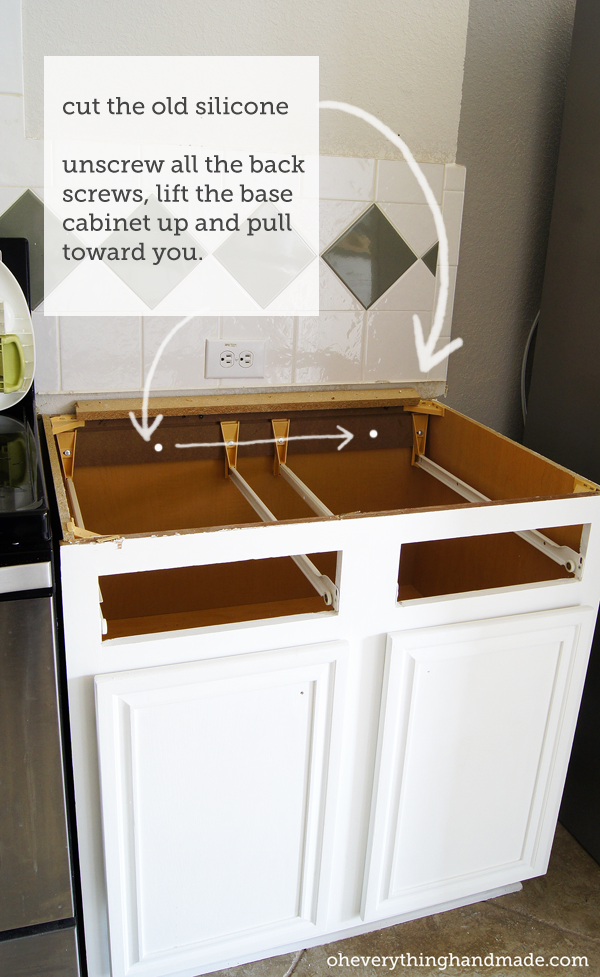
This one came up and out so quickly, that I totally missed it! While I had to take care of the kids for a few minutes he managed to take the whole thing off. He mentioned to remove the silicone/caulk in the back, so the counter come up easier.
After the counters were off, we unscrewed the cabinets from the wall (make sure you get all the screw) and simply lifted the base cabinet out.
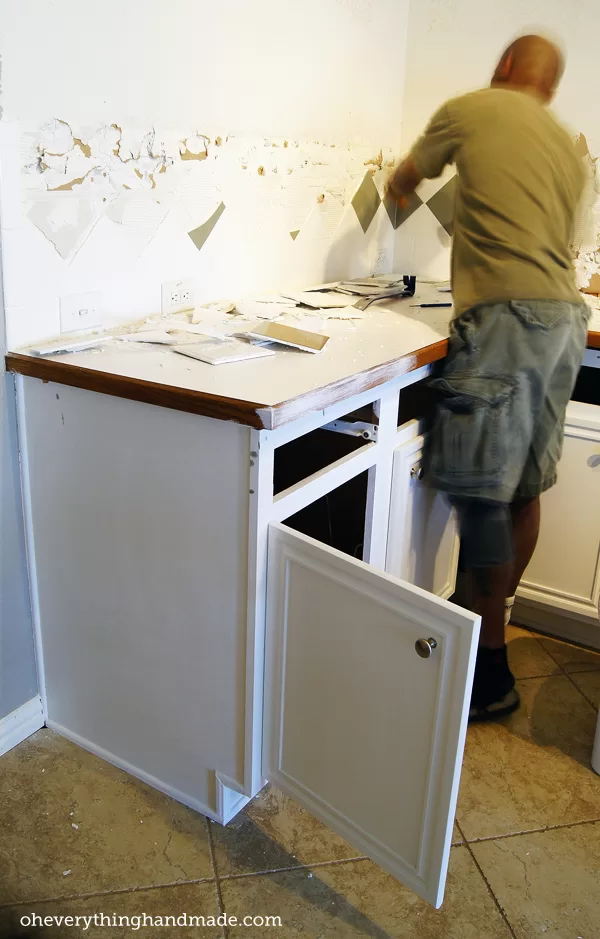
And back to the big countertop, which gave us a little bit of a headache. We realized that the tile was lapping over the countertop and that’s why we couldn’t pull it up. So, we decided to take the tile down while we had the counters still on. It took us about 30 minutes until the backsplash was down, cleanup and removing the countertop + base cabinets was fairly simple after the tile was down.

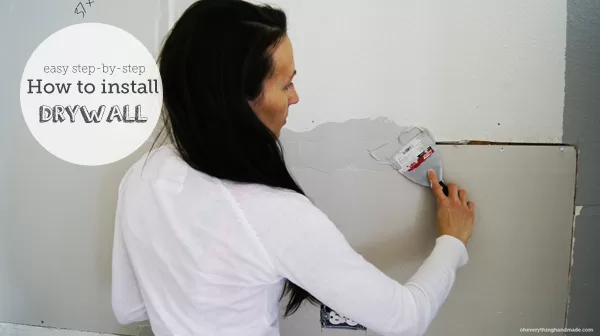
We did the same steps to the kitchen island, and as you can see the tile was refusing to come down clean, so I had to cut the broken sheetrock out, to do that I used a leveler, screwdriver and crowbar + an utility knife.
- I drew a straight line
- I pressed the utility knife along the straight line to make a deeper mark
- Since I had a few openings, I was able to get behind the sheetrock with my screwdriver and crowbar to pull the old sheetrock piece by piece off.
- With the utility knife I cleaned up the openings to make it easier for new sheetrock to fit.
- Measure the cut opening and go buy new sheetrock. (how to install sheetrock, will be posted next Monday)
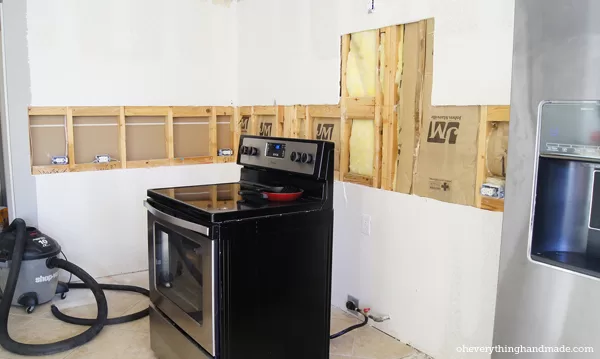
I have to say, I am super proud about my backsplash takedown, and the good-looking sheetrock cut-out! But I’ll tell you all about it in my next post.

If you like to start reading about our kitchen takedown from the beginning, you may start with:
Happy Monday y’all.


