DIY // How to sew a blanket for a toddler
I have to smile every time I look at this image of Jasmine (pretending to sleep), while I was trying to photo-shoot today’s DIY // How to sew a blanket for a toddler project!
I love soft blankets, and so does Jasmine. So, today’s project was a “must finish”, since she currently has one blanket to use. I luckily found a pink Minky soft fabric at Joann’s last weekend, which was on sale for 50%+ off the retail price.
Here is the total to make today’s blanket:
- 1 yard Minky fabric – $7.50
- 1 yard Pellon® 987F Fusible Fleece – $6.36
- 1 yard White Fleece Essentials Fabric – $3.49
Total: $17.35
DIY // How to sew a blanket for a toddler
Ok, so let’s get started…
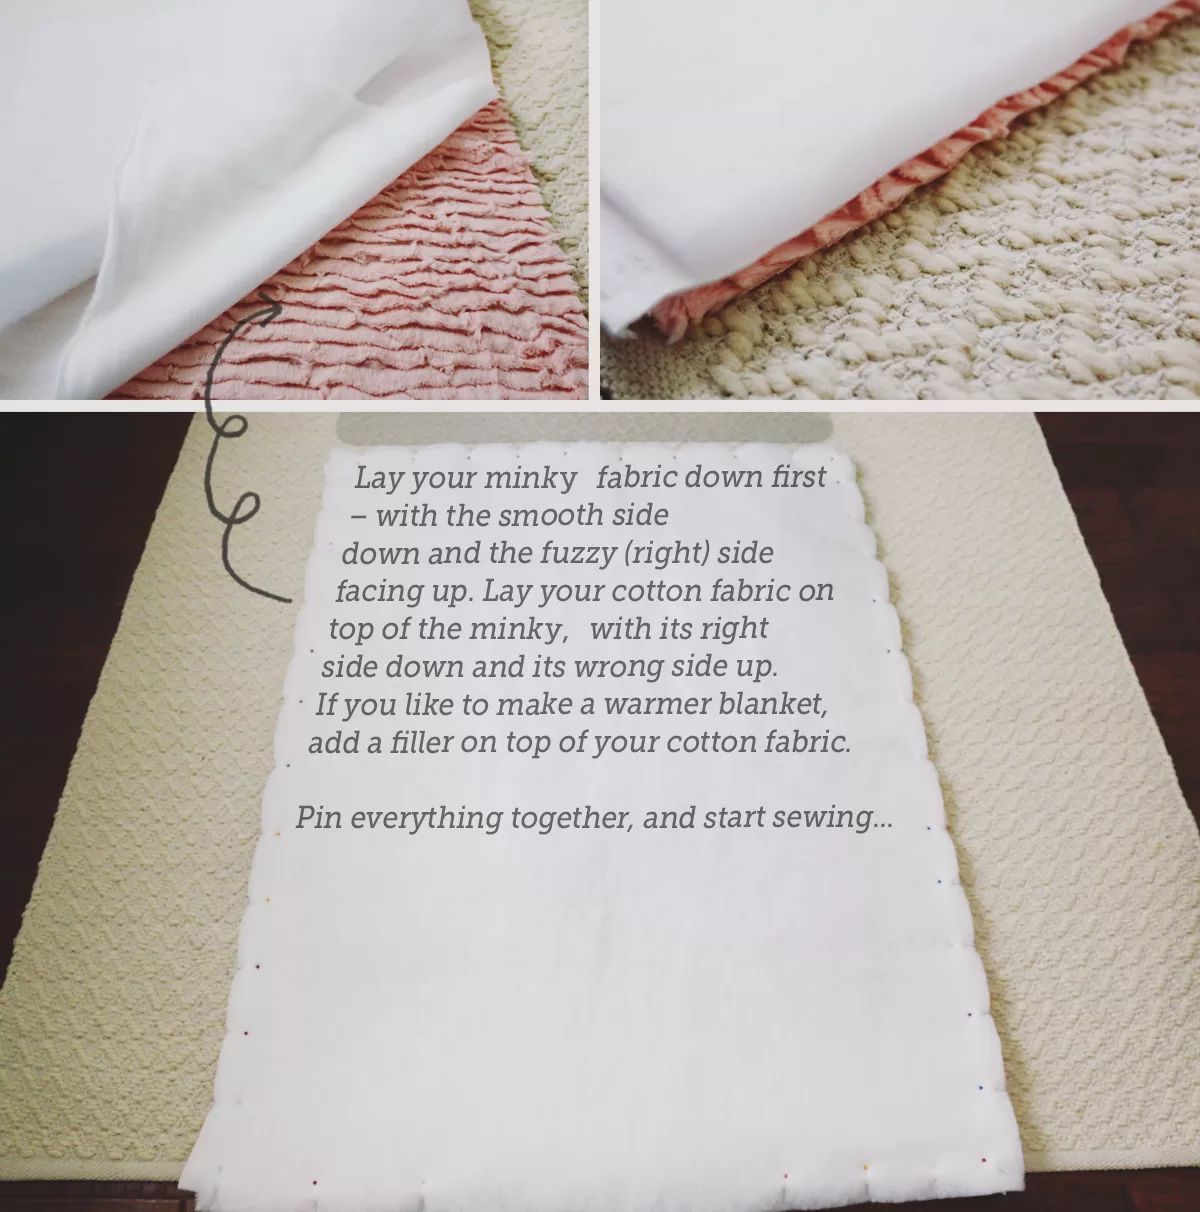
1. Laying your fabric out is (semi-)important if you have uneven cut’s of fabric, you can now cut them to fit each other.
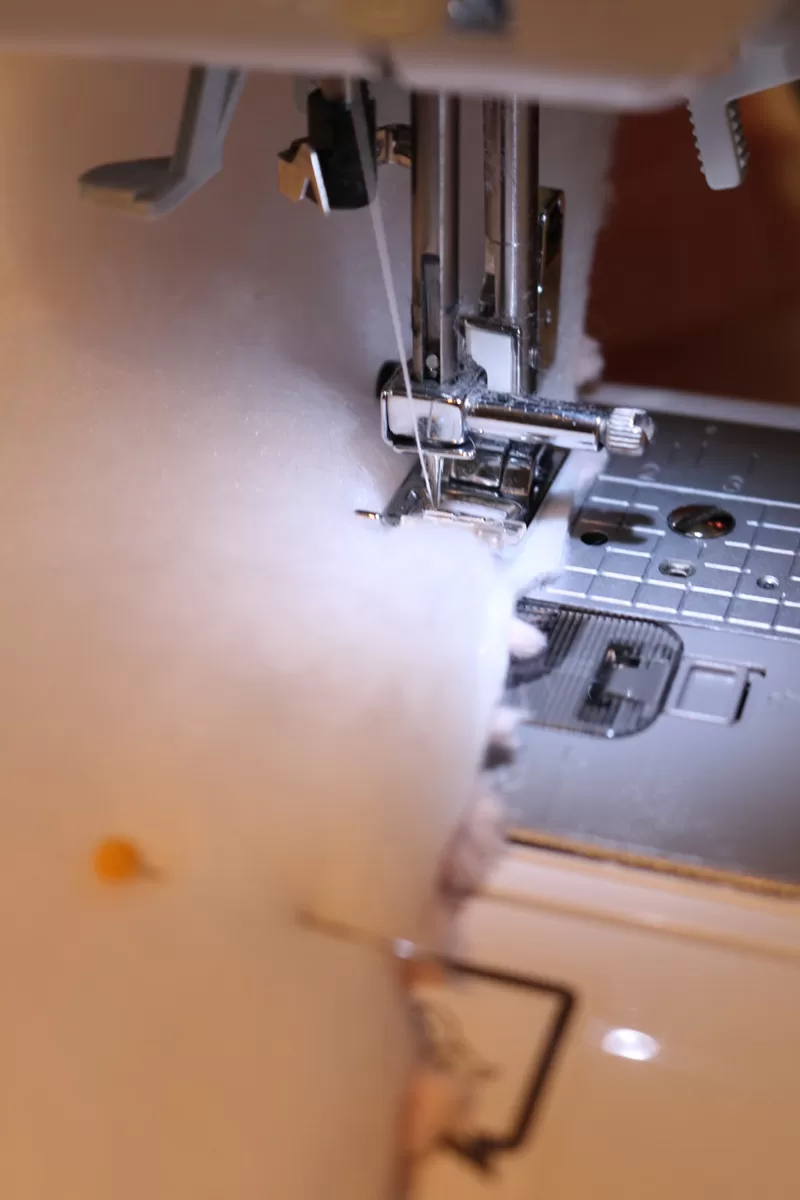
2. – 3. Make sure you pin the blanket together with the right side in, don’t sew all the way to where you started – leave at least a 6″ hole that will be used to pull your blanket right-side-out. Trim the corners of your blanket at an angle (this produces a nice square, crisp corner when the blanket is turned out).
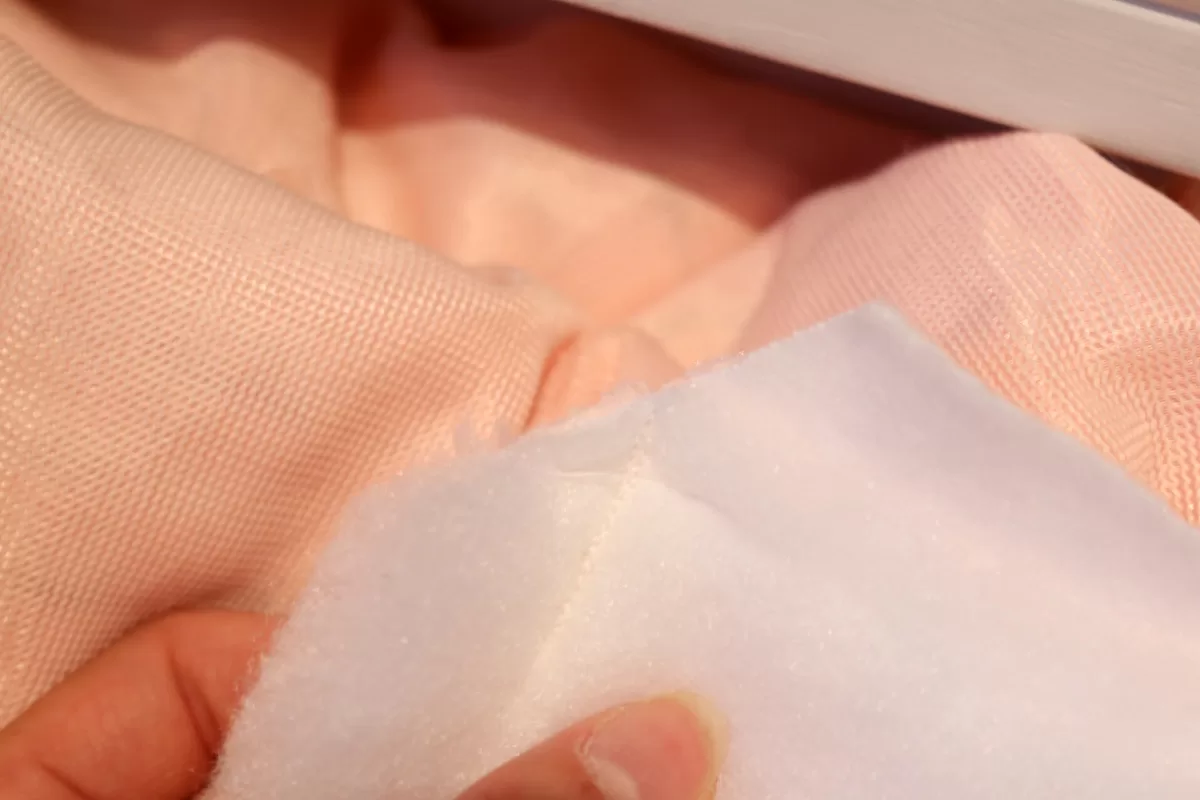
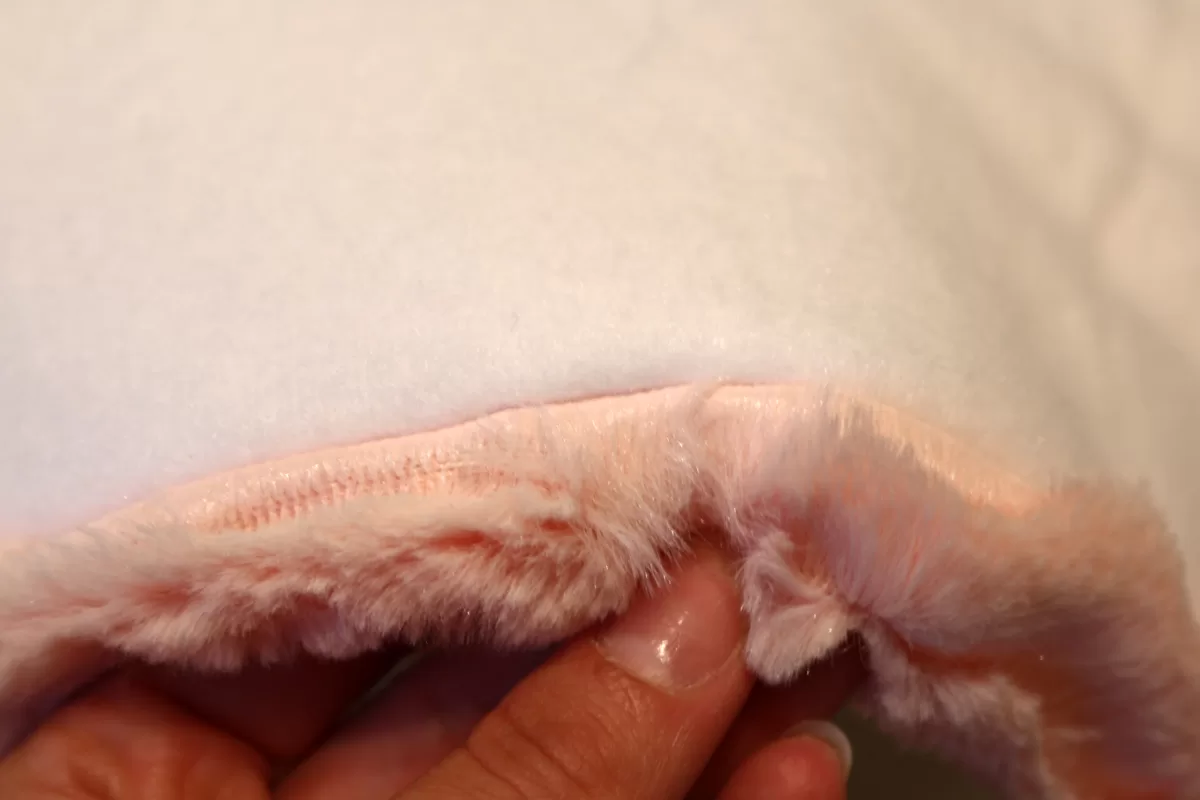
4. Turn the blanket right-side-out by pulling it through the hole you left. Poke the corners out with a knitting needle or scissors to create nice square corners. Pin the opening shut by first turning in your cotton and Minky fabrics 1/2″ to the inside, then pinning.
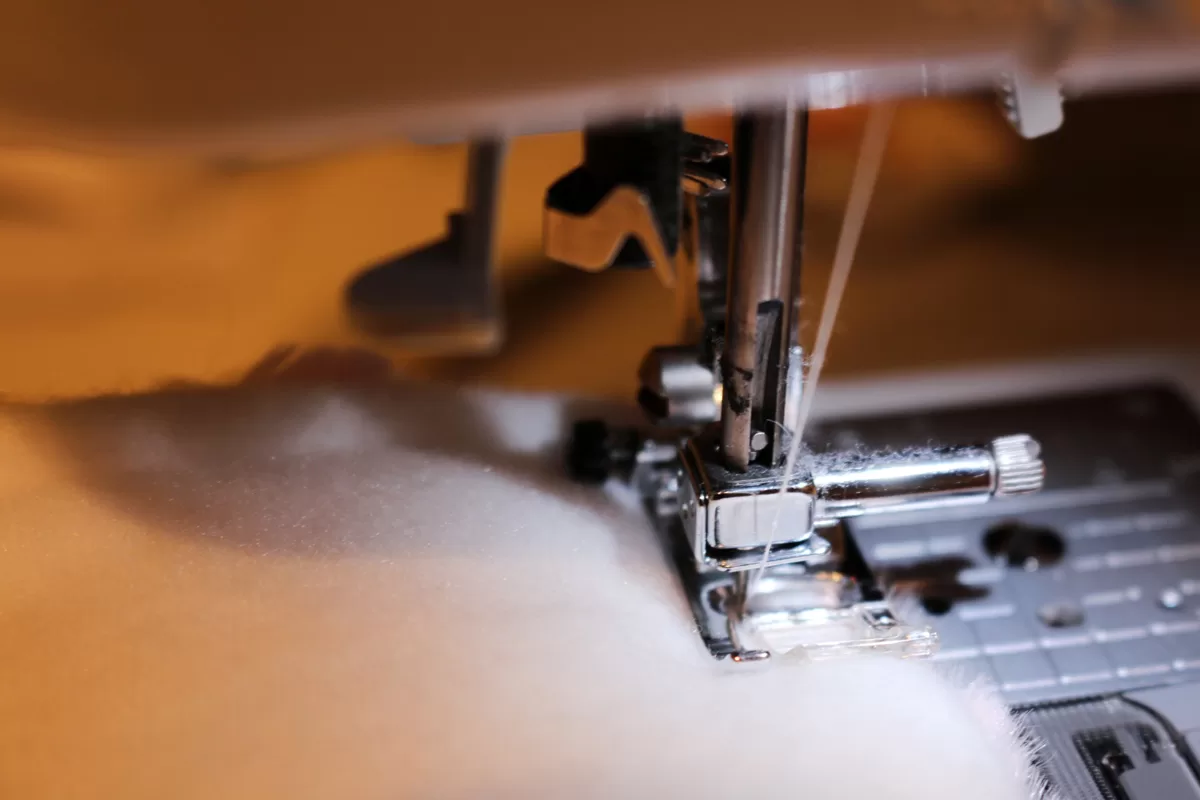
5. Top-stitch the blanket all the way around, approximately 1/4″ from the edge. This sews the opening shut and also keeps the top layer from bunching over the bottom layer.
Your blanket is now complete!
If you haven’t already washed your blanket, toss it into the washer and wash it with a delicate/handwash cycle.
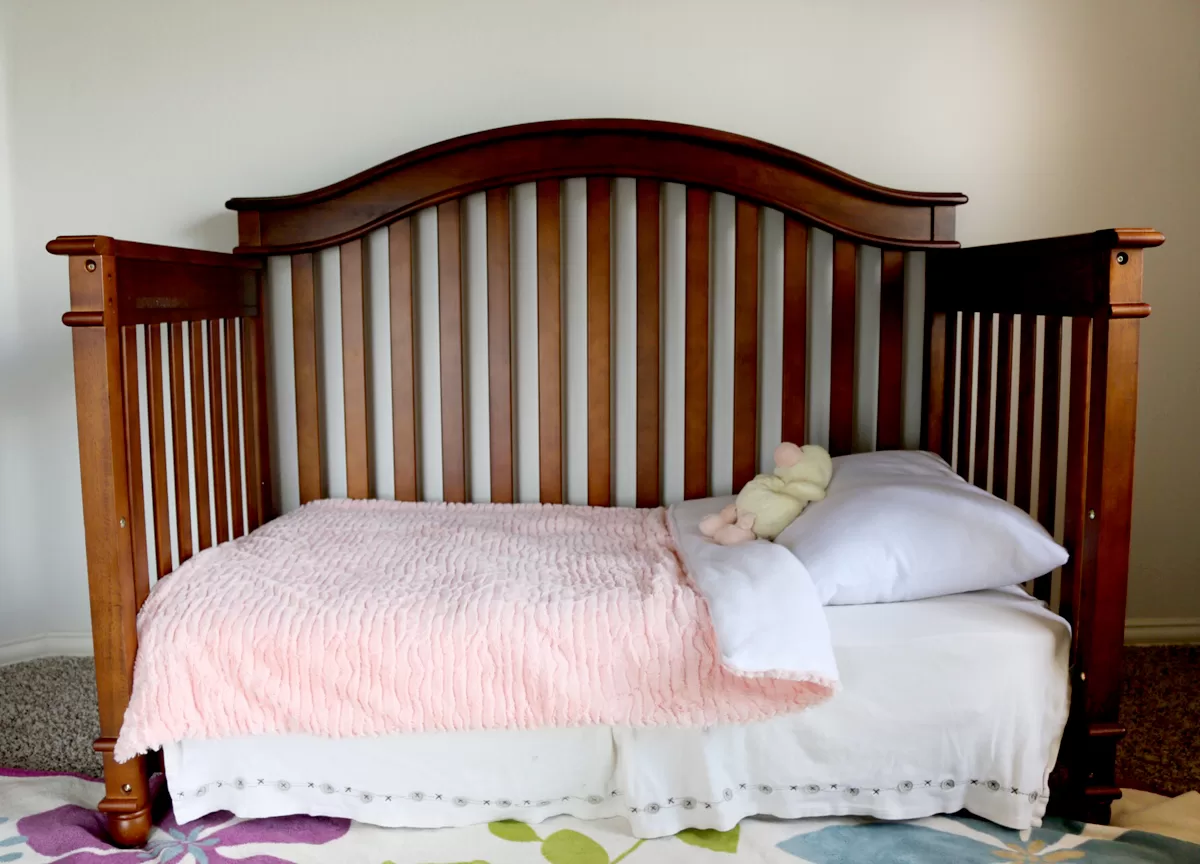
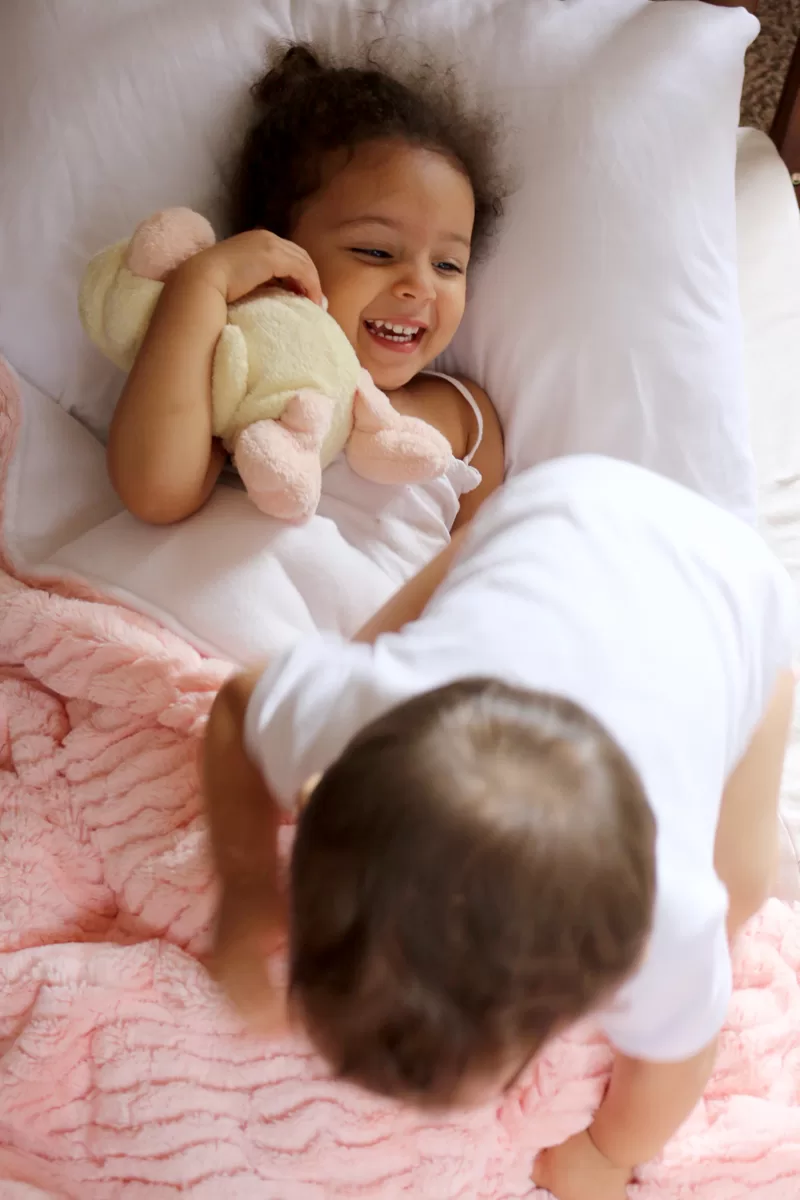
So, while Jasmine and I were working on the photo shooting for today’s blanket, we had a little photo bomb. Bailey was up on her bed so quickly, I didn’t even see him get on it.
We loved it!


Your instructions do not indicate what the fusable fleece is used for…
Hi Crystal, You don’t really need it because the blanket will be super soft and warm even without it. But if you like to add it, simply sew it onto the white fabric, and then sew the top fabric on.
Love the pinK fabric. Did you use 1/2″ seam allowance
Yes, I did!
P.S. White cotton fabric = White Fleece Essentials Fabric (which is actually made out of recycled milk jugs, cool huh) and is lovely soft and warm for a blankie.
Don’t you need to sew in some kind of pattern on top, or the layers will come apart? It feels like it may bunch or not fall nicely / would require constant shaking out. I received a blanket as a gift and the two sides are often separated, which doesn’t make for a very cozy blanket. I’d love your advice, as I’m looking to make my own! Thanks!
I sew the edges together so it wouldn’t bunch up.