Happy Holidays
Seriously, how can it be that this year is almost over, already!?! As I am wrapping up for this year to take some time off so we can spend some serious family time, I wanted to tell you how much I appreciate you stopping by here however often you do. I love sharing my DIY’s, freebies, Printables, fonts and bits of my life and my work with you guys, and I look forward to bringing you more handmade in 2014.
And in case you get bored during the Holidays, and need to create something. Here are a few of my recent projects that I finished and hopefully inspire you.
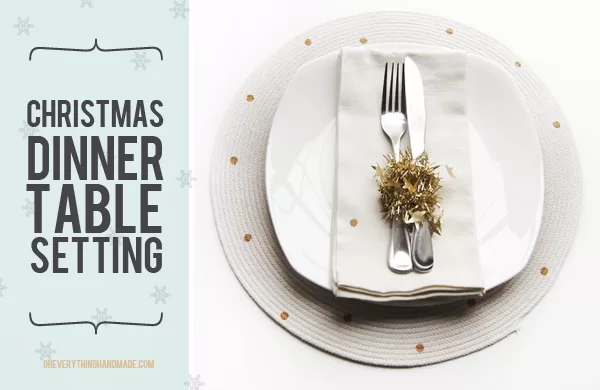
Christmas Dinner Table Setting | Clothesline place mats | Polka dot napkins
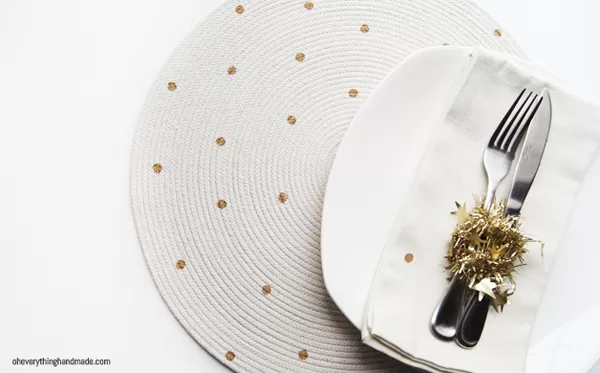
I applied the same polka dot technique onto my clothesline place mats.
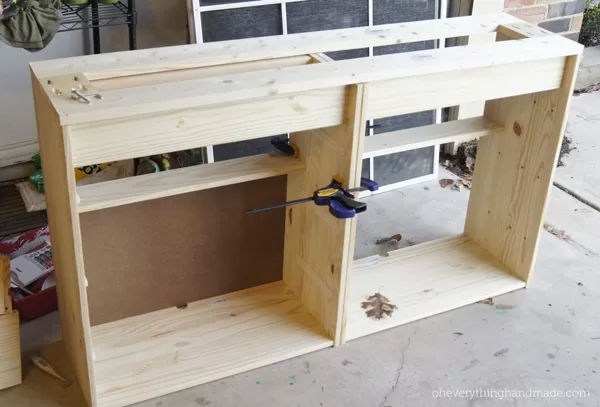
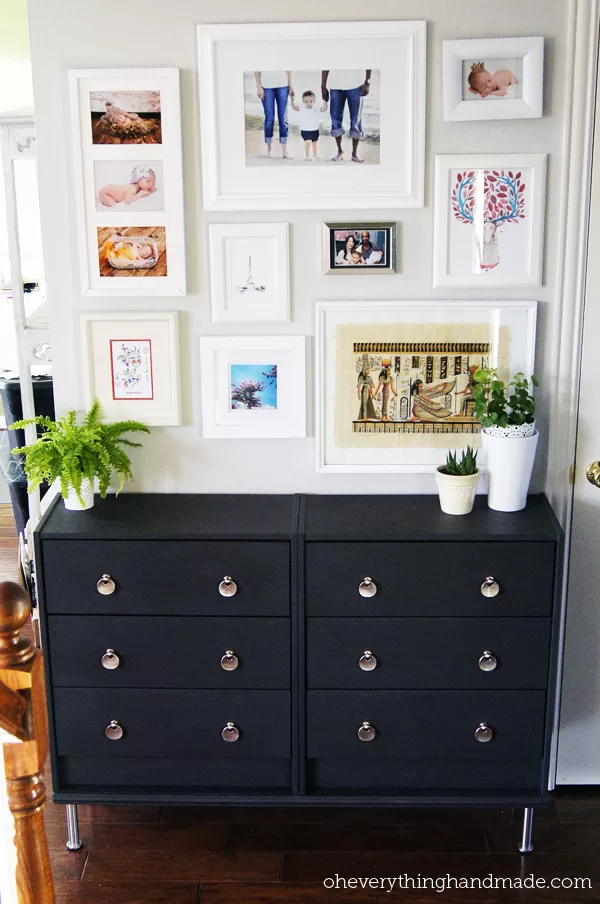
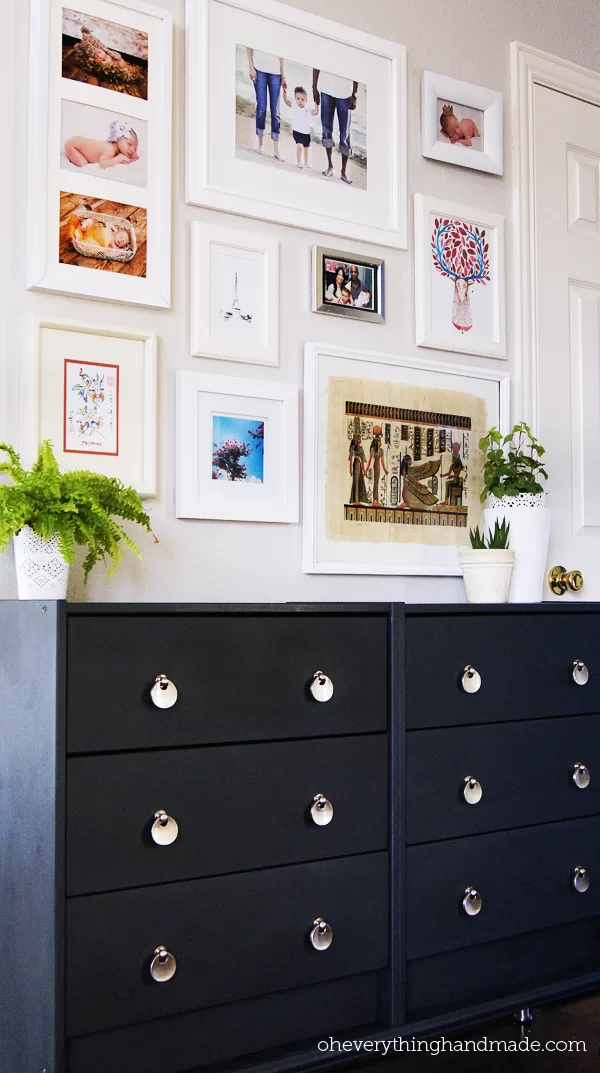
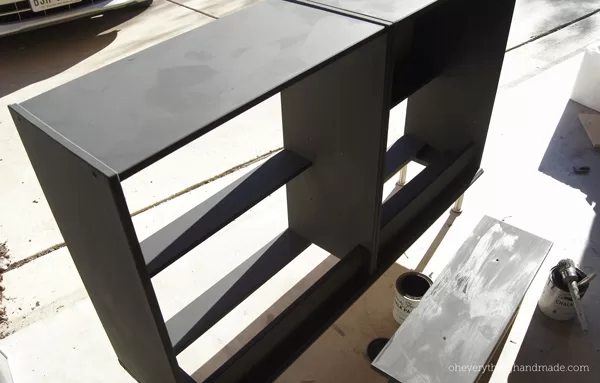
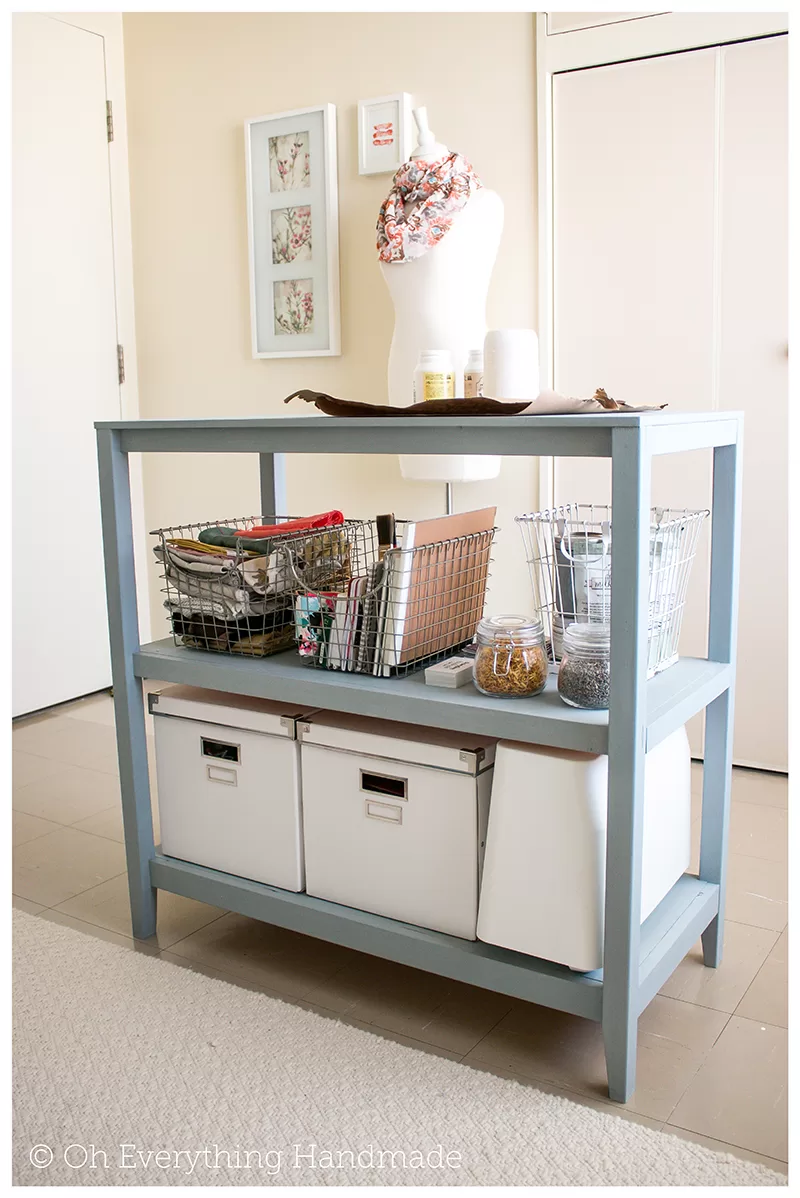
And since I love this simple and inexpensive IKEA Rast 3 drawer chest, I made us a modern version for our hallway. I had also made one for Bailey a while back, take a look.
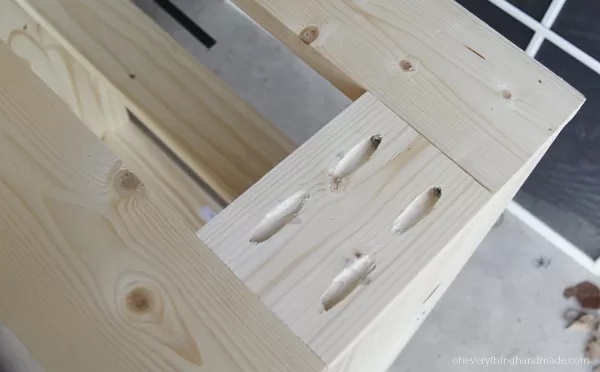
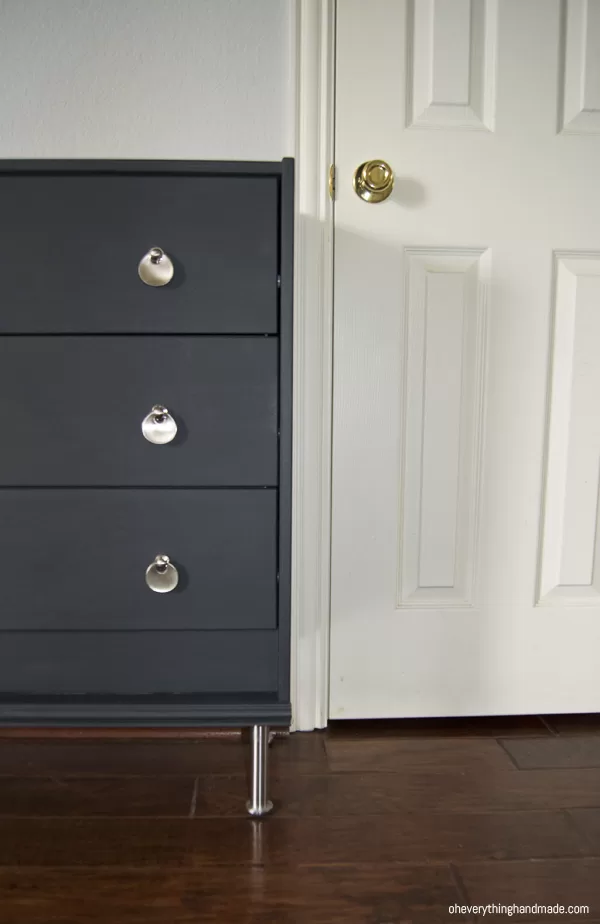
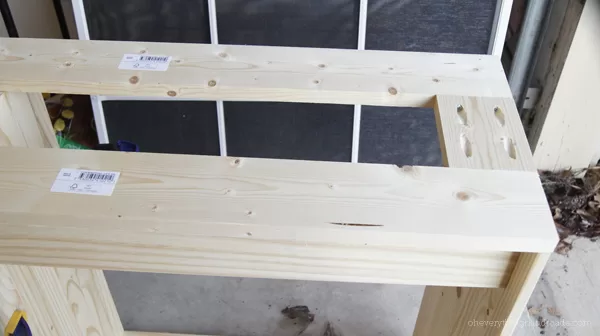
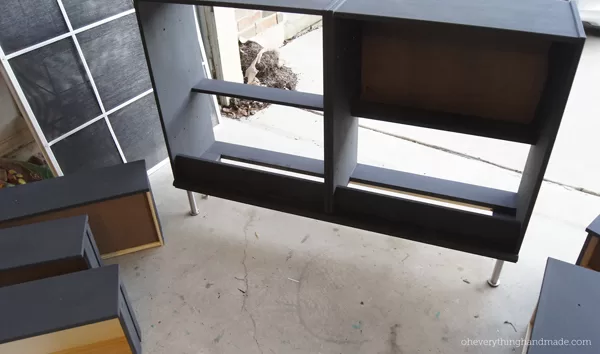
All I used was two pine 2×4, to give the two chest drawer stability. I simply cut them to the same length as both chest drawers measured standing next to each other, and screwed everything together with the pocket screw method. After I had the fame done, I simply drilled holes through the frame into the chest drawers, and used furniture screws to attach everything. The legs I got at ikea for just $14.
And after everything was assembled, I put two coats of my favorite Graphite Annie Sloan Chalk Paint® and the Annie Sloan Clear Wax on.
I added a bottom border (just to the front) to simply hide the legs and the 2×4 frame. The drawer pulls are from Keeler Brass Co., which I auctioned off ebay.
Hope I inspired you, to make your very own Ikea Rast furniture piece. Let me know if you do, I would love to see it!



I can’t get over that dresser! I love it! I am so glad you shared your how to! I am pinning it now in hopes of making one for my girls room!
I am very pleased how it turned out, and it was so simple to put together! If you make one, please share it with me, I am honestly obsessed with these ikea dressers.
Bettina, Lovely work and I want one! When you built the bottom frame, it says 2×4 but the picture is confusing me as they look like 1×4 or 1×6’s. Are they 2×4’s framed to fit the bottom of the dressers? The moulding trim on the bottom then would also be 2″ wide? Thanks for answering if you have time, much appreciated!
Melody, the boards we used were 2″ inches wide and 4′ long with a 1/2″ thickness. The trim was 1″ inch wide.
Hope that help, and answered your questions?
Yes, perfect, thanks:)
Just wanted to get a little more clarification- what tool did you use for the pocket screw method? Is there a different way to attach them? Do you have any additional pictures to show what the frames looked like as-is, and then when you added the 2 x 4’s? I want to try this for my bedroom but wanted to get as much information as possible before I start! Thanks so much!!!
HI Jenna, the bottom frame is added for support, to keep the two dressers together, and also to attach the legs to. There was nothing on the bottom of the drawer where I could have installed the legs. The Kreg jig is really easy to use and it makes a big difference + you will find so many other ways to use it.
Sorry I don’t have any other images of the project, but it basically were 4 pieces of wood we cut to fit the bottom and with the kreg jog we attached them to each other.
Hope this helped, let me know if you have any other questions.
very inspiring, I might try something like this…
Can you link the IKEA legs you used?
just beautiful, bettina, thanks for sharing your technique. amazing the differences!
Do you have more details about the pulls you used. I can’t find them on the Keeler website.
I bought them a few years ago o ebay, not sure if they still make them. But I bet that if you contact the company the can give you more details. Show them one of my images for reference.
I kept reading to see where you got the drawer pulls! Where are they from? How much?
The pulls I found on ebay, but the company that made them discontinued them.
I am buying two rast 3 drawer chests this weekend, from a lady on marketplace. $45 for both! they are markered up a bit from her kids, but nothing i can’t tackle. i like the idea of attaching them together and adding legs, i desperately need more storage in my bedroom. Thank you for showing your project.. it gives me much inspiration!