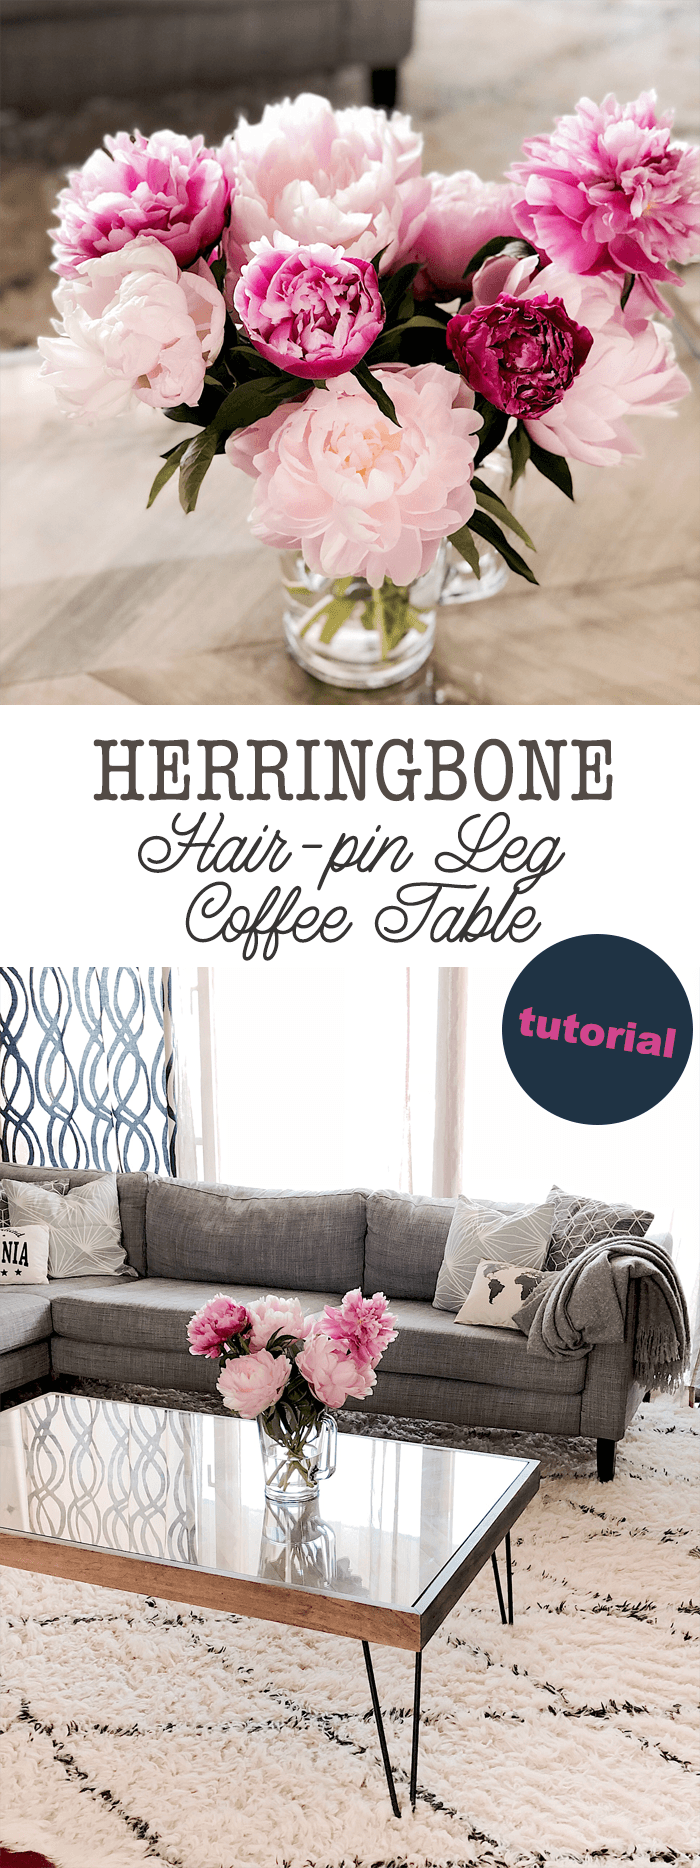
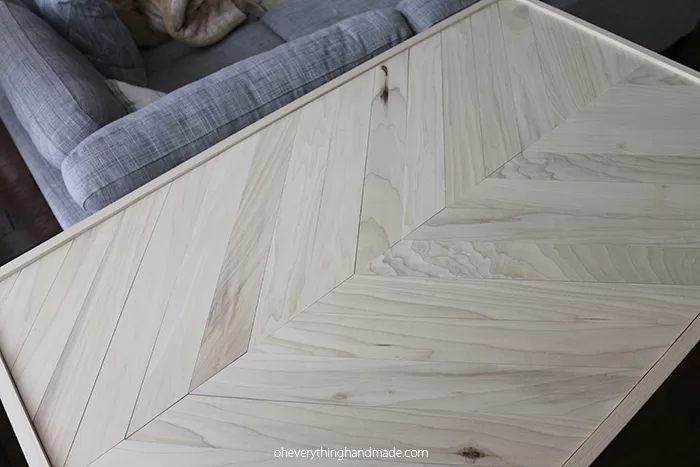
Herringbone Hairpin Leg Coffee Table Tutorial
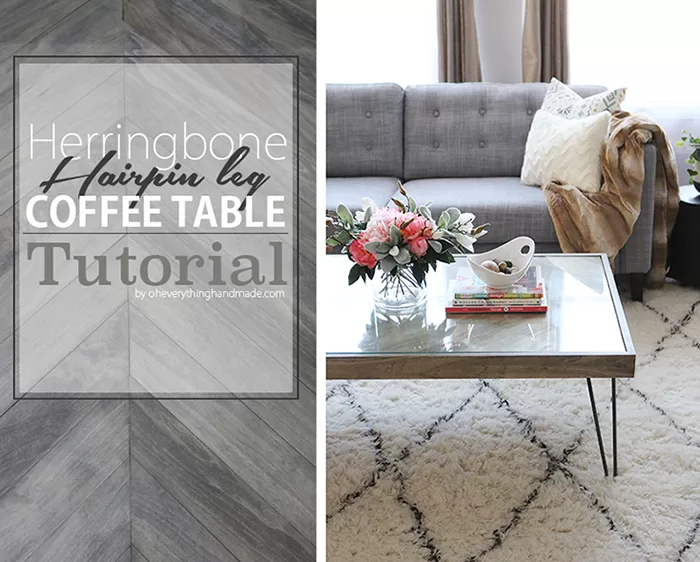
Today I’ll be sharing how I made my Herringbone Hairpin Leg Coffee Table. If you are a follower on my Instagram @oheverythinghandmade you may remember me looking for a coffee table, but because I couldn’t find what I was looking for. I decided to build my own table!
After searing the internet, I chose to make a similar Herringbone Coffee Table to Amanda’s reclaimed version.
Herringbone Hairpin Coffee Table Tutorial
Items you will need:
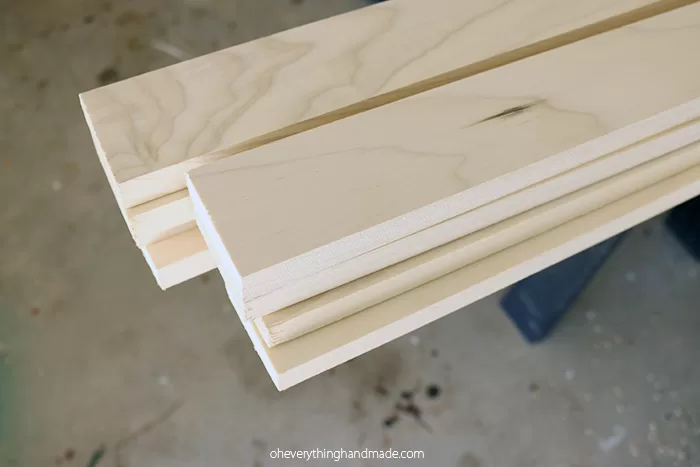
- 1 sheet of 3/4″ Plywood 29×47″
- 10 boards of 1 x 2 x 6 Poplar Board
- 20 to 30 1 1/4″ screws (to secure the boards)
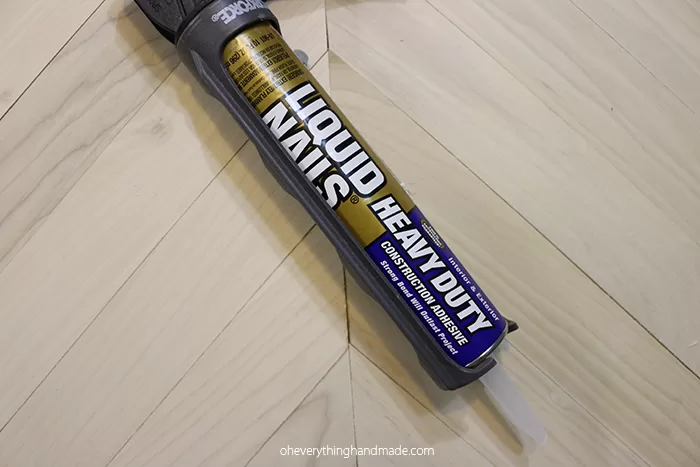
- 2 Liquid Nails tubs or Gorilla glue
- Measuring tape & pencil
- Miter saw
- Circular saw
- 2x 35-40″ Wood clamps and 4 small clamps
- Nailgun
- Sander + Sandpaper
- Wood Stain
- Wood Finish
- Wood working gloves, goggles, dust mask, earplugs, working shoes, and work clothing
Instructions:
Step 1.
Put on all your woodworking gear, safety first! I started by securing my base (the 3/4″ plywood) on top of a two sawhorses.
Step 2.
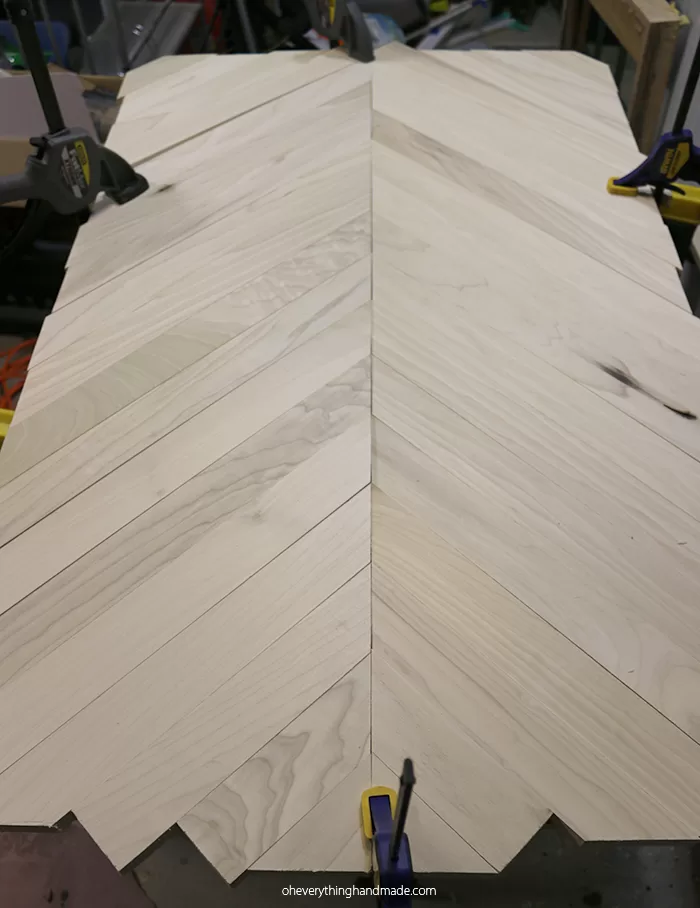
Mark the base with your pencil in its center, this will help you align your boards straight.
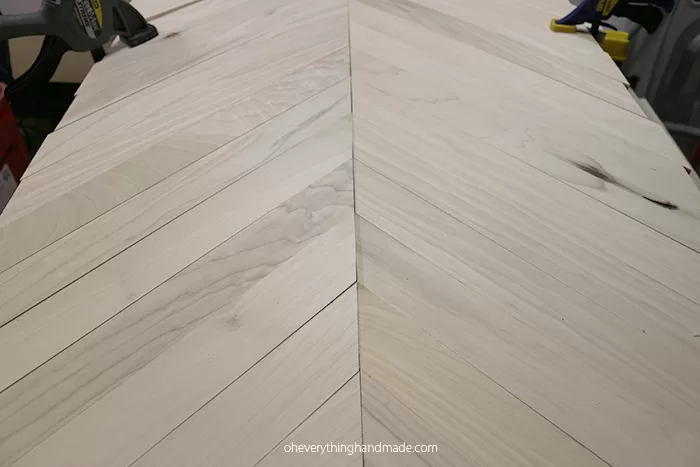
Step 3.
Cut one of your board ends at a 45 degree angle, then lay it with the cut side along your center. Mark the board where you would have to cut it off (you can cut it right off where the base-board ends, or leave some wood peeking over). I cut my boards a little longer, and used a circular saw before I framed the table, but more about that later!
Step 4.
To secure your boards from sliding around, I clamped the first two boards to the base with the herringbone pattern. This way I had a secure base to push against. Here is a picture that might help you understand this better.
Step 5.
Once I had all boards cut and aligned, I started by gluing down those two boards that I had clamped down in the beginning. I used liquid nails, but some gorilla glue will do too. After I glued the two boards, I secured them again with clamps on each end.
Step 6.
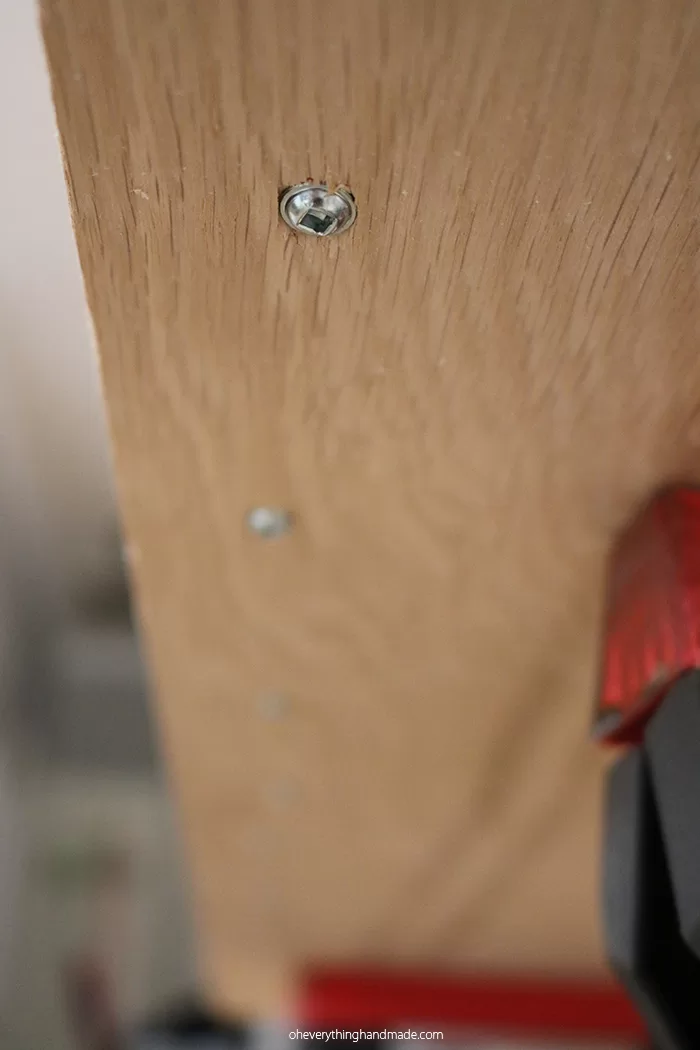
Once everything was glued down, I screwed each board onto the base with 1 1/4″ screws to give it an even better hold (now this is optional, I had 4 boards in the middle that bowed up so I decided to screw them down).
To keep the boards from moving up while securing them on, I used clamps on each end. We also used 25pound weights for the middle boards.
Step 7.
Because we did this before bedtime, we stopped after this step and let the glue dry. If you don’t secure your boards with screws. Give your table top 24h to dry before you continue with cutting the edges.
Note:
If you cut your boards at the exact length your base is, you can continue with step 9.
Step 8.

I measured each side, and we cut the table with a circular saw. To achieve a straight edge, clamp down a straight piece of lumber (make sure you measure your saw “blade to edge” before you do so). Here is a video that will explain what I mean.
Step 9.
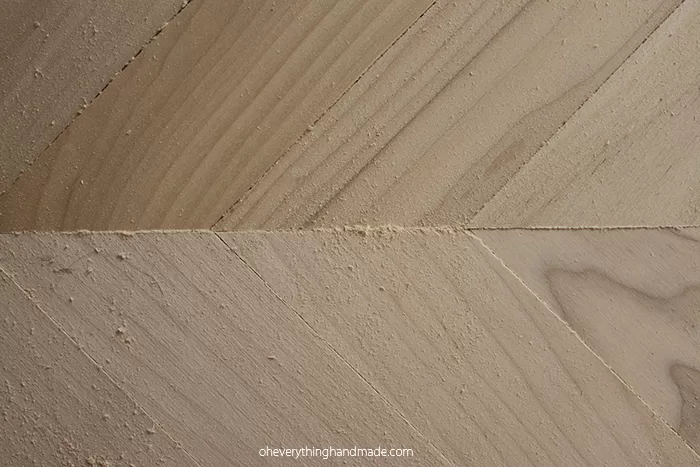
Once my table was cut to the measurements of 29×47″, I sanded it down with an electric sander. I used a 80 grid paper first, and finished it with a 120 grid paper.
Step 10.

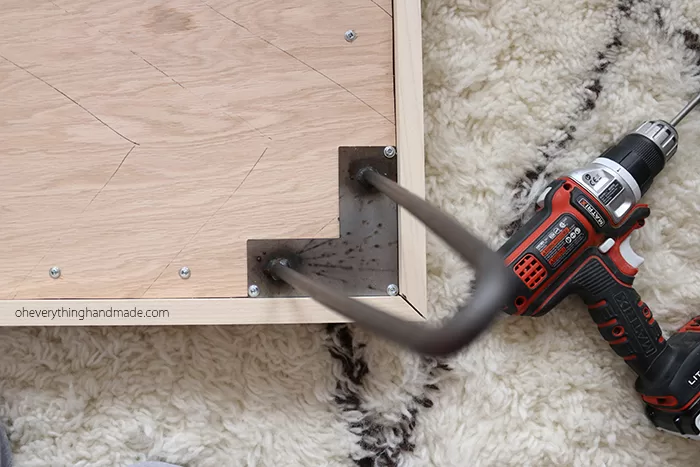
After the sanding, I cut the framing and glued/stapled them into place. I used the same size of boards as in the herringbone pattern. This had two reasons. First, because I wanted to hide the bottom, and second because I wanted to add glass on top. The framing is holding the glass securely in place, and the hairpin legends and screws are not visible.
Step 11-12.
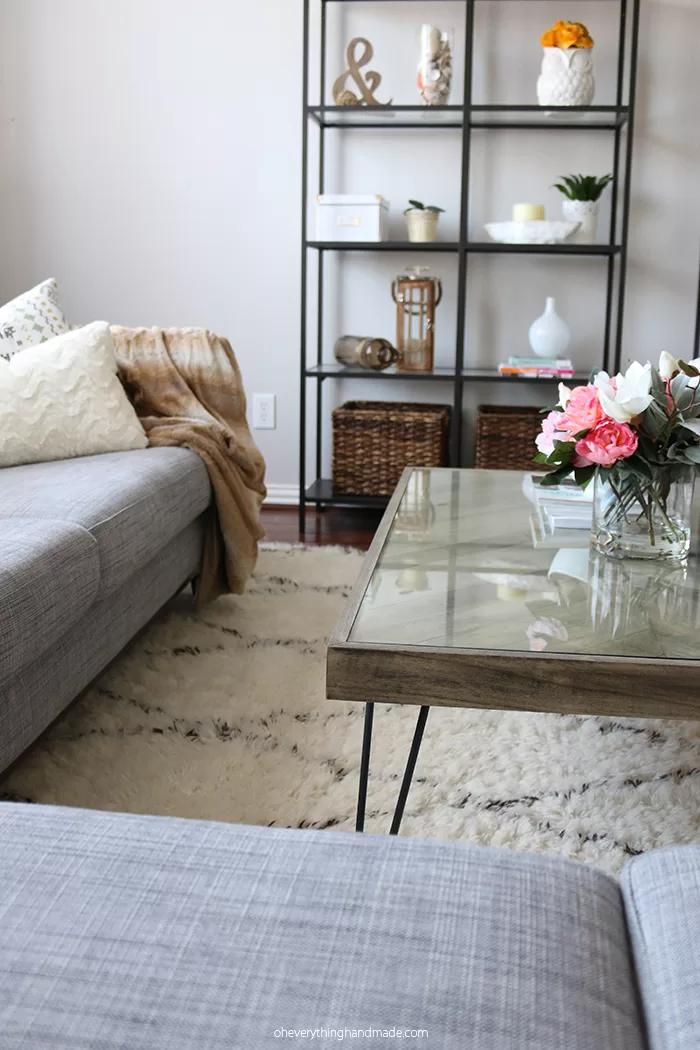
The table in its unfinished state is a stunner, but we like it to be durable and water resistant.
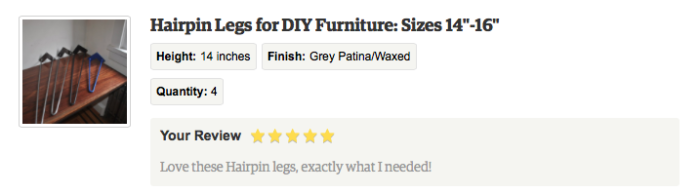
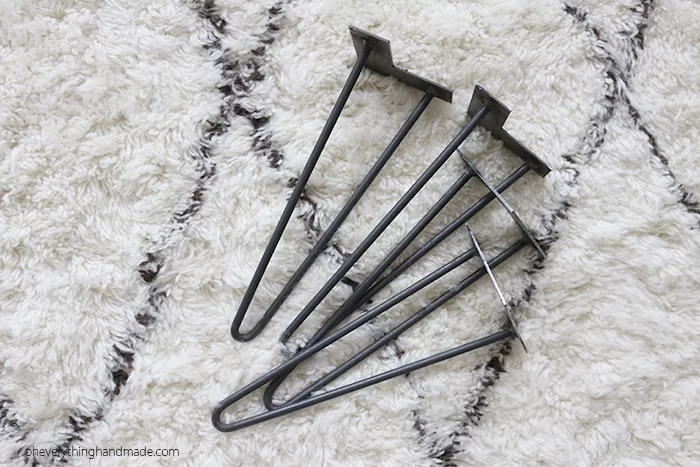
I used these amazing Hairpin legs.

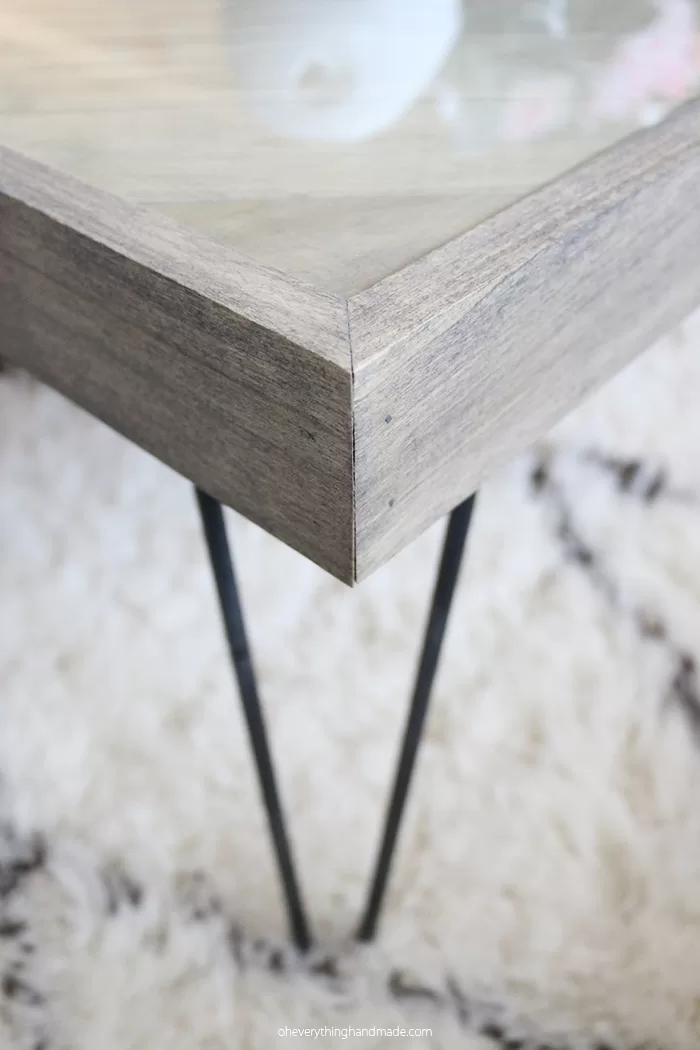
The stain on the table is a Weathered stain, that I toped with a light Ebony stain. I used an old wash cloth to apply each stain. When you apply your stain, I highly recommend to try a scrap piece.
To finish it, I used a matte wood finish, and we had a glass company cut us a 1/4′ thick glass that went inside.
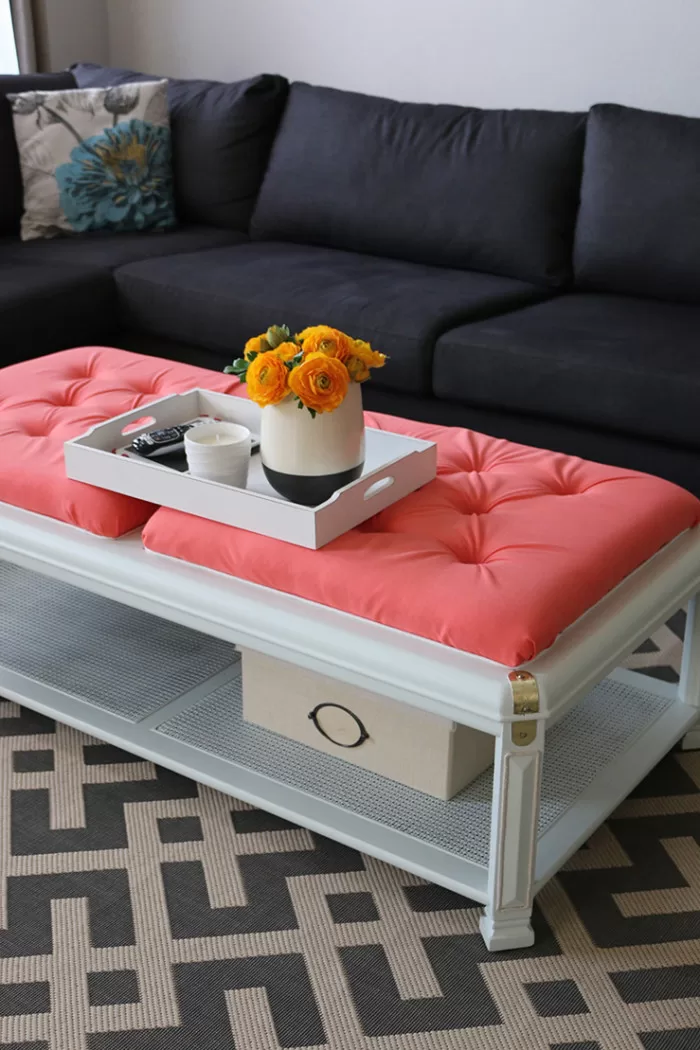
If you like to give your IKEA Karlstad sofa the same tufted look, check out my Ikea Karlstad cushion Hack.
[PIN IT]