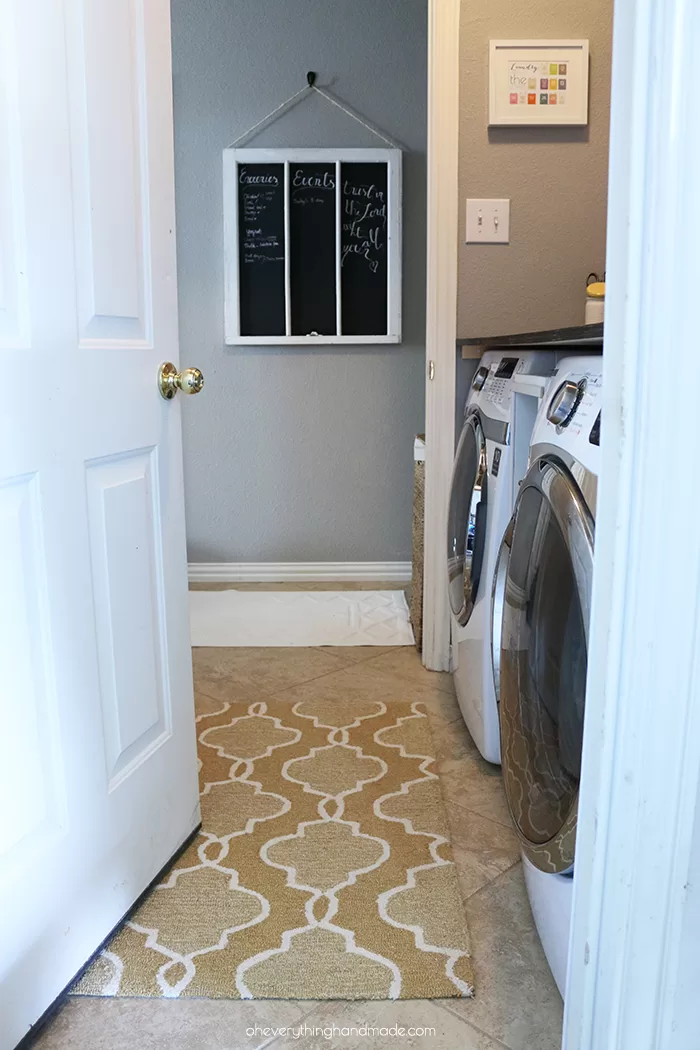
DIY // Laundry Room Transformation
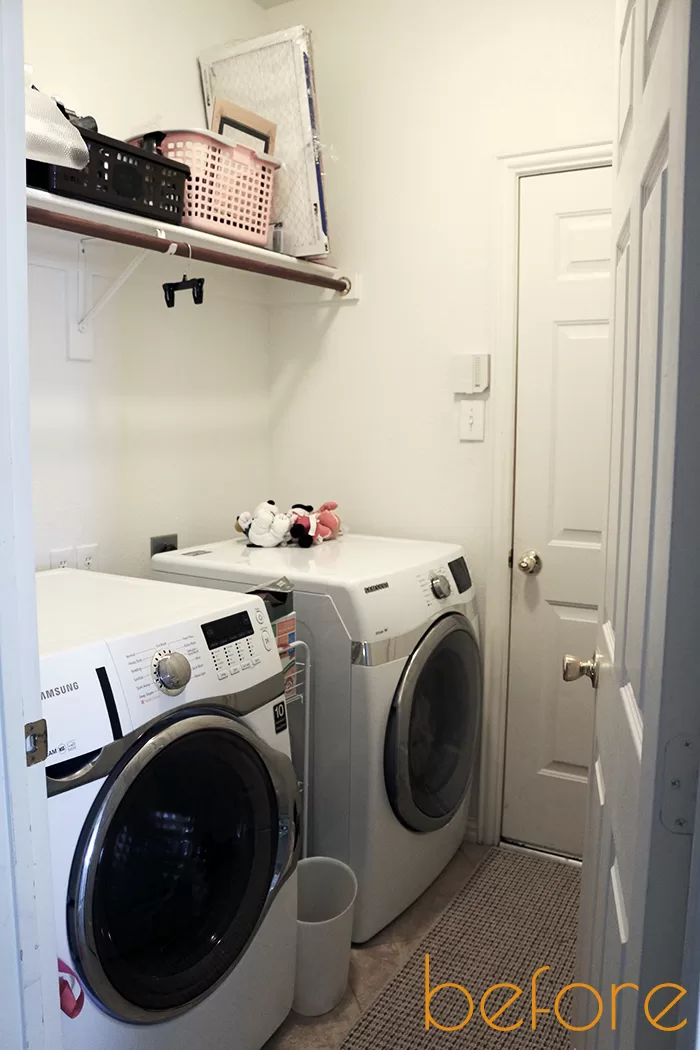
Oh boy, am I glad we gave our laundry room a makeover! Looking at these old images gives me goosebumps. No wonder I hated to do laundry!
DIY // Laundry Room Transformation
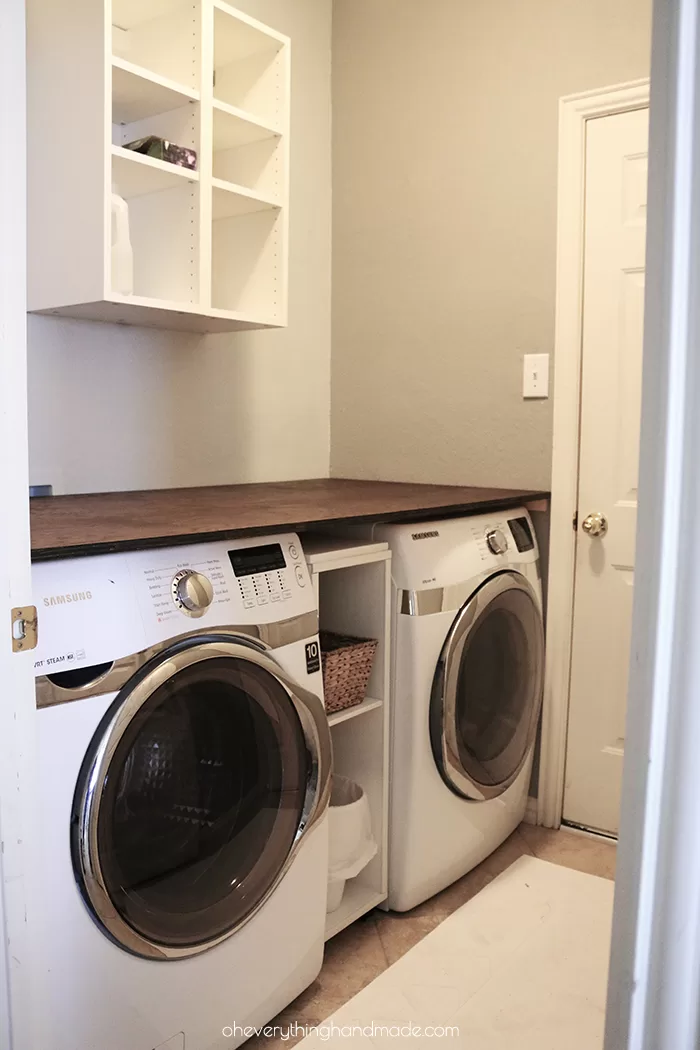
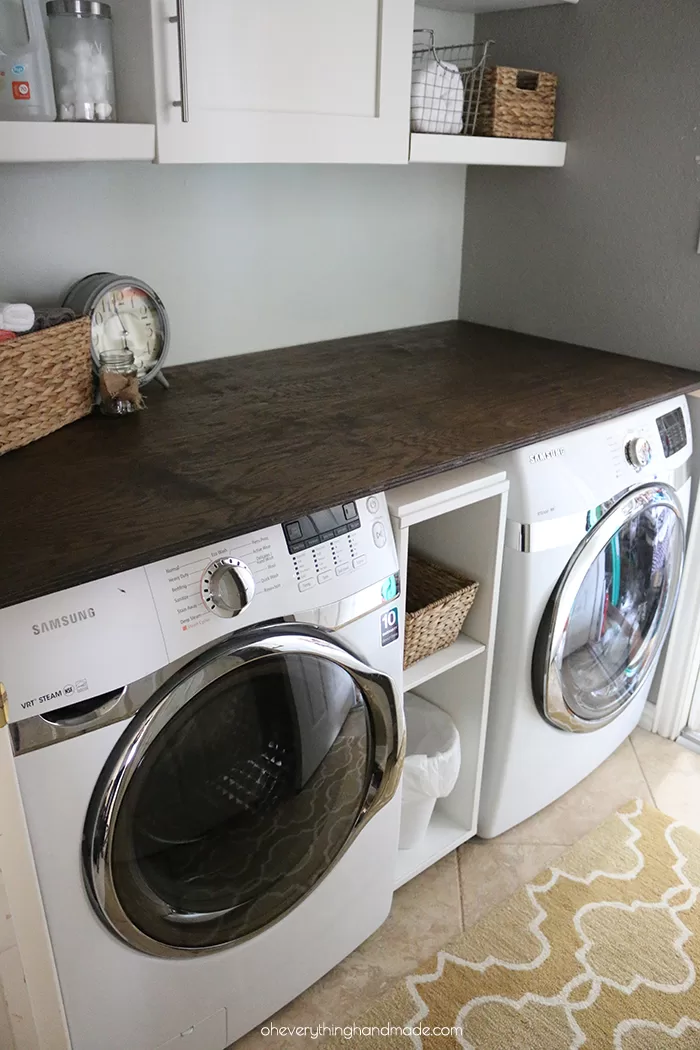
This makeover was fairly simple and took us about 3 days in total.
Here is the list of items we used:
- 1 – 4 x 8 ft plywood
- Minwax Espresso stain
- 2 Ikea cabinets 12x30inches each
- Extra wood for shelves 1 – 2×4 plywood
- Wall Texture spray
[do_widget id=text-100]
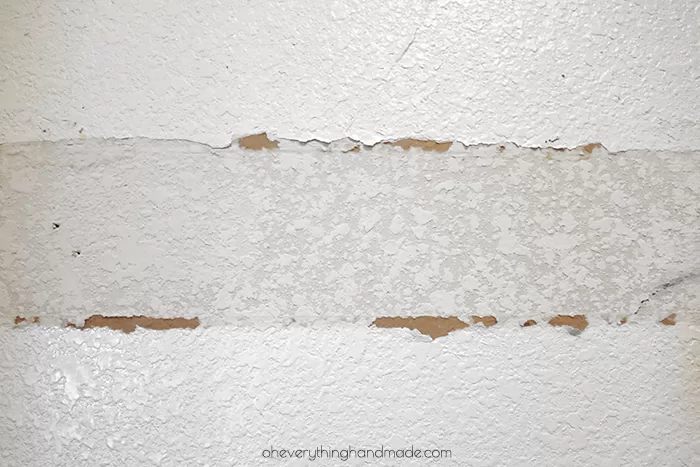
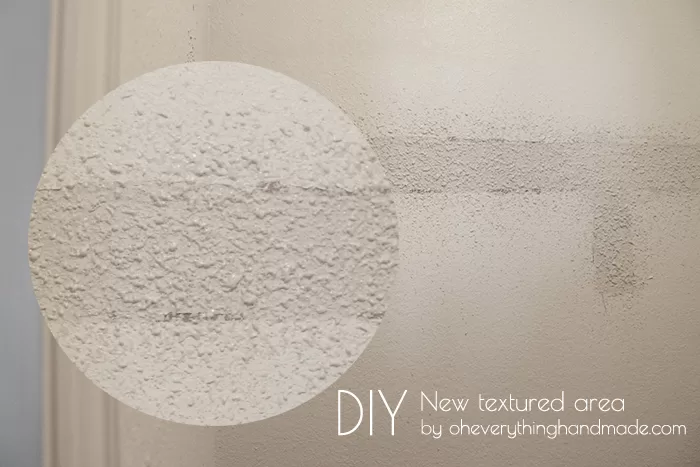
How to fix a knock-down textured wall:
Step 1.
We literally ripped everything out. The old shelves didn’t want to come off easy, and I don’t have a patient husband! Before I knew it, half the texture was ripped off…
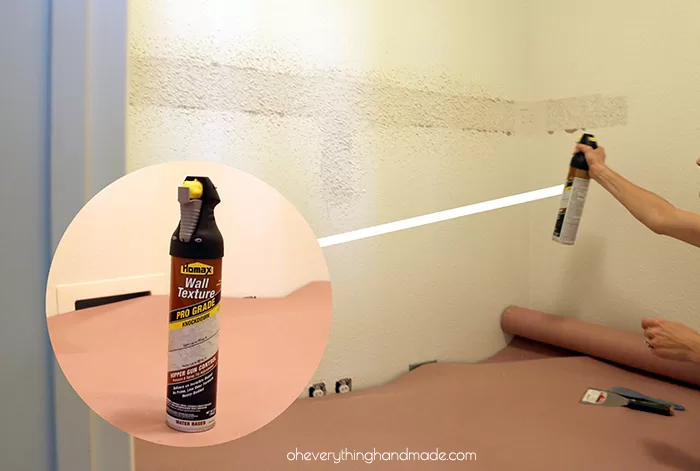
Step 2.
Repair the area! The Homax wall texture spray was amazing and I achieved a knock-down texture with ease. All I had to do, was spray it in a circular motion, let it dry for about 5-10 minutes, and knock down the sprayed area with a knockdown knife or a plastic putty knife.
Step 3.
I let everything dry overnight, and started painting the next day.

Step 4.
I sanded the plywood, then stained and sealed it. To complete the project I used some of my leftover Waterlox Original Sealer to seal the plywood.
Step 5.
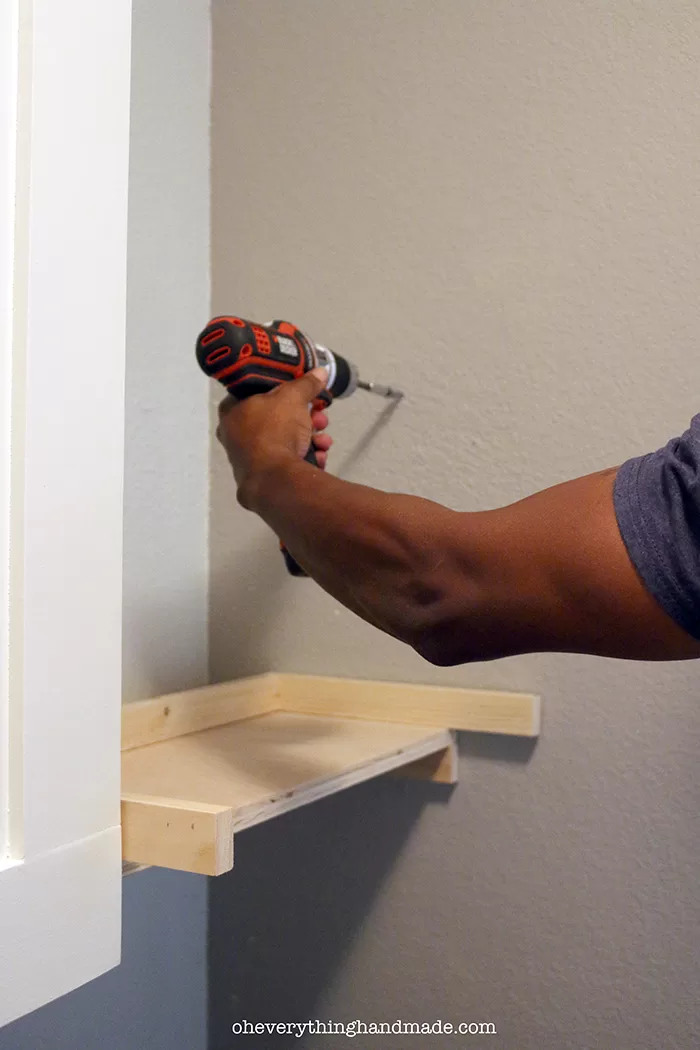
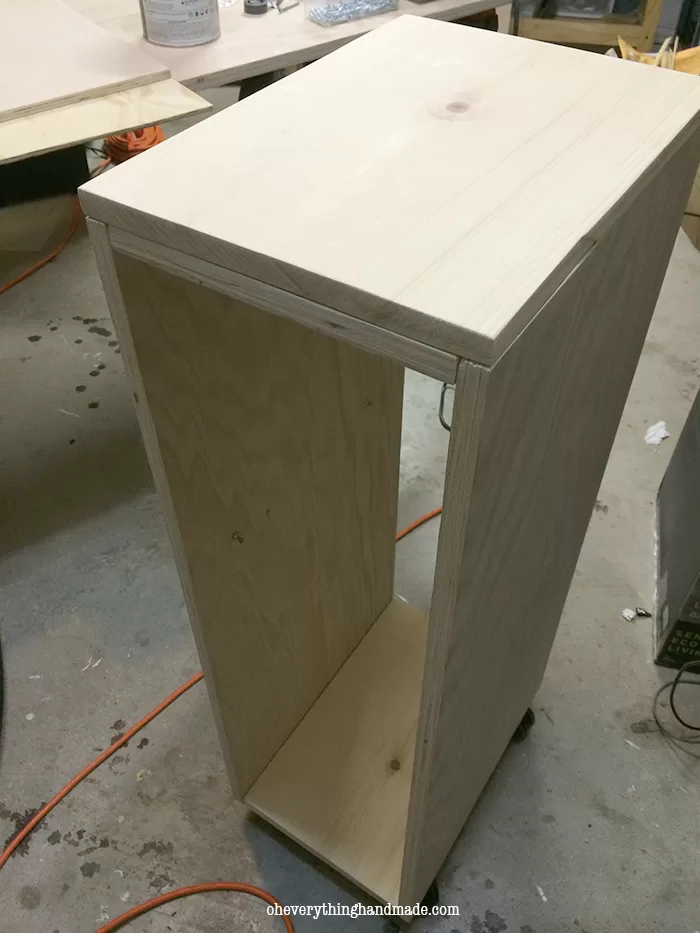
We made the wall shelves, the cabinet between the washer & dryer, and the door for the cabinets because I had leftover wood from another project.
[do_widget id=text-101]
I also painted all the shelves, and cabinets I made and hung an iron board hanger on the door.

You can find the Laundry Room Reveal, here.
You might also like:
[go_portfolio id=”related-post-home-improvement”]