DIY // Toy Chest with Seating

This Toy Chest with Seating was inspired by the mess my little ones would make during playtime. Jasmine is a collector of EVERYTHING colorful and fun to play with. Well, what can I tell you the house is overflowing with toys and we can’t start taking stuff to Goodwill because little baby brother is still using most of them.
Toy Chest with Seating Tutorial
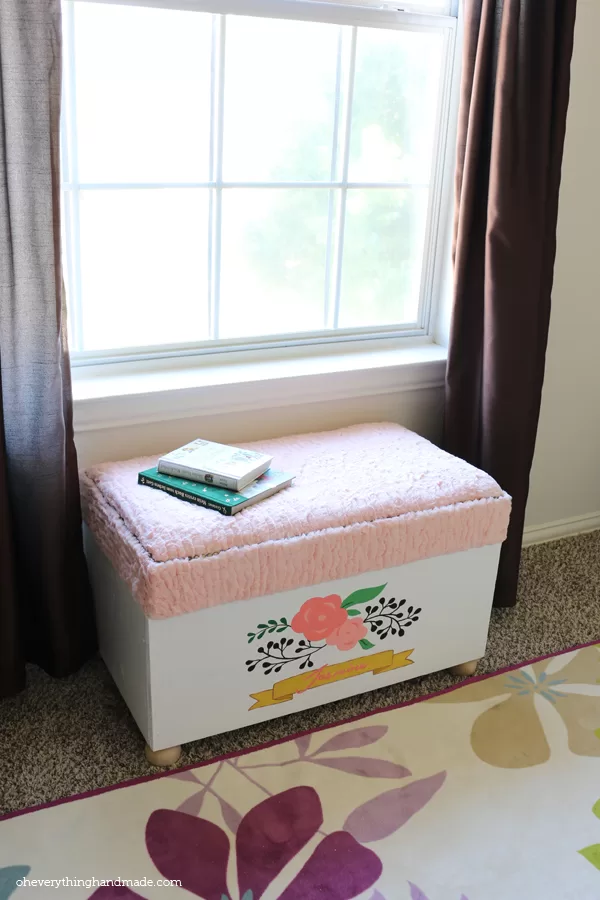
Something had to be done, and a toy chest seemed to be just the right thing to make her. She has a low window in her room, a toy chest with seating is going to be functional and practical since she will be able to use it for seating and storage for a long time to come!
Here we go…
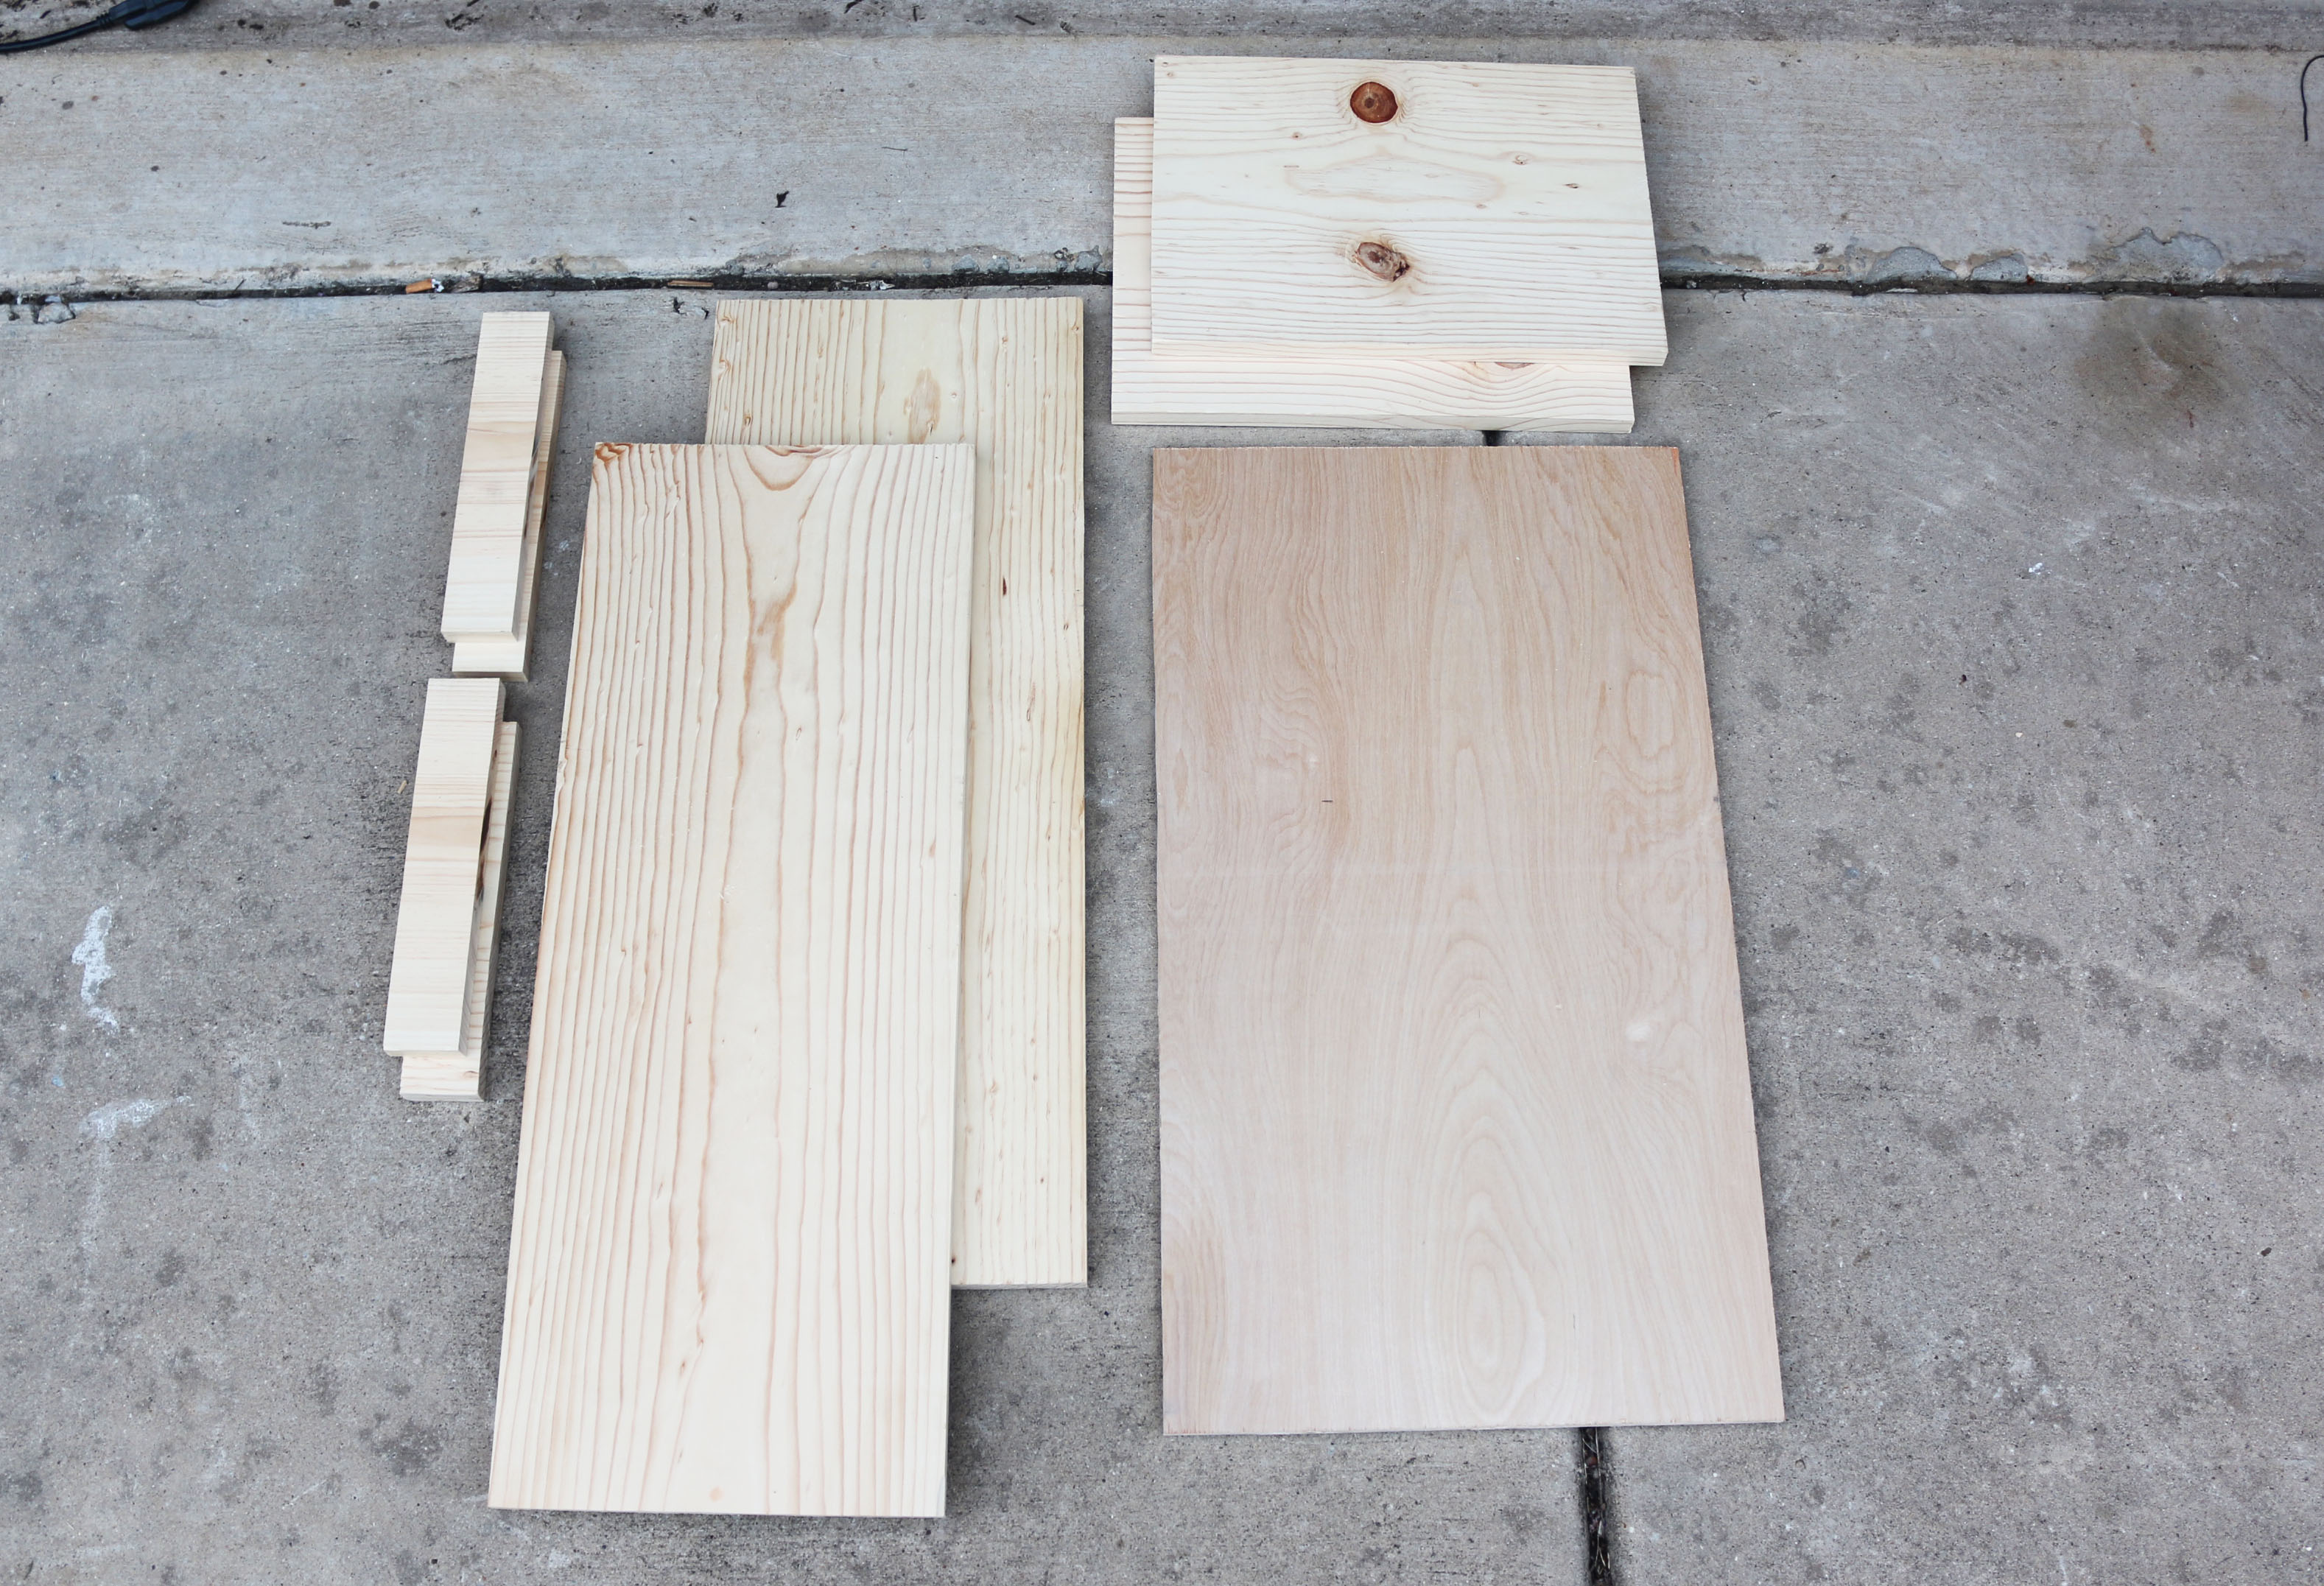
What you need for the base:
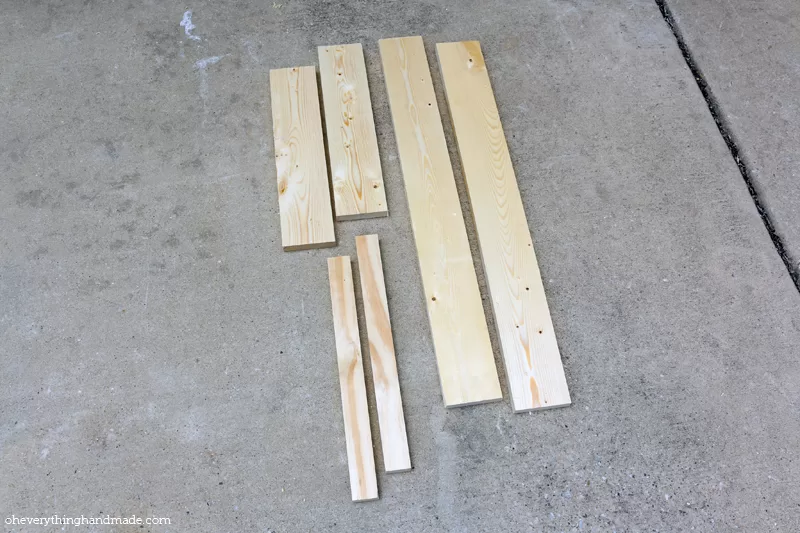
- One 1’x8′ pine board, cut two 30″ inch pieces and use the remaining boards for your sides and to secure your corners.
- You also need one 29×14″ board with a thickness of 1/2″ inch, this is for the bottom.
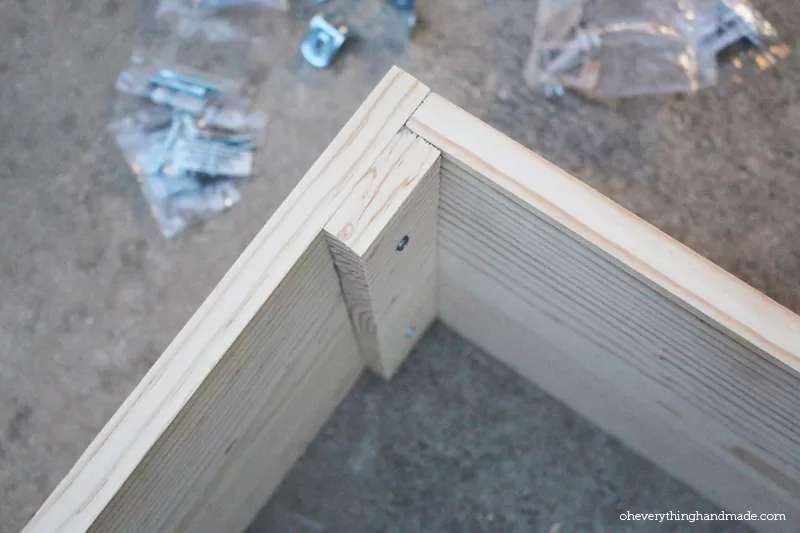
- To secure the corners I cut four 1.5×12″ inch boards from my sideboards.
- Furniture screws and a driller are required to continue!
Instruction:
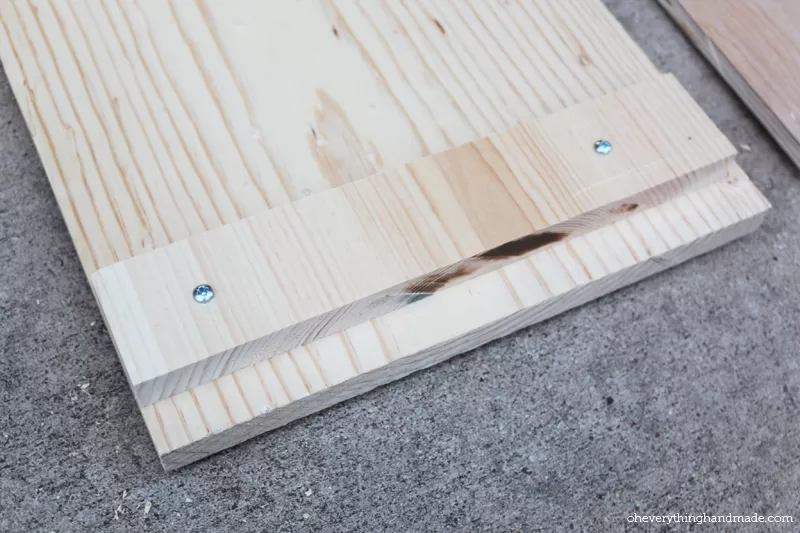
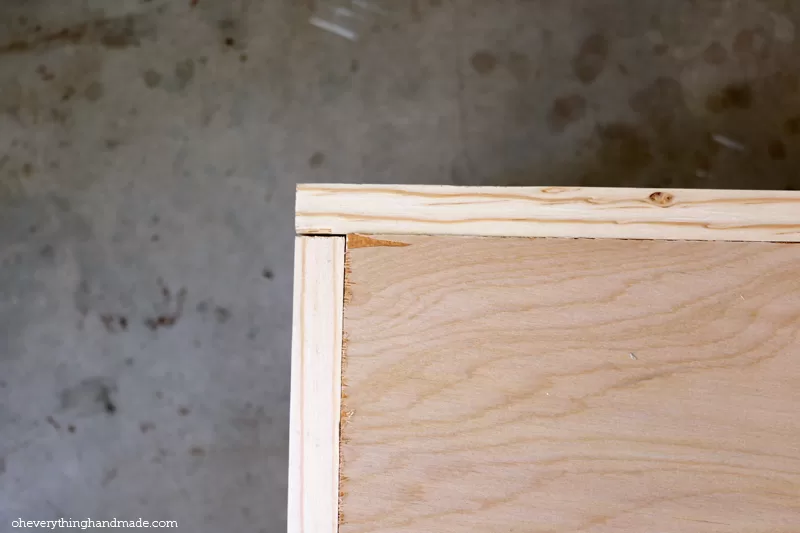
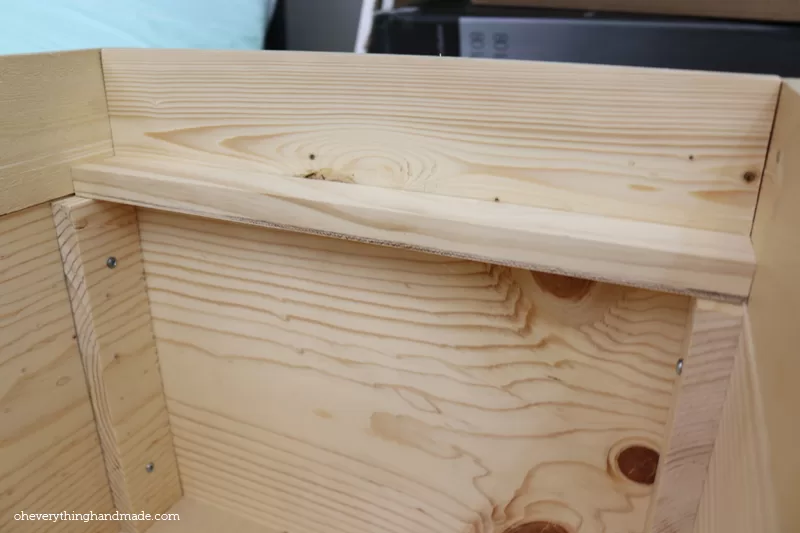
Step 1. Attach two 1.5×12″ boards to your 30″ inch board(s), with a 1/2″ gap to the edge. This is to secure your boards.
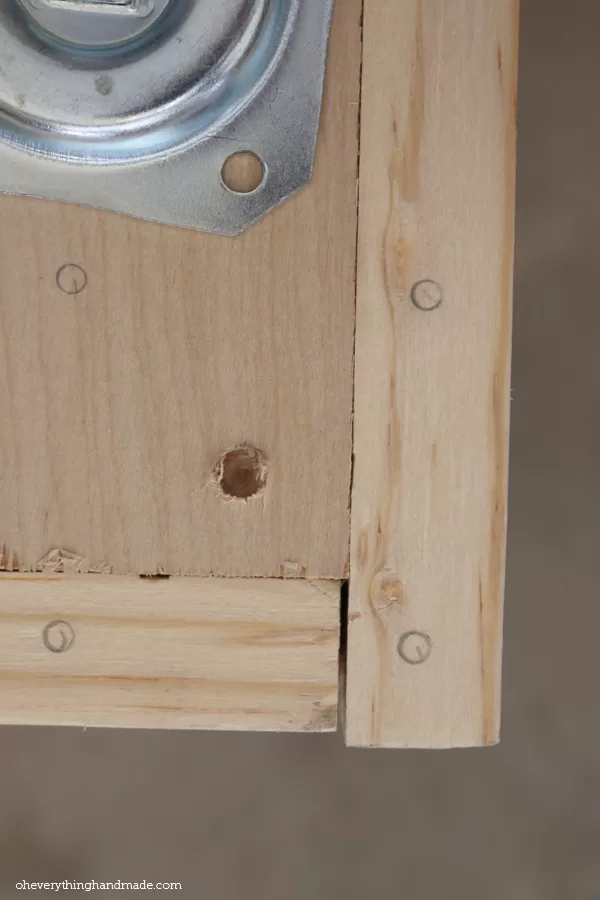
Step 2. I used furniture screws on the outside but made sure all the holes were pre-drilled in order to avoid cracking.
Step 3. Once the base was assembled, I attached the bottom board to the base. (the board can be secured with gorilla glue for a longer-lasting hold)
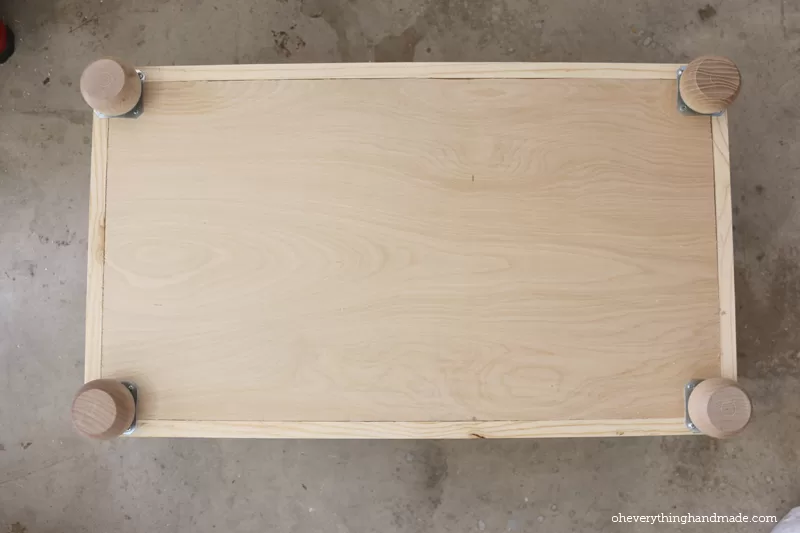
Step 4. To assemble the four legs I used the screws that came in the package.
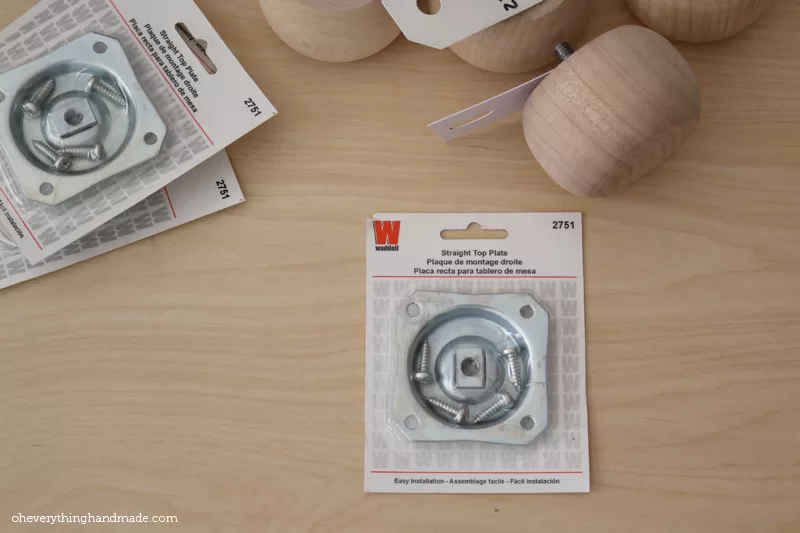
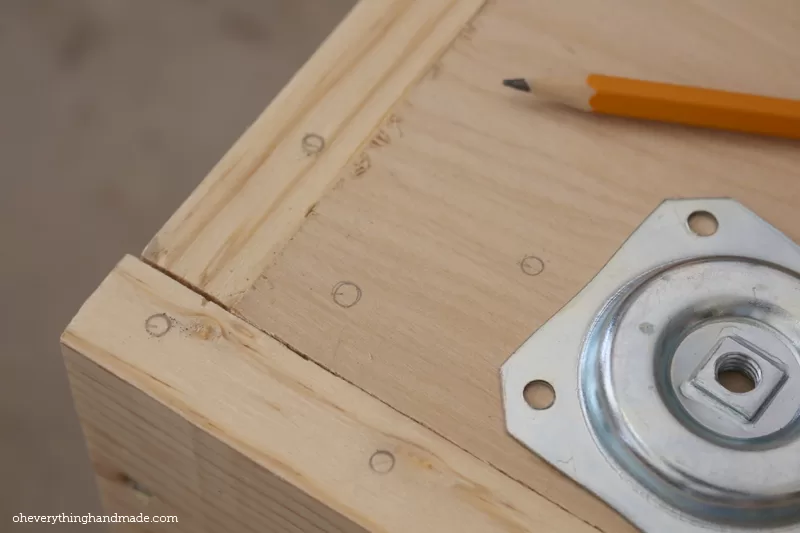
Step 5. I placed the metal plate at each corner and marked where my screws would go. The center had to be drilled a little to make the legs fit better.
Step 6. After I attached the metal plate, I then screwed the leg knobs on.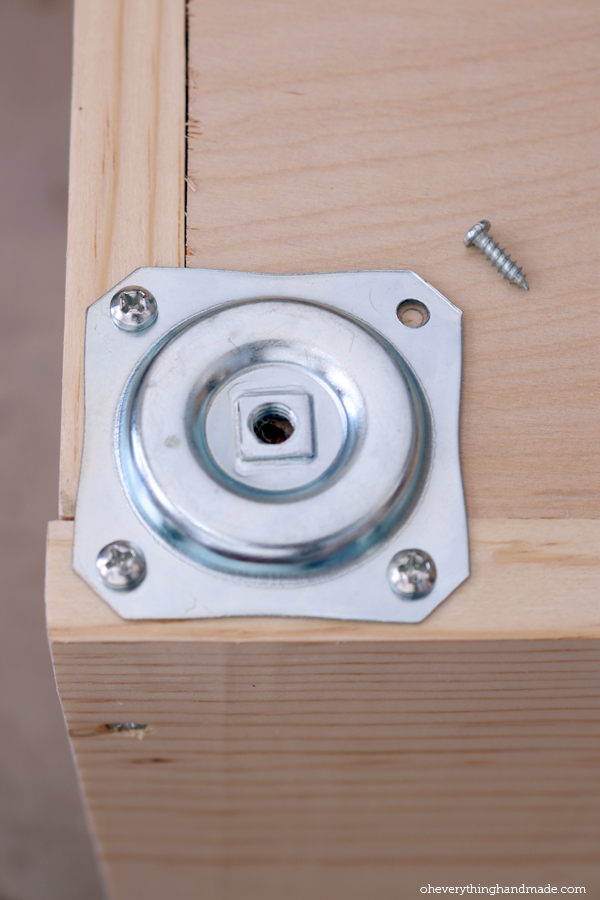
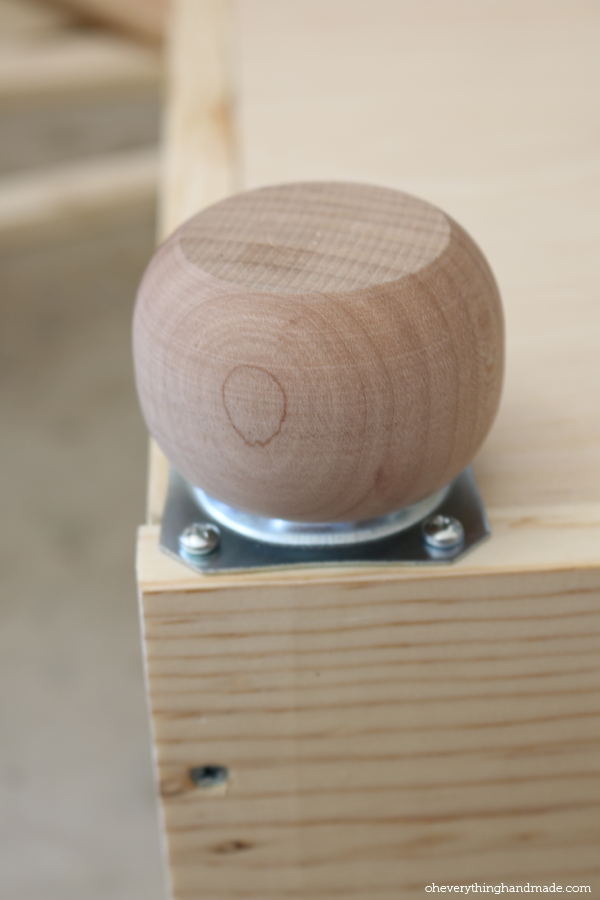
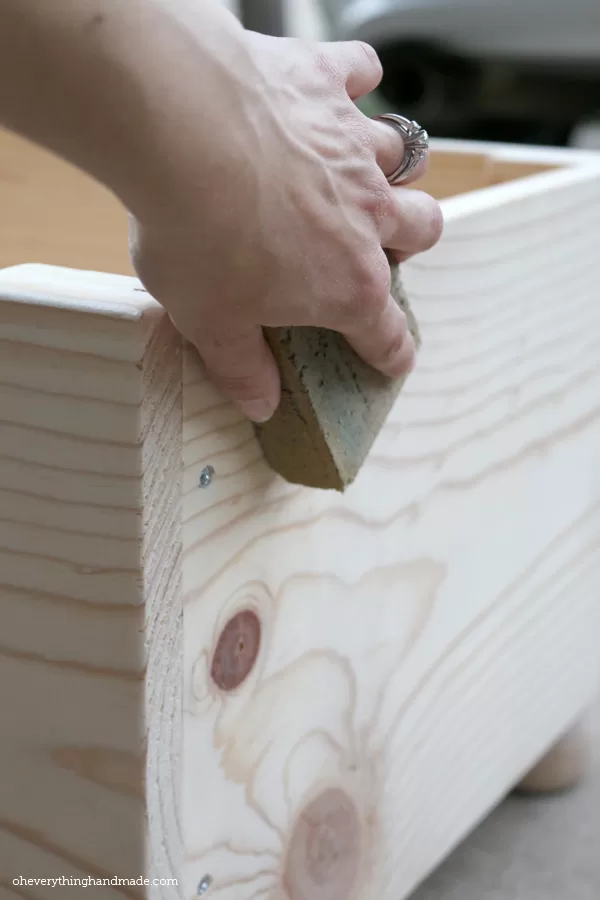
With all legs on, we can now start sanding down any rough edges, and remove splinters or fill in cracks with wood filler.
Instructions for the top:
You need >>>
- One 2×6 Pine board cut in two 30″ inch pieces and two 2×14″ inch pieces.
- Two 1×14″ inch boards for support
- More furniture screws
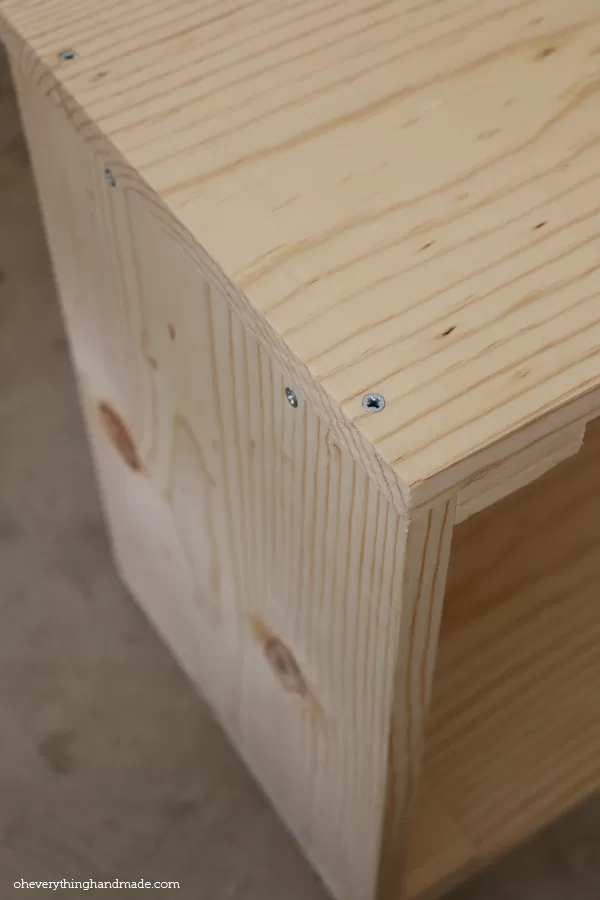
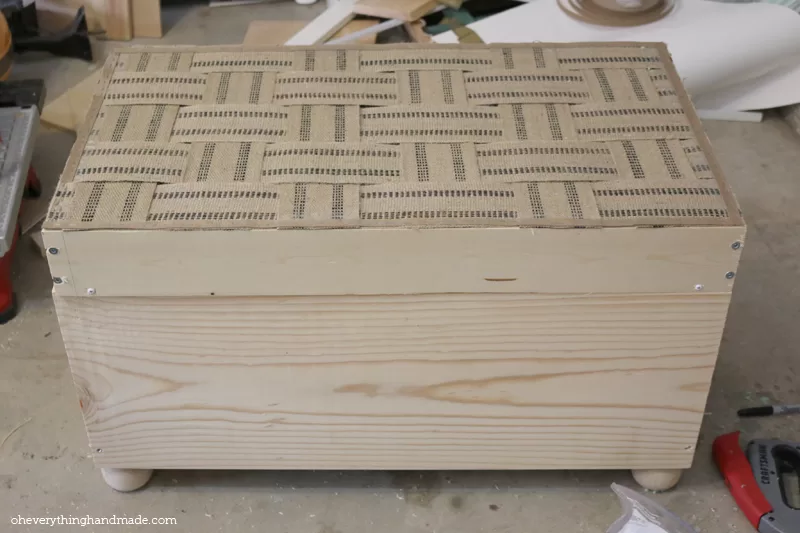
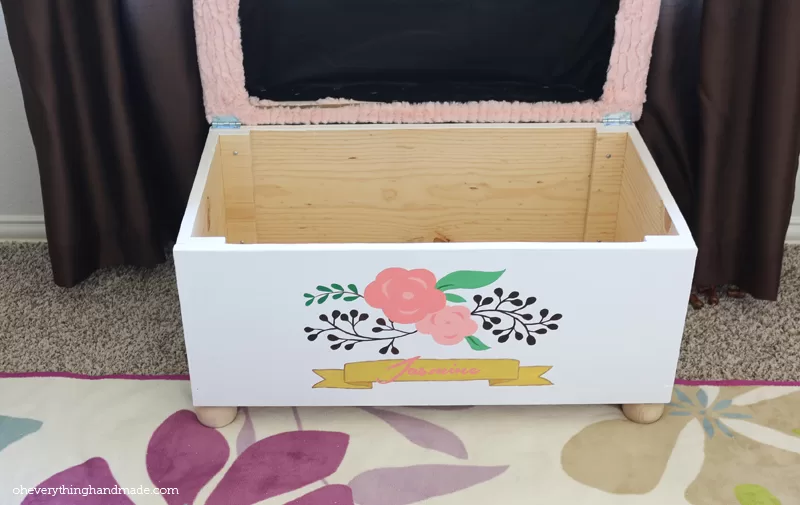
Step 1. Assembling just like the image above with Gorilla glue and screws will make a sturdy box that won’t hurt your little ones.
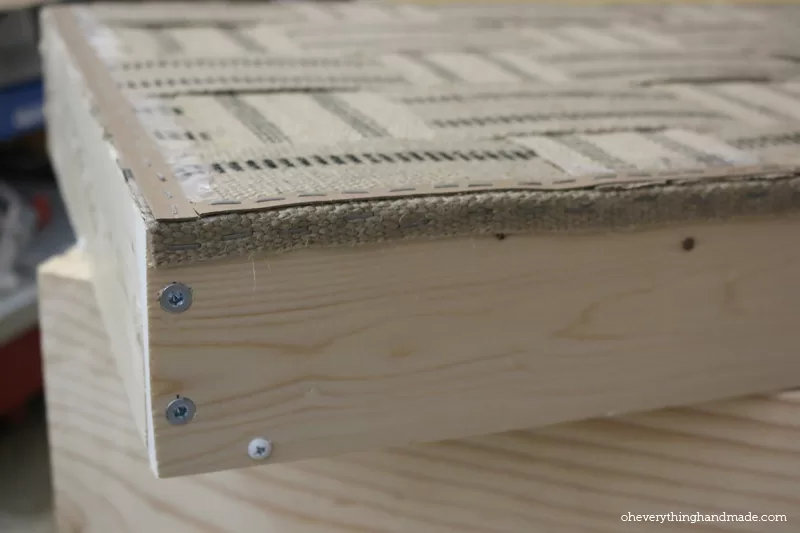
Step 2. Adding webbing to the top and securing it with staples, makes a great seating option that is soft and comfortable. (make sure your support board is on the bottom)
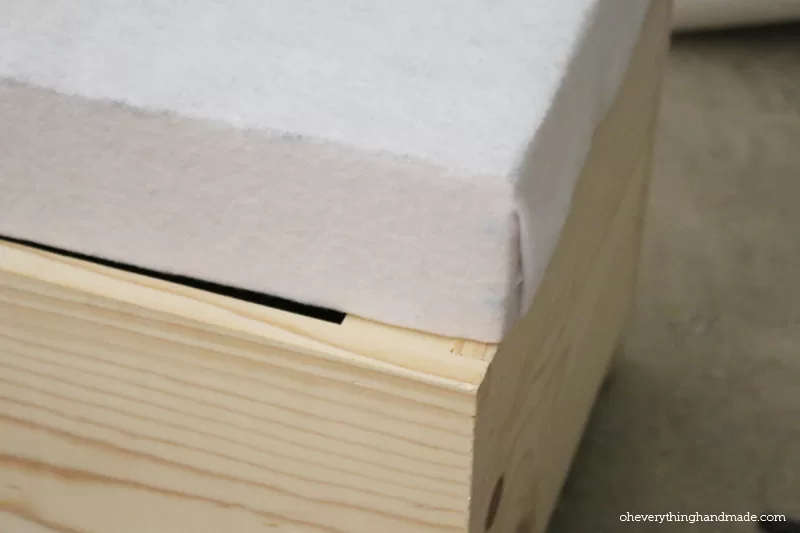
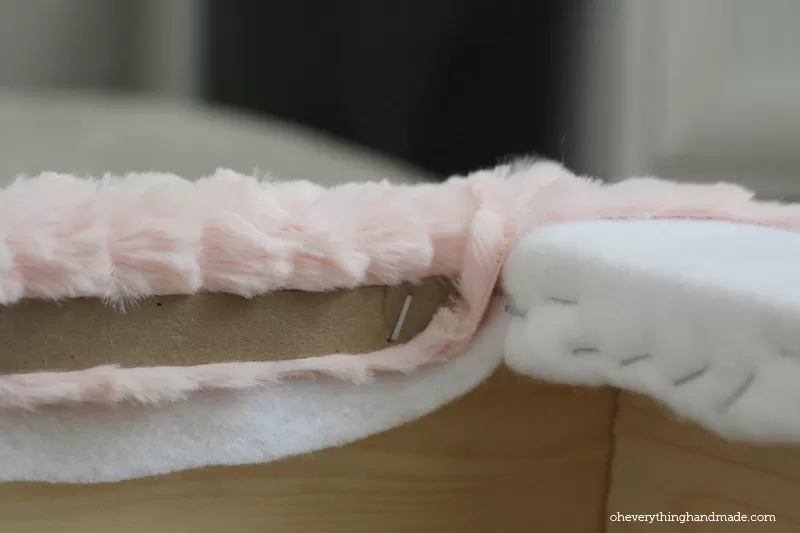
Step 3. Then I applied batting to your top and secure everything with staples.
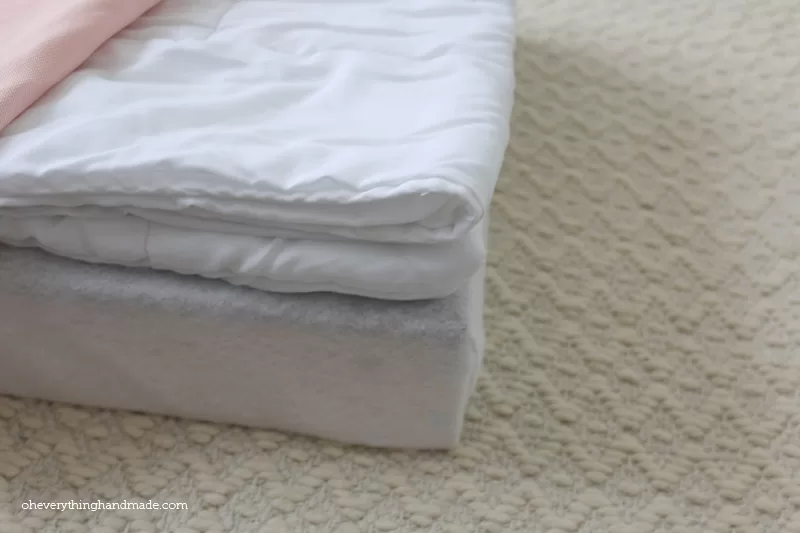
Step 4. I used an old cover that we didn’t need anymore, by folding and cutting it, I accomplished the feel and look I wanted.
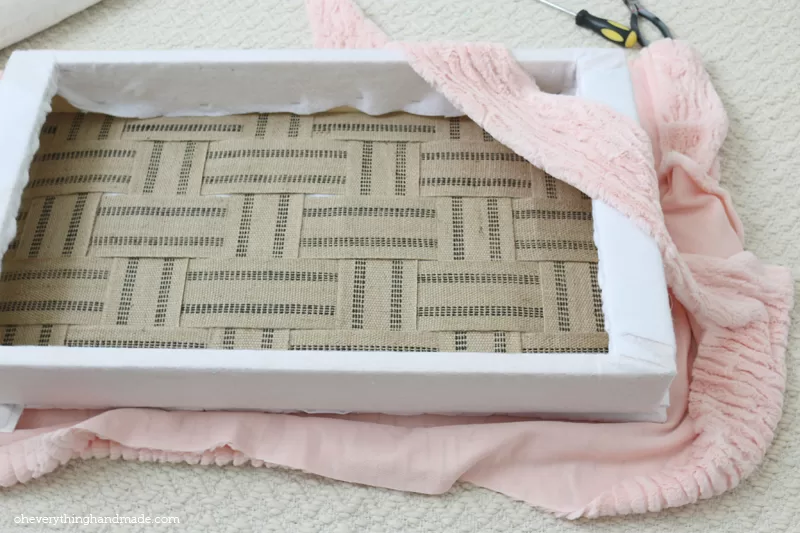
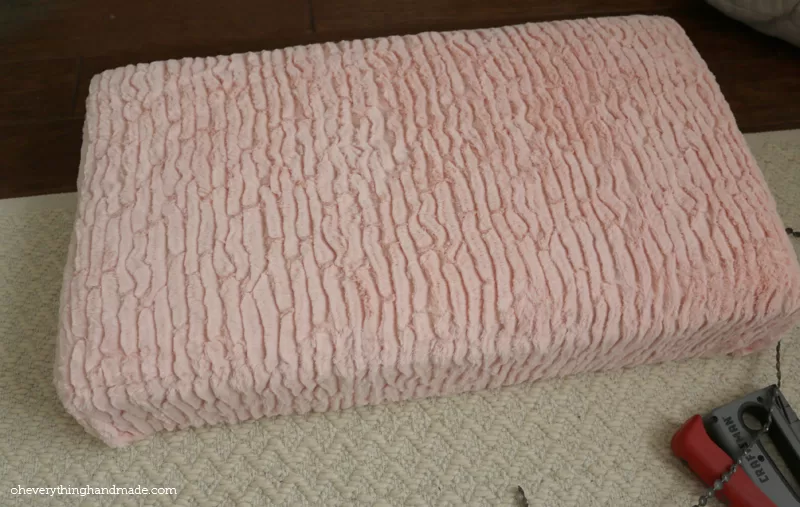
Step 5. My next step was to layout the fabric that was going on top. Jasmine chose a very comfortable and soft pink (good choice)
Step 6. Using an upholstery tack strip made this job so much easier.
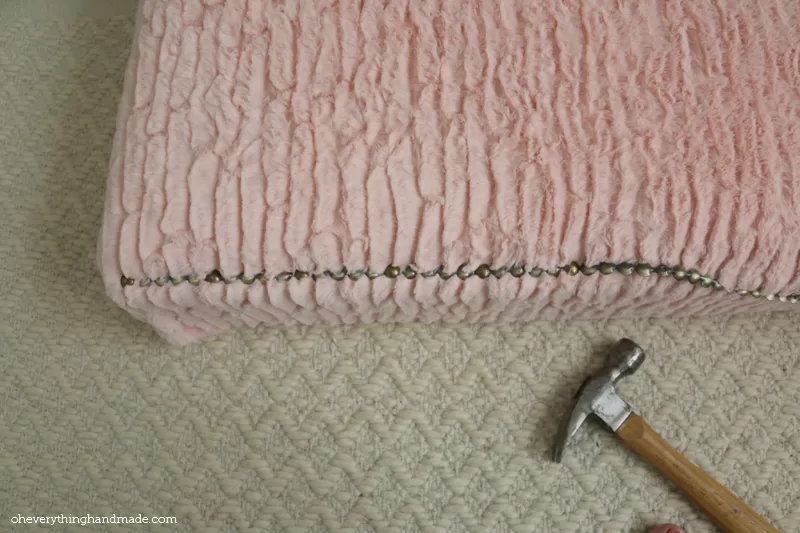
…next step, adding nailhead trim!
Step 7. I decided to use nailhead trim on her chest top so the cushion won’t move during the time she is using the chest. This is not necessary if you are going to use foam.
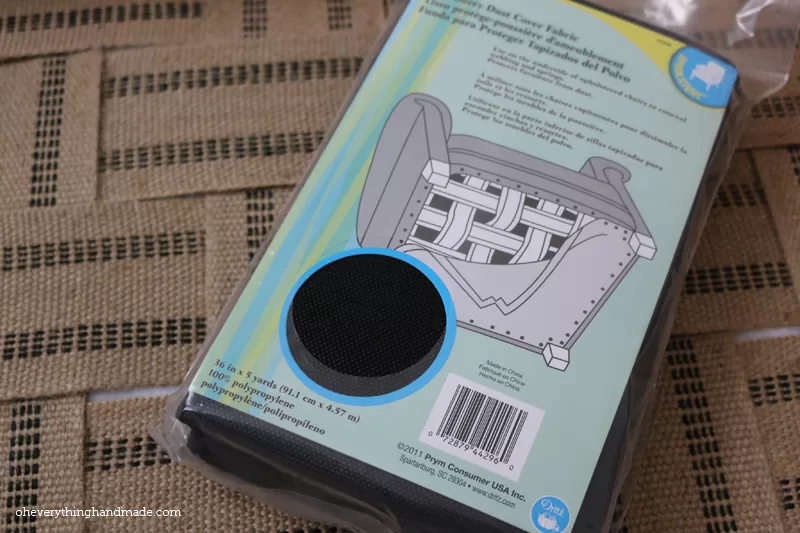
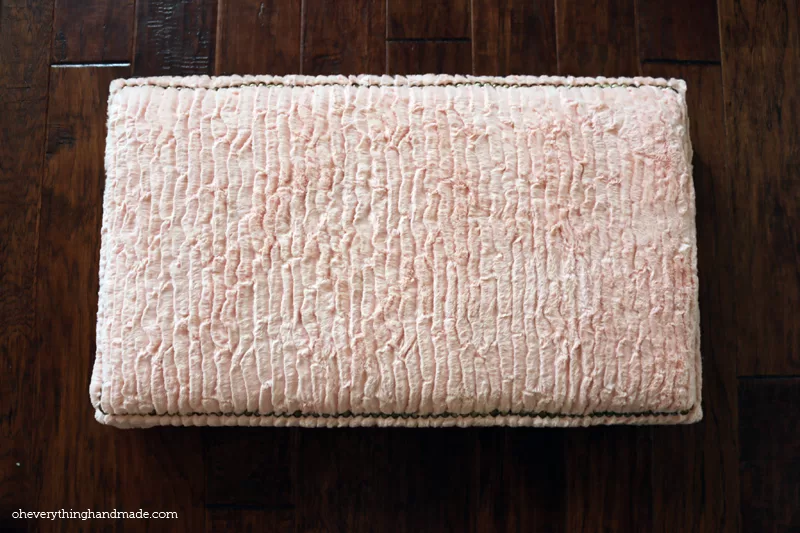
Step 8. Adding a dust cover was important to me because I like to cover up all the staples that are still visible.
Time to give her toy chest a coat of paint!
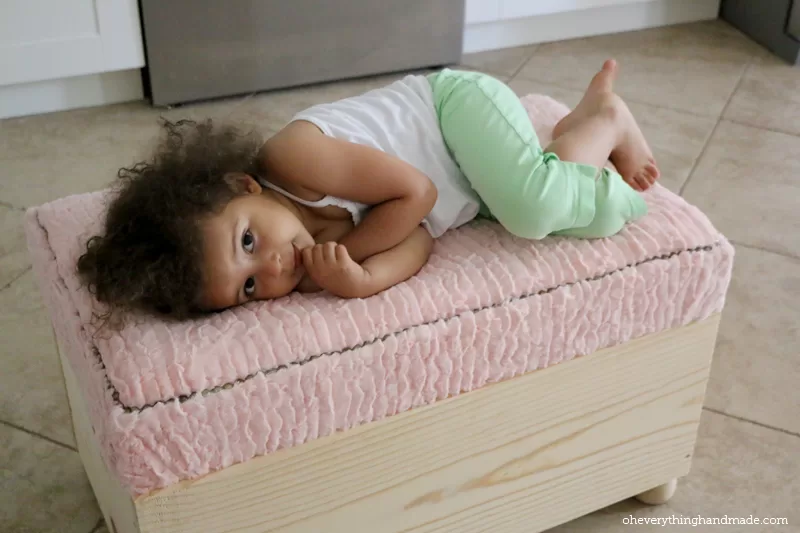
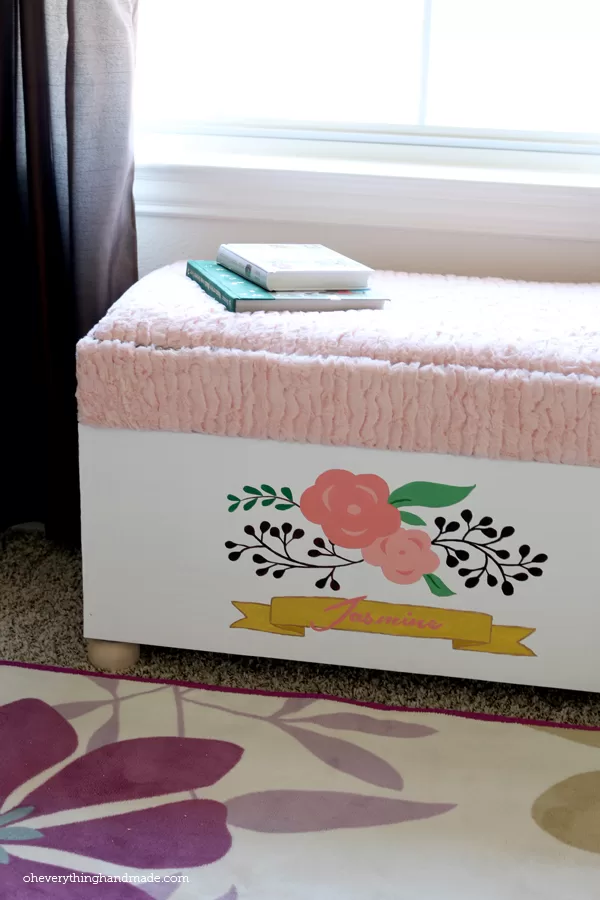
Look at her! She loves the new “treasure chest” as she called it once I showed it to her.
I applied 2 coats of Ultra Pure White Satin Enamel Interior Paint to the outside of the base, and let it dry for 24 hours!
After a couple of days, I finally decided on what to add to the chest, I had thought about to let her paint it – in any way she would have liked, or to add our handprints to it, but my finalist was a floral design with a ribbon and her name on it.
Toy Chest Graphic Design
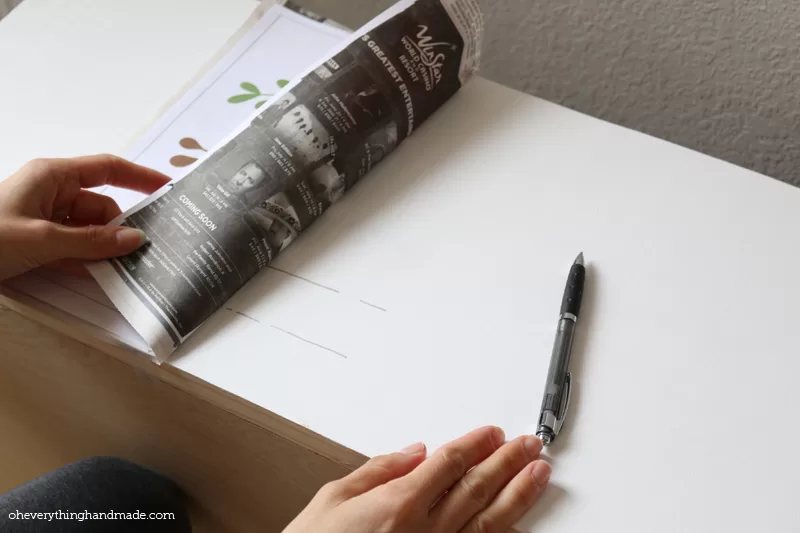
With the design printed on two 8.5×11 paper, I had to find a way to transfer the design onto the chest… Newspaper!!!! Yep, newspaper it is. Remember that every time you read a newspaper your hands get a little dirty or chalky like!
I was perfect, it worked like a charm. I added a piece of newspaper (use a piece that has lots of dark ink on it) underneath my design and taped it to my chest.
Call it a light-bulb moment!
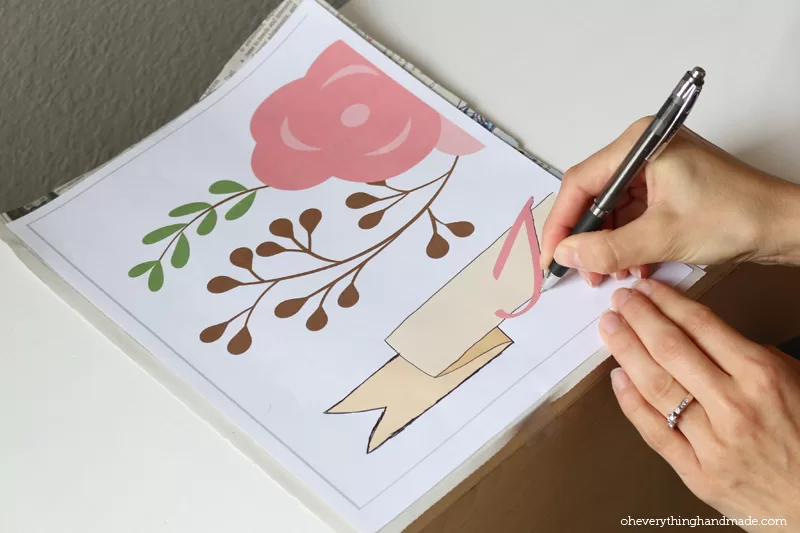
Trace the design…
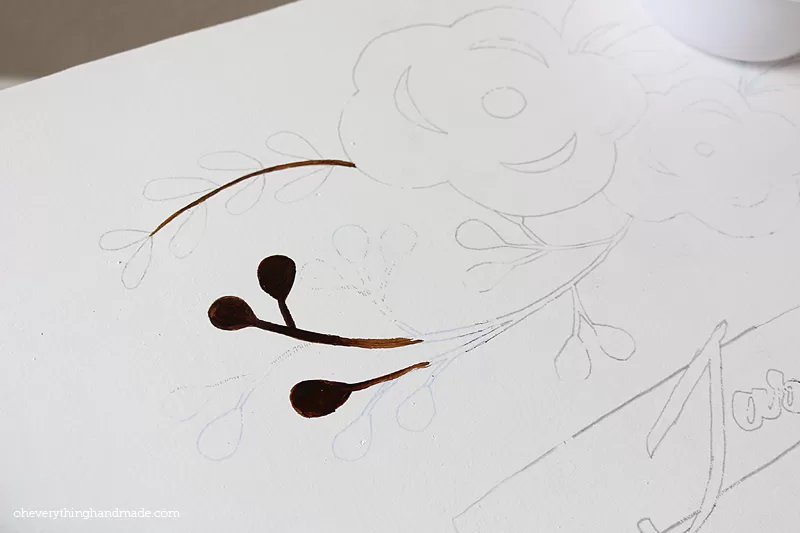
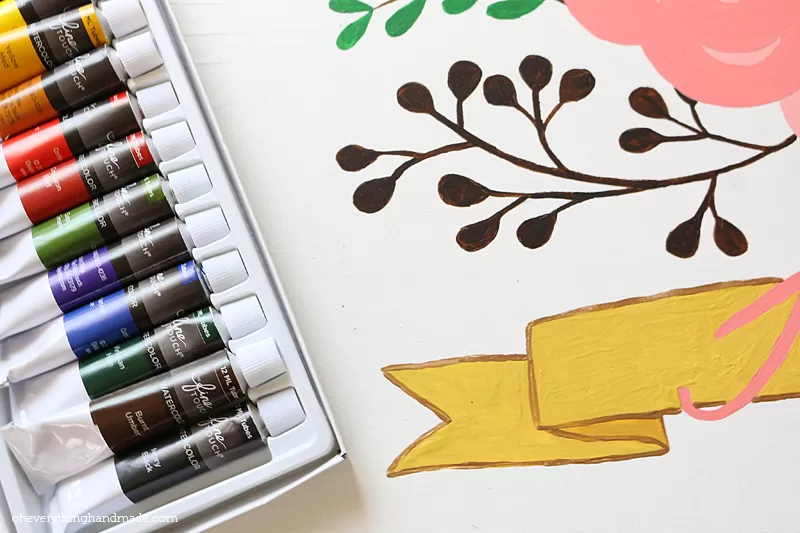
Time to incorporate some color, to bring the design to life.
Seal it with a clear spray, and let it dry!
Lastly, all that’s left is to finally attach the hinges, and you’re DONE!
One quick note so your kiddos won’t hurt their fingers when closing the chest, I would recommend hydraulic hinges that buffer the closure. So because my chest lid was very heavy, the kids were not able to open it, so I didn’t add any hinges.
I hope you enjoyed the tutorial and will make your own version of this toy chest. And to make it easier for the design part, I got you the graphic right here to download and customize it with your own name.




This is so cute! Can’t wait to make it. Question: can I sub another piece of wood for the jute webbing?
Alison, if you use wood instead of the webbing the top might be too heavy. But, it’s possible just make sure it’s at least 1/2″ plywood you sub with, so kids and adults can still sit on it.
OKay, thanks. Also, it would be really helpful if you had a complete list of everything people need for this. Your lists are very incomplete, so I have had to go back to the store over and over to get more things that weren’t listed but then are needed in the directions.
I apologize for that, I will update the list as soon as I can.
Great tutorial! I wanted to let you know that I am featuring this on my site if you don’t mind.
Thank you for the feature!