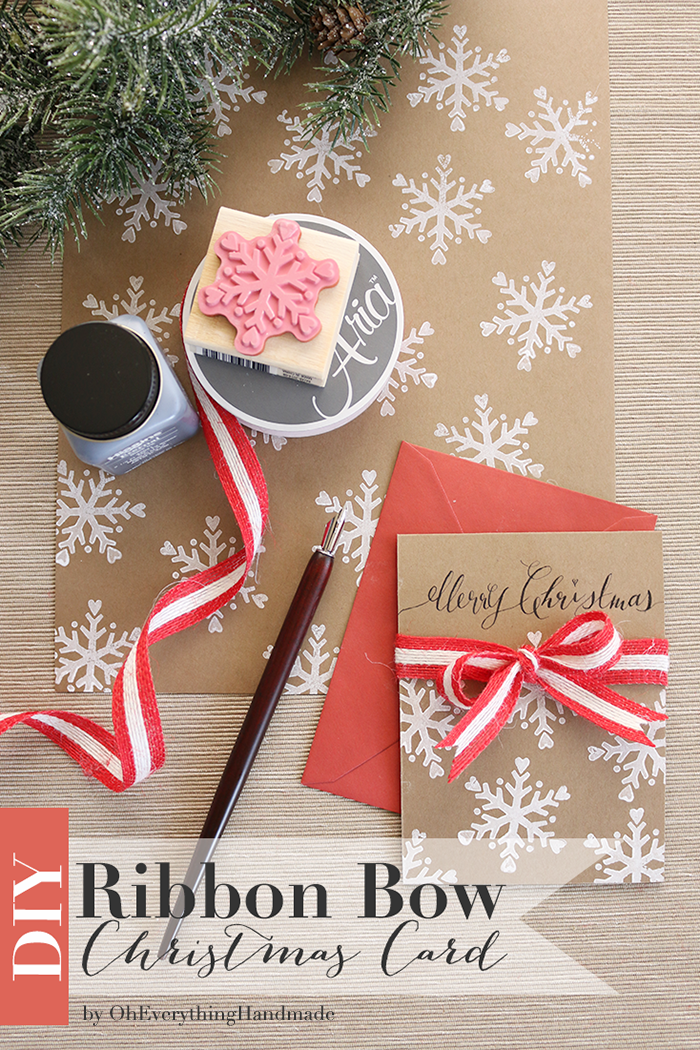
Ribbon Bow Christmas Card
Make your Holiday wishes extra special this year with our Ribbon Bow Christmas Cards. This week I sent out all our Christmas Cards, and because I love how cute these cards turned out, I want to share how I made them with a budget of $8.48.
Many craft stores have sales of all there Christmas inventory, so now is a good time to grab things while they still have some! I went early this week, and most of the Christmas inventory was discounted down to 50%-70%.
Ribbon Bow Christmas Card DIY

I got everything I needed for this tutorial with a $10 bill, which I awesome because I love budget-friendly!
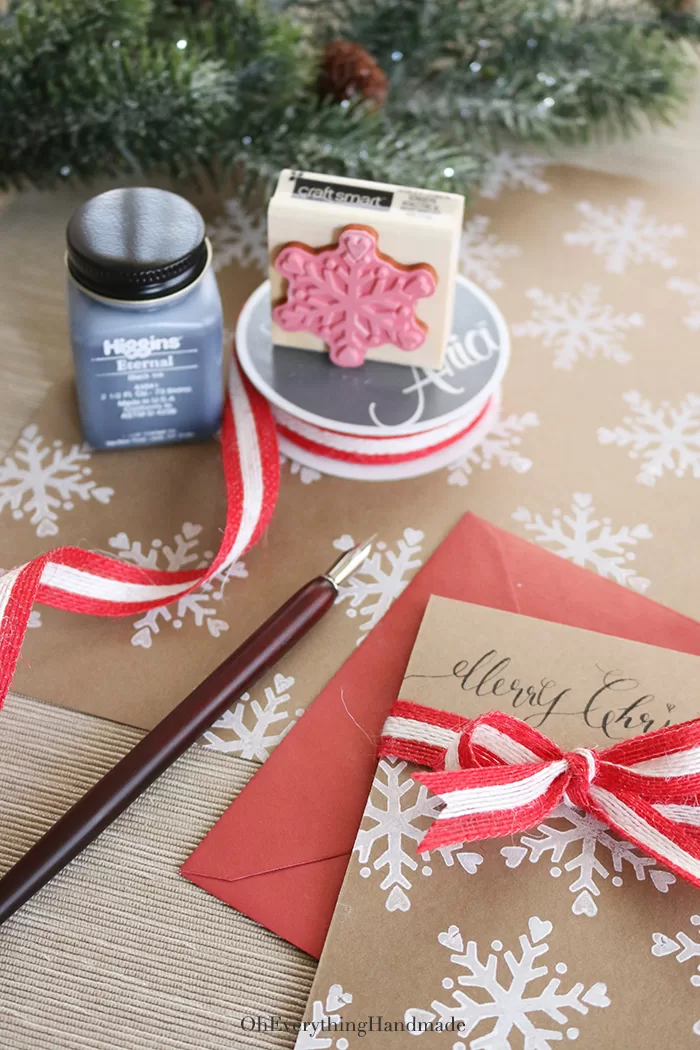
What you need for this tutorial:
- 110 Kraft Paper, Cardstock
- Snow flake rubber stamp
- White, ink pad
- Jute Christmas Ribbon
- Scissor
- Calligraphy Ink and pen
- Pencil & eraser
Any craft store should have everything on this list.
Instructions:
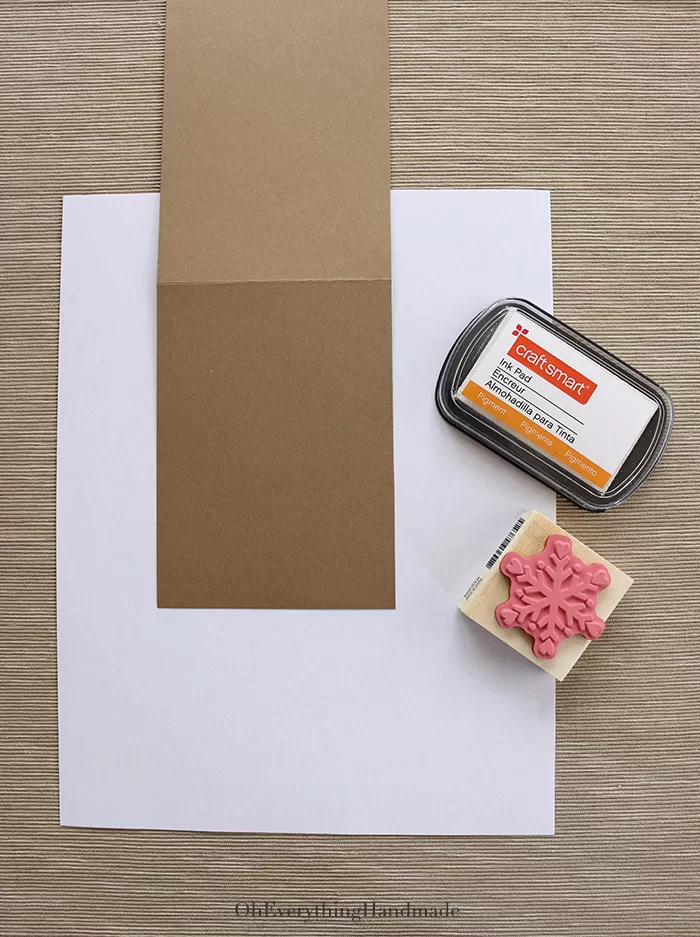
Step 1.
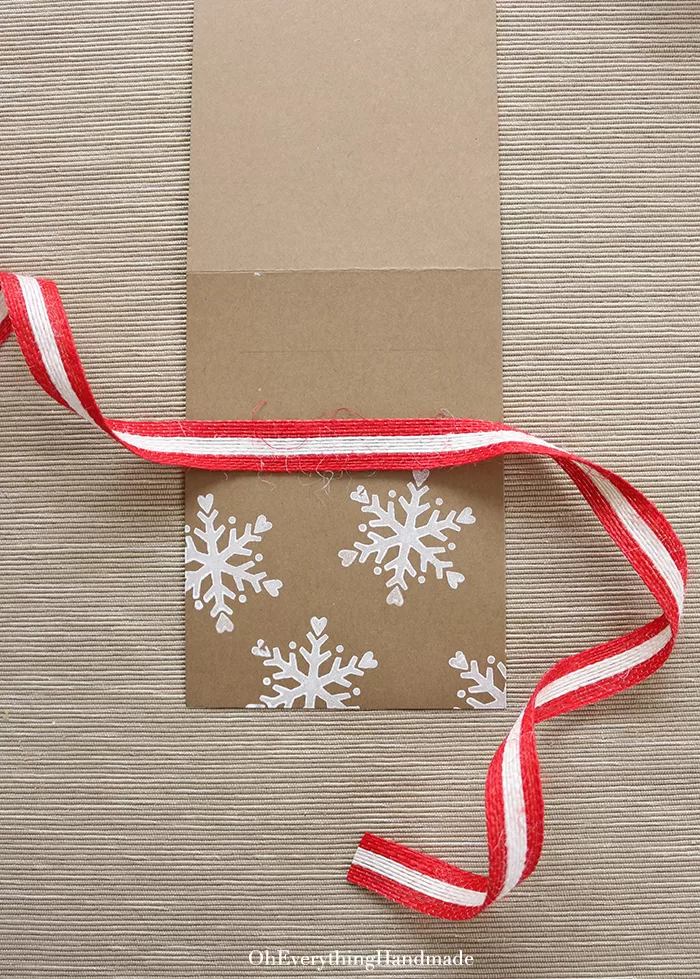
Cut and fold your cardstock Kraft paper to your preferable size. You can use a paper cutter or scissors to cut your cards.
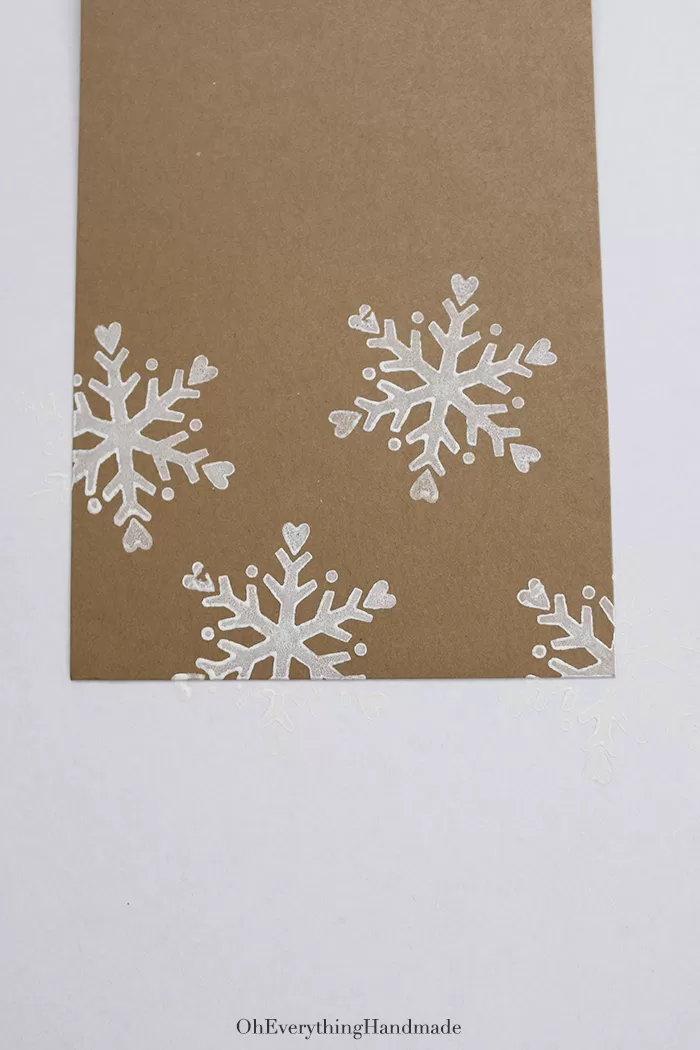
Step 2.
Stamp your cards with a rubber stamp. Use some extra paper in case you are stamping over the edges.
Step 3.
After the stampede area is dry, add some Calligraphic writing to the top of the card! Just make sure the bow won’t cover the Greeting. If you are new to Calligraphy, please read my Calligraphy Learning Resources post.
Step 4.
Once you are done with your Calligraphy, it’s time to add the Ribbon Bow (see how to tie a perfect bow, bellow).
 Hope you enjoyed my Ribbon Bow Christmas Card tutorial, and will send a special Greeting out to your loved ones.