DIY // How to Remove old Upholstery
DIY // How to Remove old Upholstery
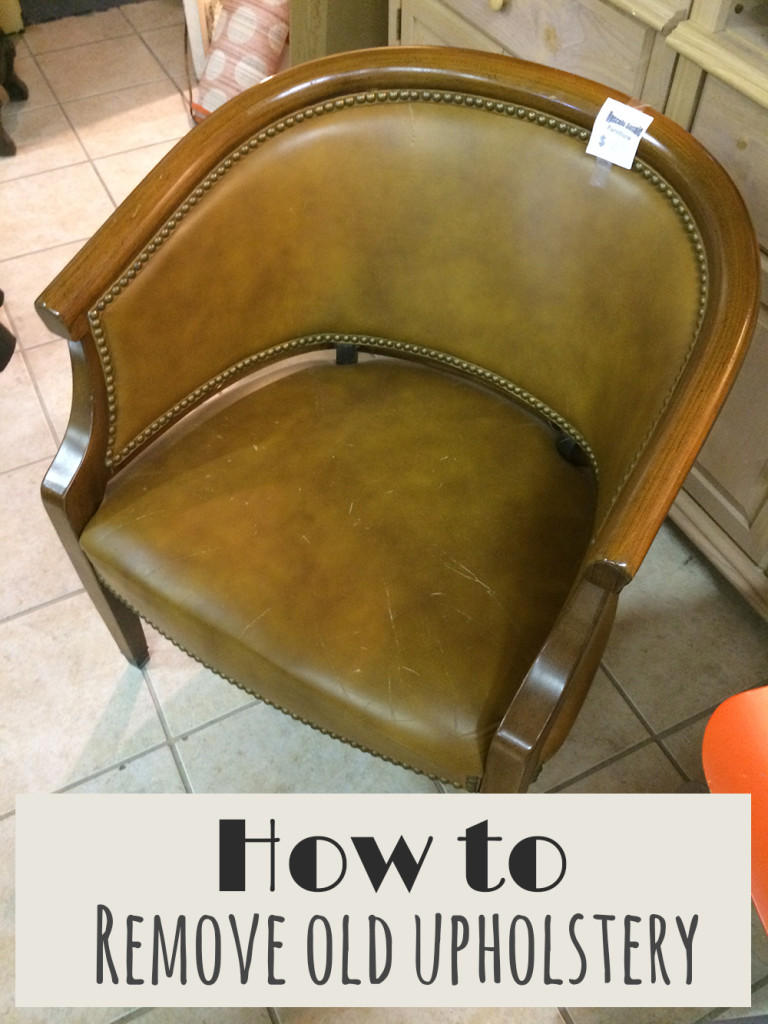
I am working on this 30-year-old chair, that I got at an upscale sale thrift store for just $22. So, today I’ll be sharing how to remove old upholstery.
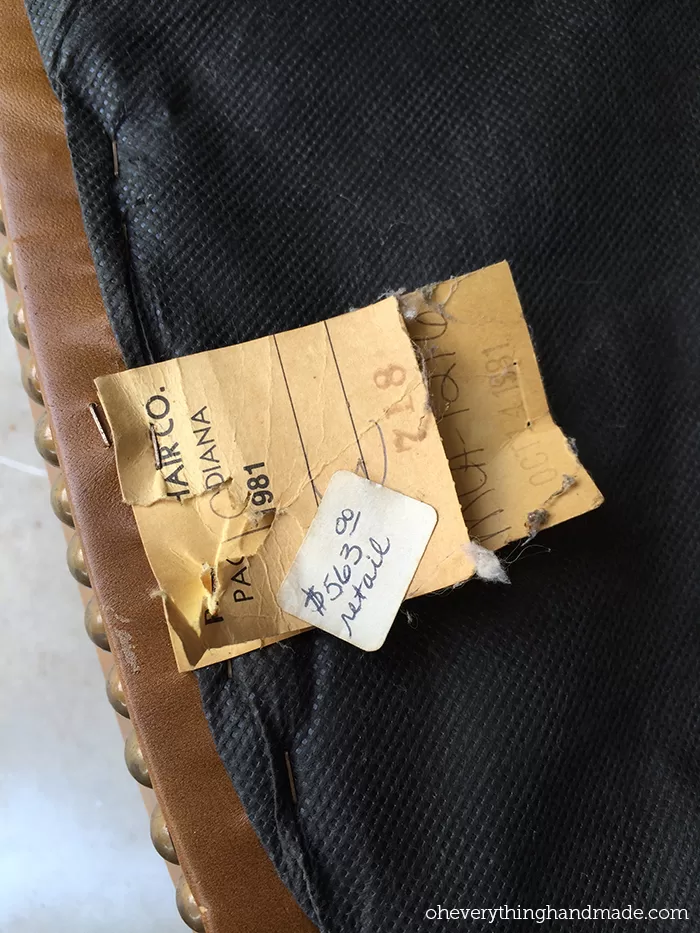
You may wonder how I can be sure this chair is over 30 years old? Well, look for yourself! I found this tag on the bottom seat of the chair and was surprised when I saw the exact date, some of the company name and the state it was manufactured in.
Retail price $563, I have to admit that I am speechless. Imagine you had to pay this amount 30 years ago, for a chair!!!
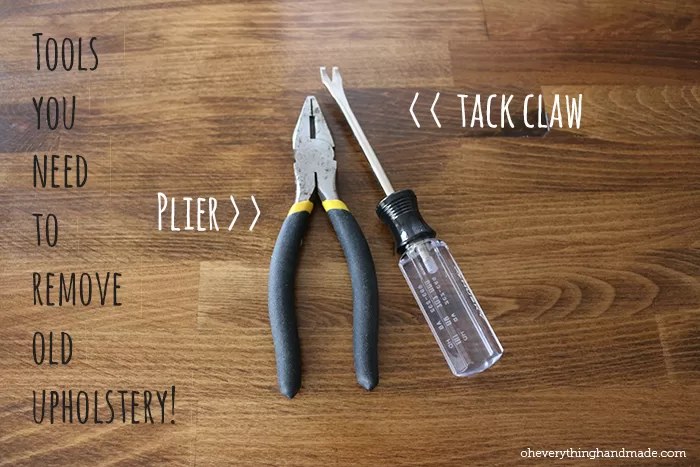
So, before I started taking down the old upholstery, I made sure to have the right tools for this job. Since I will be using the old upholstery as a template for my new fabric, I need to make sure the job is done right or I will end up with ripped pieces.
A simple Stanley 84-029 8-Inch Bi-Material Lineman Pliers and Great Neck Tl4c Tack Puller
will do the trick.
How to remove upholstery in one piece?
Keeping the old upholstery in one piece is the most important part when it comes to removing upholstery. Otherwise, this entire project will become much harder, due to the lack of a complete template.
Try to use old upholstery as a template for your new fabric, it will make your life so much easier.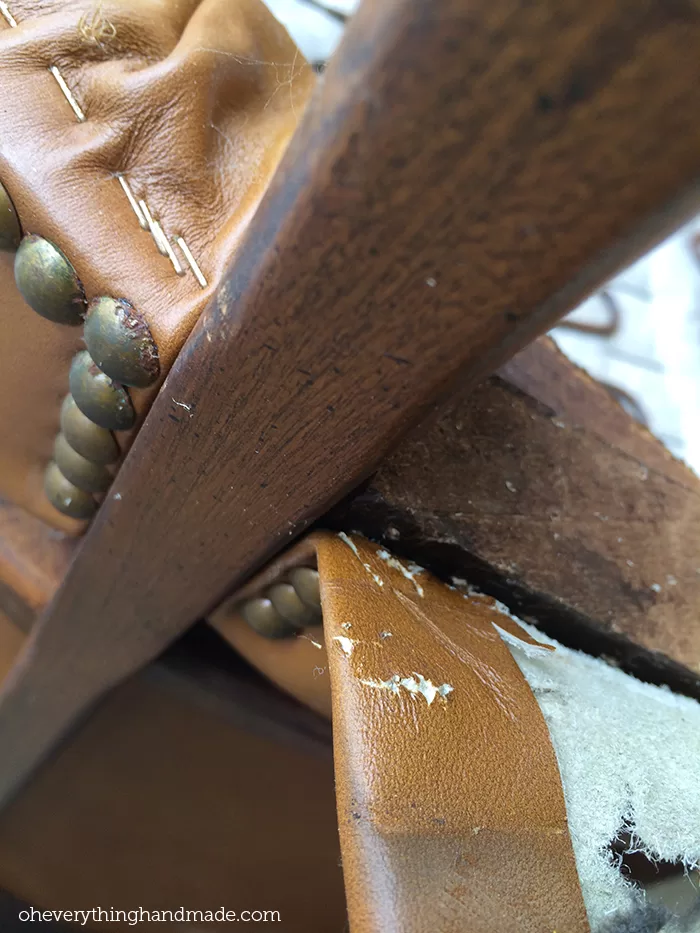
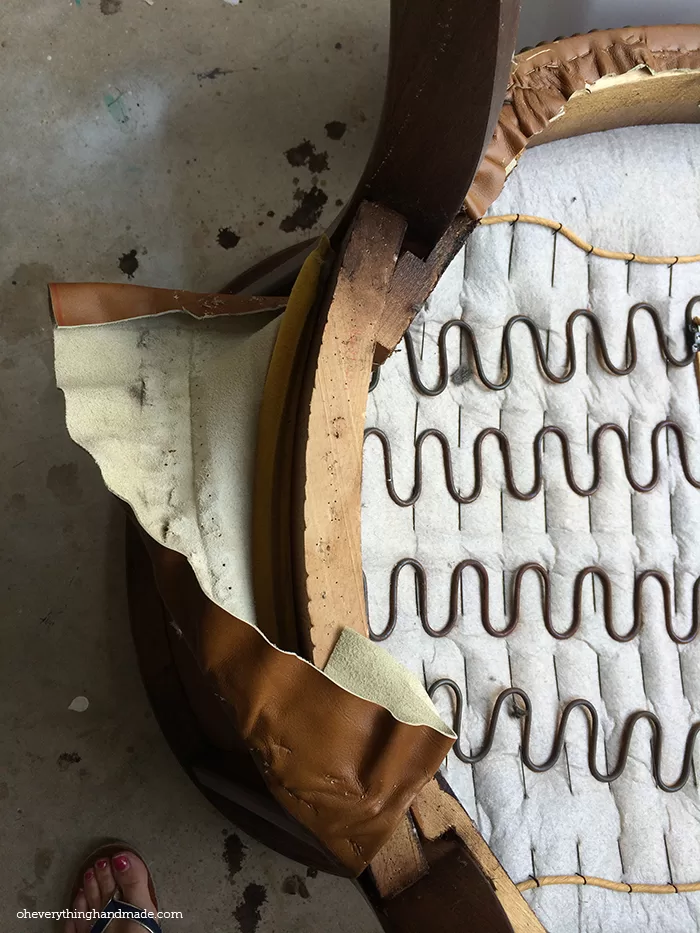
This chair was covered with staples, as you can see on the left-hand side.
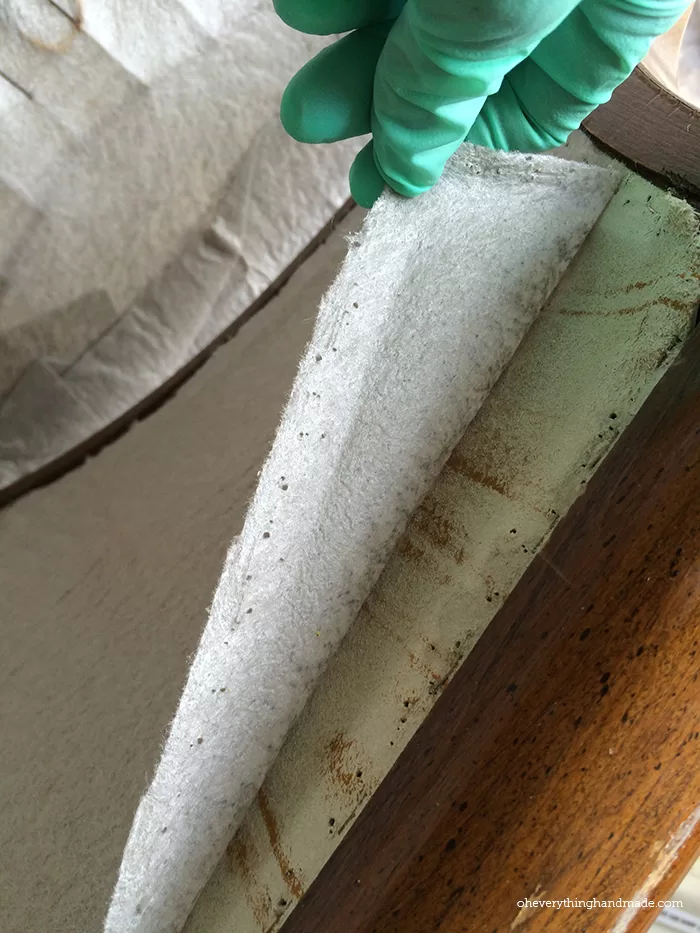
This side didn’t have foam/batting underneath the leather. However, the front had some foam, which is understandable if you want a comfy chair.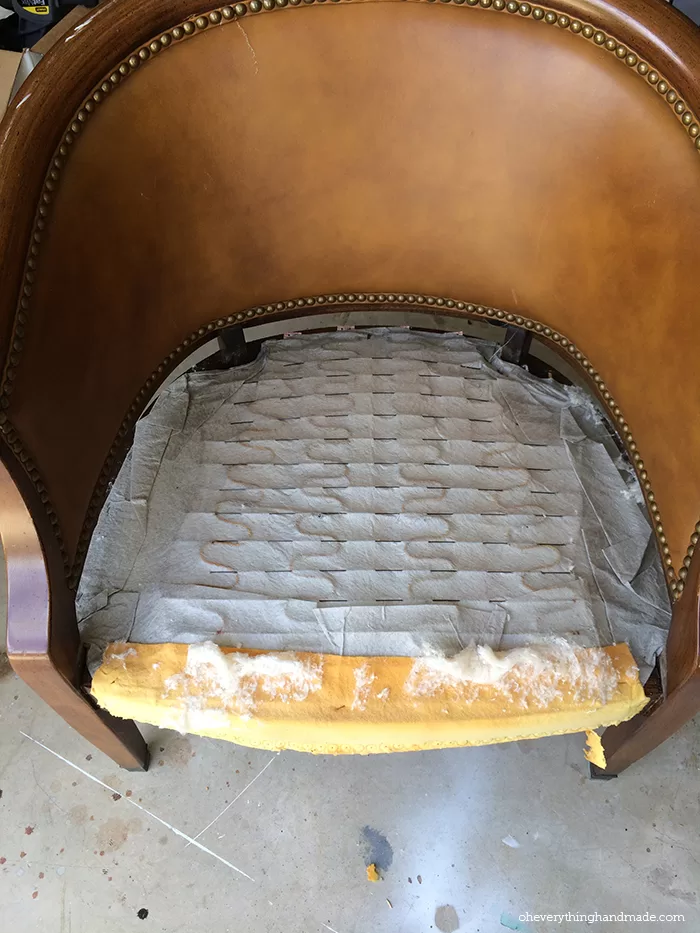
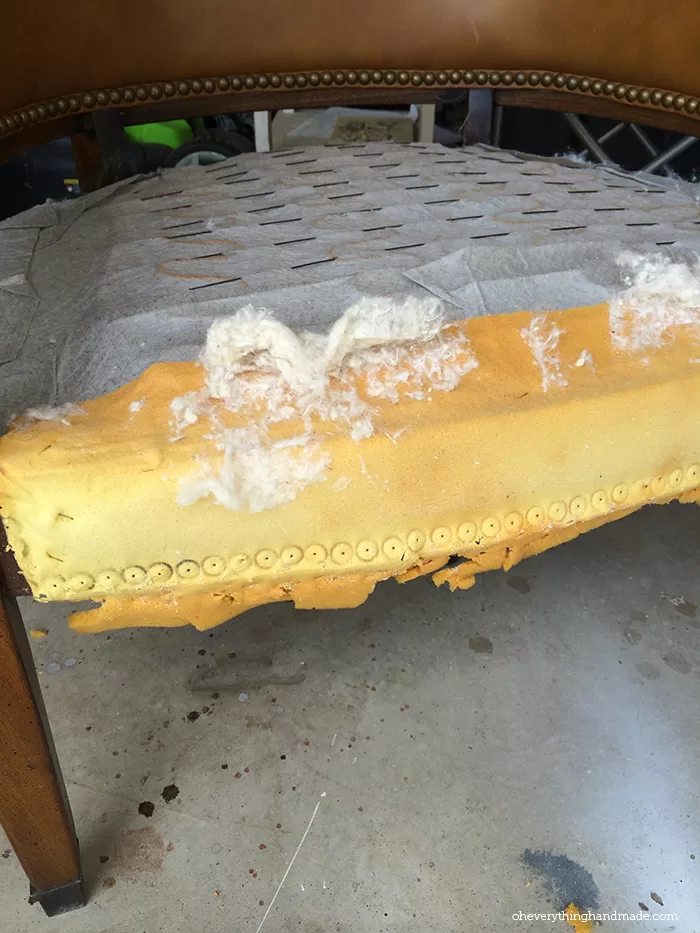
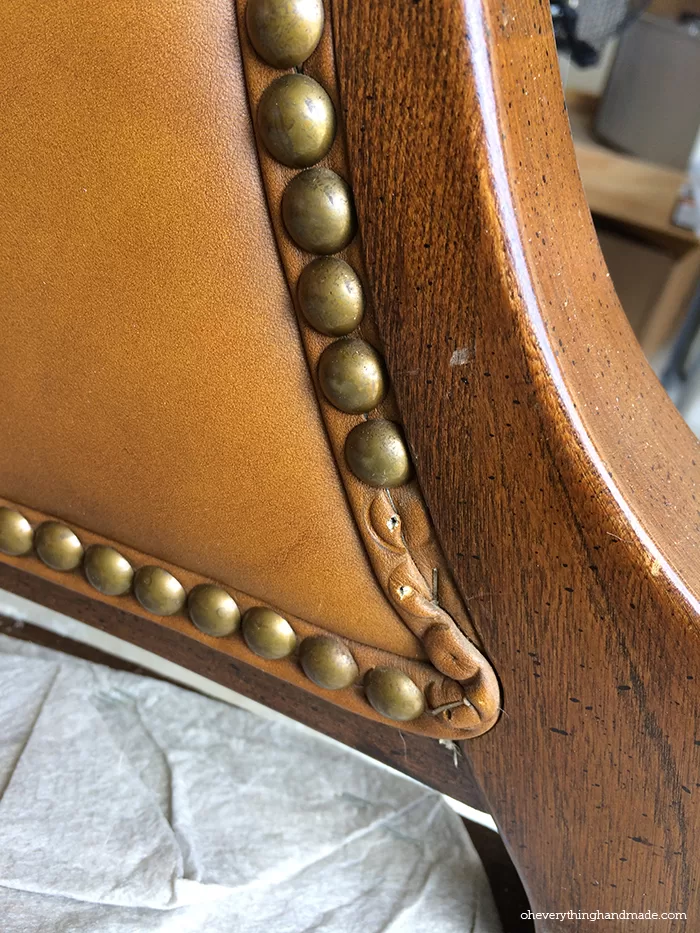
My next step was to remove the trim around the backing, this step was easy and fast (thank god, because I was already sweaty and didn’t feel like continuing).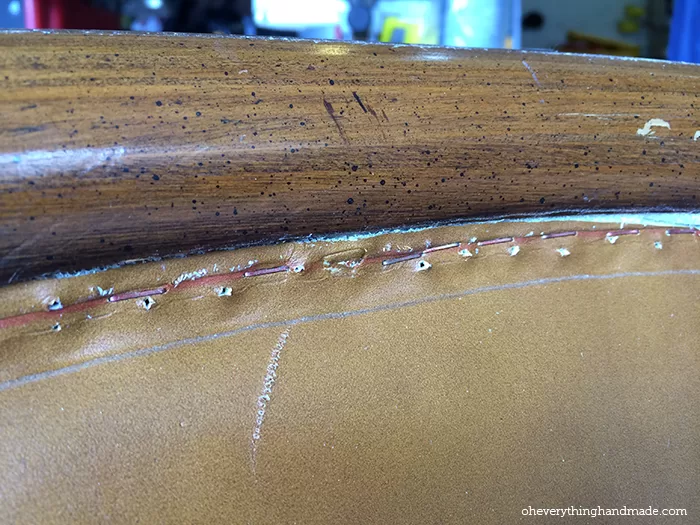
I had just removed the trim to find out that I had MORE staples to take out! Ugh, my luck that both my kids woke at that same moment, so I stopped and continued later that day.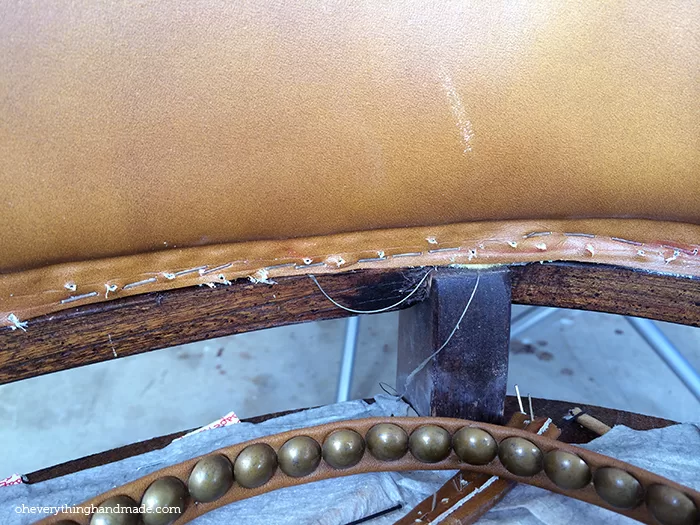
After I took down the first layer of leather, I had another foam layer, a batting layer and another layer of leather.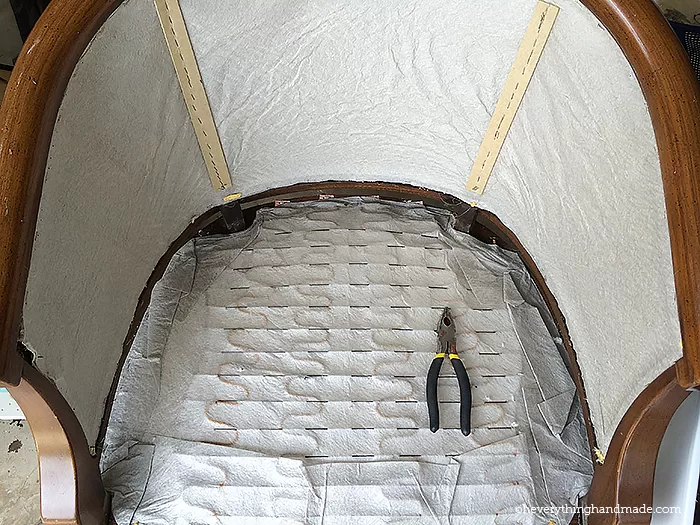
At this point, I had it with the staples on this chair! Last layer to go…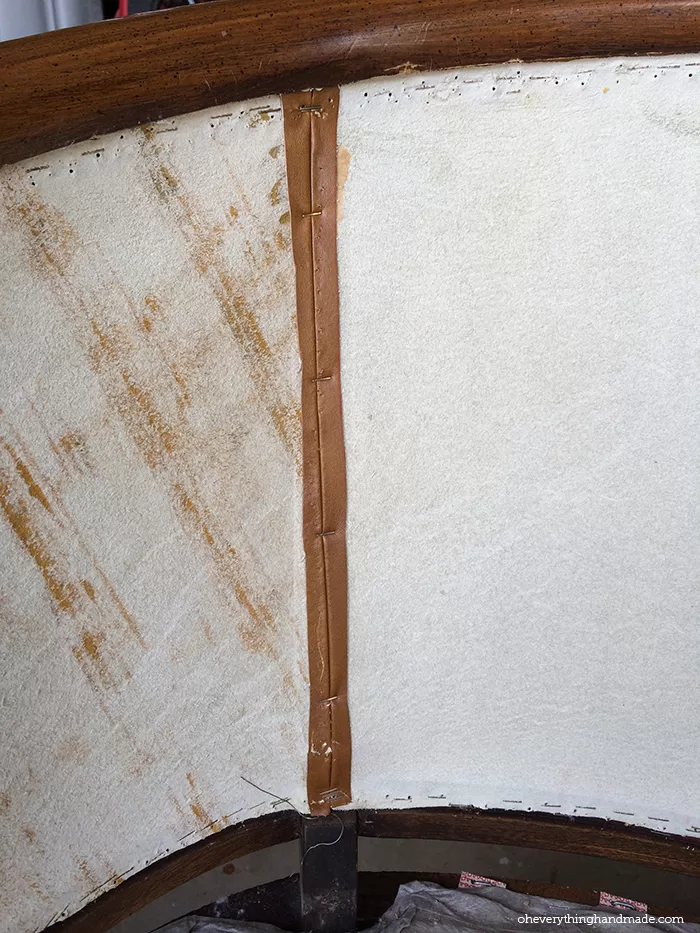
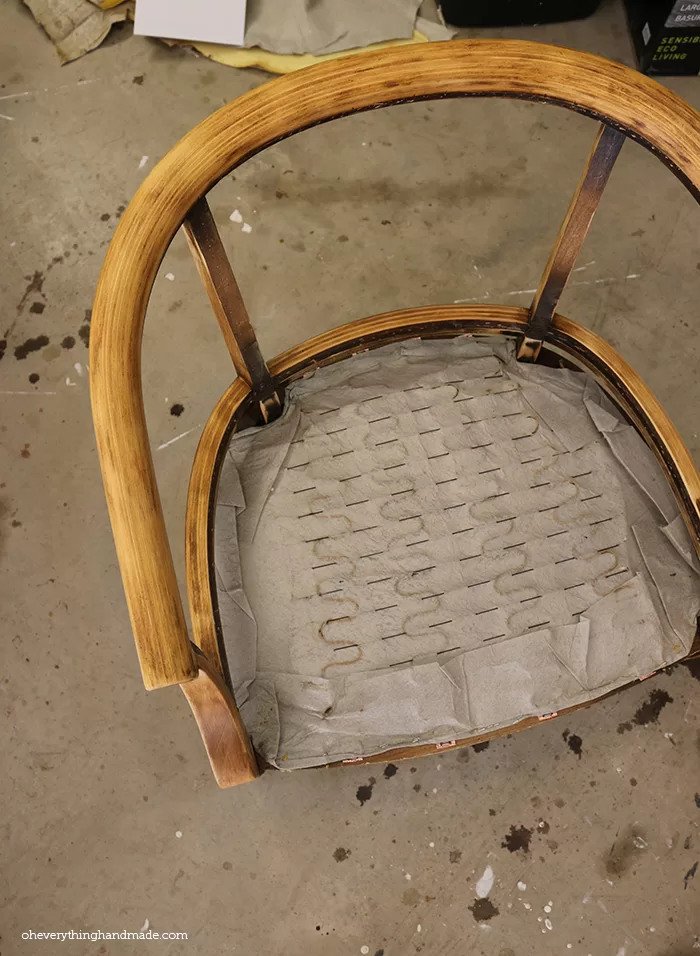
I sanded the chair that evening and applied Minwax 41500 Pre-Stain Wood Conditioner the next day. 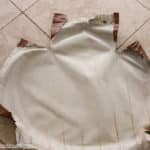
How to Transform an Upholstered Chair
Since this tutorial has multiple steps, I created a little gallery for you. You can find all the material I used below, with a summary of the spendings for this project. I would love to hear what you think about this tutorial!
READ MORE
How to immediately start your upholstery project?
- Find some inspiration on what type of chairs you like
- Gather all supplies (I’ll add a list of my favorite items below)
- Schedule your project out, from Chair hunting to fabric picking but don’t forget to schedule for the actual project. (I made that mistake before and had a chair sitting in my garage for over 2 years before I gave it a makeover)
If you like my tutorial, please make sure you share and pin it for others. You can also follow me on instagram @oheverythinghandmade, to find little sneak peeks of my projects.
QUICK CHECKLIST
❑ You love freebies, tips, DIY’s, recipes or home decor.
❑ Want to stay in touch with OEH, and read our posts (each Friday).
❑ Like to get inspired and motivated.
❑ Want to support our blog (please follow us on Facebook & Instagram)

