Jewelry DIY – Blossom Chandelier Earrings
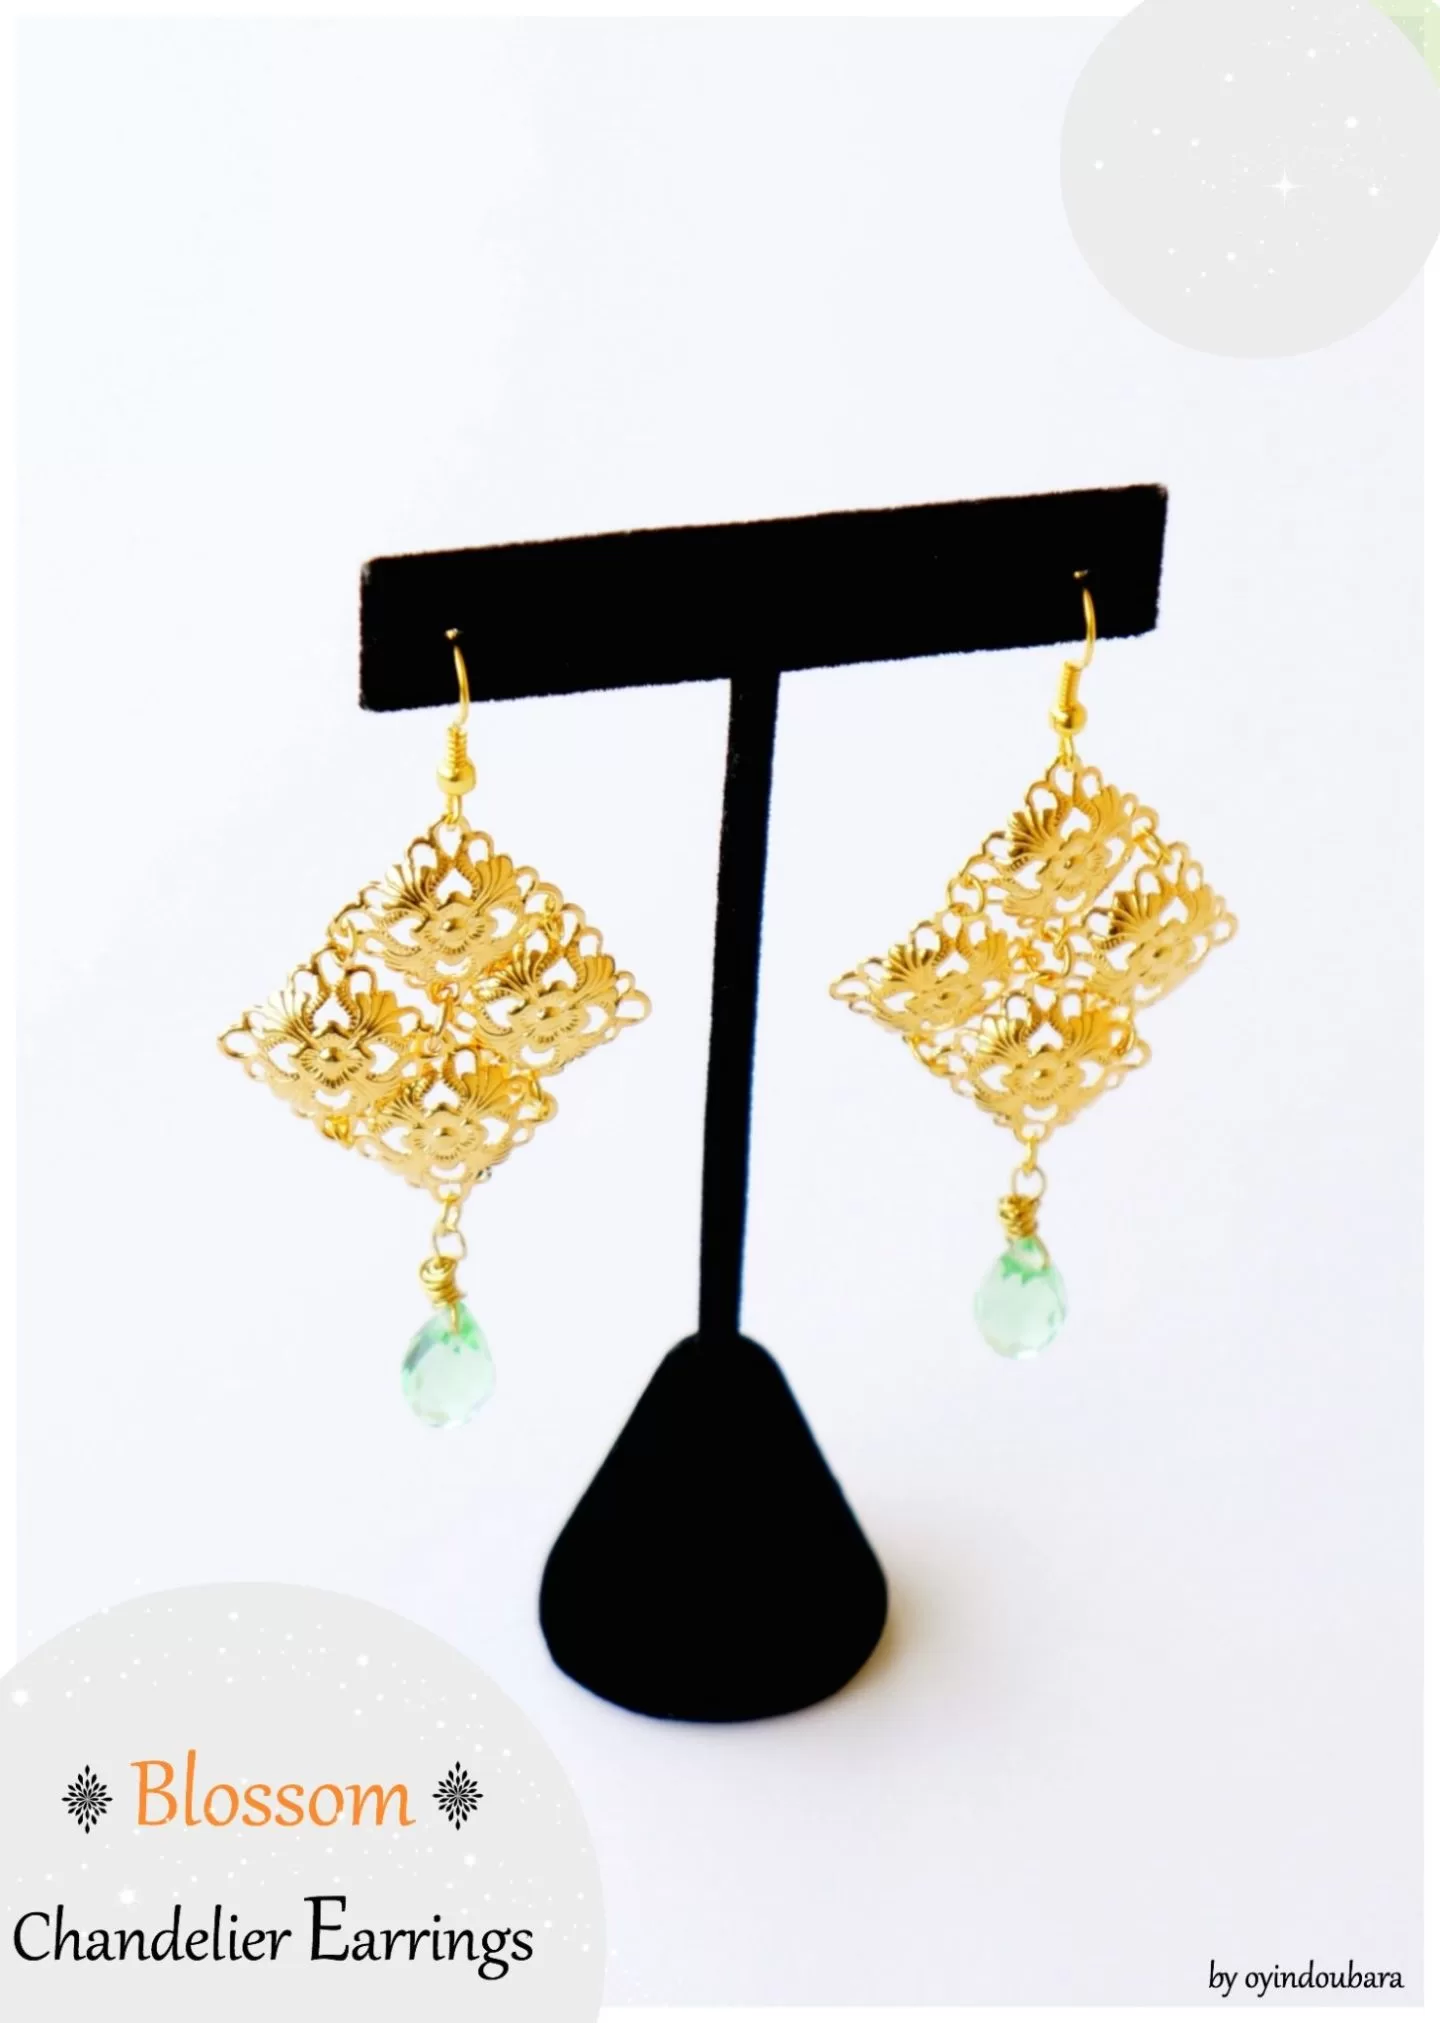
Summer is here, and what a great time to pull up your hair and show off some gorgeous jewelry. This piece, called Blossom Chandelier Earring, was inspired by the wanderlust vibe summer always brings. It is a piece you can wear to (almost) any occasion, no matter the corner of the world you are in. I dream of pairing these earrings with a maxi dress, a straw fedora, and dainty beaded bracelets.
Blossom Chandelier Earrings

Blossom Chandelier Earrings Tools:
> 24 gauge craft wire in gold
> Wire cutter
> Pliers (round nose & flat nose)
> Flower links (8)
> Briolettes (2)
> French hook earrings findings (2)
> Jumprings (12) here & here


Steps by step Blossom Chandelier Earrings Instructions:
Step 1 – Prep: Arrange four flower links into a square on a flat surface.
Step 2: Using the bigger jumpring, attach the four inner corners of the flower link
Step 3: Using the smaller jumprings, attach each outer corner of the flower links

Step 4 ~ The Dangling Bead
Personally, when wire wrapping, I prefer not to cut the wire from the spool. This ensures I always have enough wire for the project.
4a: Carefully unwind a bit of wire from the spool and gently straighten out with the tip of your fingers. You notice that this wire is soft so be careful as you straighten it. It gets difficult to smooth out if it bends excessively.
4b: Pass about 1″ to 1.5″ of wire through the hole of the bead.
4c: Fold the short end of the wire upwards
4d: Bend the short wire to make a 90 degree angle with the longer end of the wire. Now wrap the short wire around the long wire.
Tip: If you have never worked with craft wire before, I suggest you use your fingers to gently wrap the wire around. This gives you more control over the wrapping process.

When you get to the end of the wire, use your flat nose plier to bend the tip of the wire flat to prevent injuries.
Step 5: To complete the loop, place your round nose plier at the very top of your wrap and bend the wire to make a 90 degree angle. Bend the wire downwards again to make a loop. After making the loop, wrap the wire around again to secure the loop. Make as many wraps as you like.


Tip:
~For a cleaner looking finish, try to cover the tip of your previous wrap.
~Slowly wrap around and adjust the position of the wire as you go. Try as much as you can to center the wrap to the middle of the bead. Also note that it’s okay if your wrap doesn’t look exactly the same for the second pair. That’s the beauty of handmade.
Step 6: Attach the wire wrapped bead onto the flower links using a small jumpring.
Step 7: Open up the loop on the french hook finding and attach it to the top of the flower links.


Your Blossom Chandelier Earrings is complete! 🙂
Enjoyed the post? Share it with your friends on Pinterest, Twitter and Facebook.
FIND MORE OF OUR JEWELRY DIY’S HERE