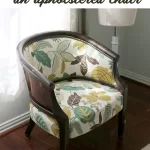
DIY // How to Transform an Upholstered Chair
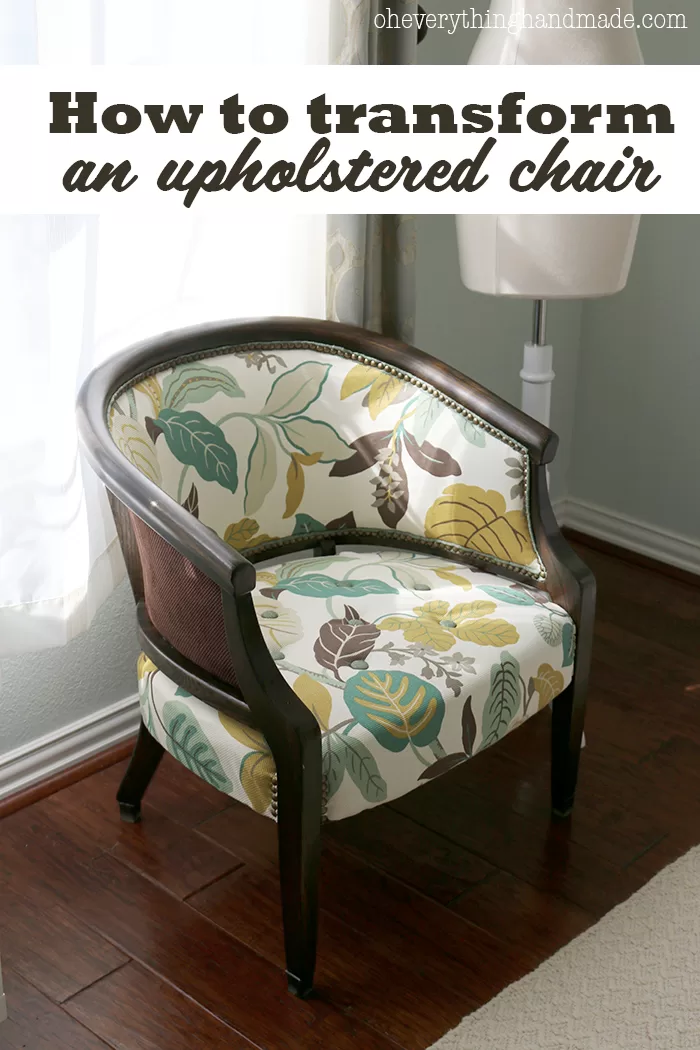
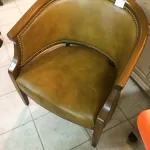
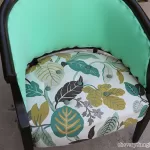
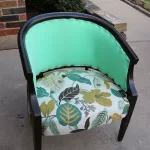
Hi there, hope you all had a nice weekend? I promised in my Chair Reveal from last Friday, that I would share my tutorial with you on how to transform an old upholstered chair.
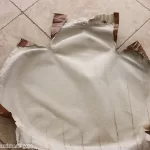
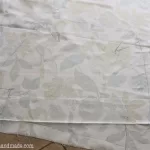
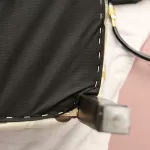
Since this tutorial has multiple steps, I created a little gallery for you. You can find all the material I used below, with a summary of the spendings for this project. I would love to hear what you think about this tutorial!
DIY // How to Transform an Upholstered Chair
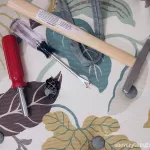

Material used for this project:
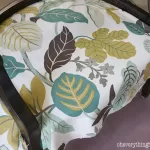
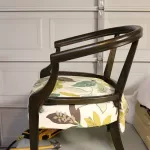
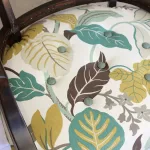
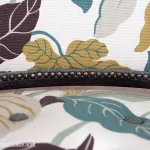
- Fabric from HomeFabrics and Rugs
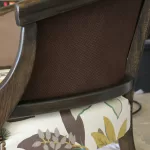
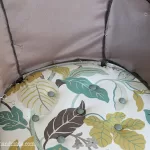
- 1.5 yards of the main leaf print fabric $5/yard
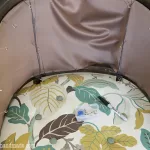
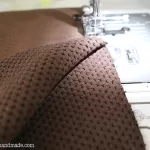
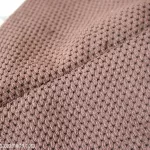
- .5 yards of brown textured fabric for the back $5/yard
- 10″ inches-green linen fabric for buttons and trim $5/yard
- Total: about $15.00 incl. tax
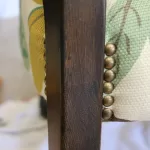
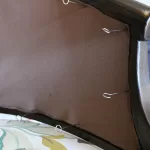
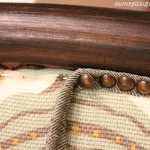
- Decotacks Upholstery Nails/tacks 7/16″ – 100 Pcs – $6.90
- Fabric covered buttons – dark green – $10.00
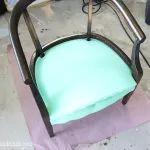
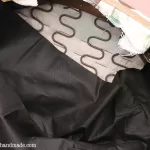
- Dritz 44296 Dust Cover Upholstery Fabric, Charcoal, 36-Inch by 5-Yard (already owned) – $8.49
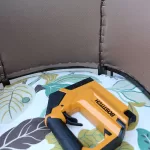
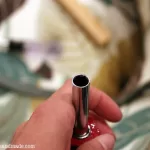
- Staple gun (already owned)
- Dritz Magnetic Upholstery Tack Hammer (already owned) – $12.82
- Dritz Upholstery Tack Strip, Natural (already owned) – $9.89
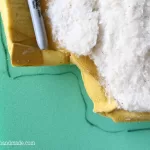
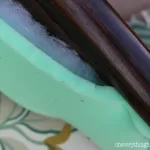
- Foam, batting (already owned) – $4.00
- 8 .oz Oil based Ebony Stain from Minwax (already owned) – $4.78
- Total cost, including fabric: $35.90
Since I already owned some of the items, I did not include them in my total cost. So, my spendings for material was only $35.90 plus the chair $22.00, makes this makeover a whooping $57.90.
I’d love to hear your feedback on this makeover.