DIY // Handmade Earwire
I have been using this technique for quite some time, and it comes in handy when you are making something custom or want to give your earrings a unique look!
Making an earwire is not hard, if you have the right tools! Today, I’ll show you how you can make them in just a few minutes.
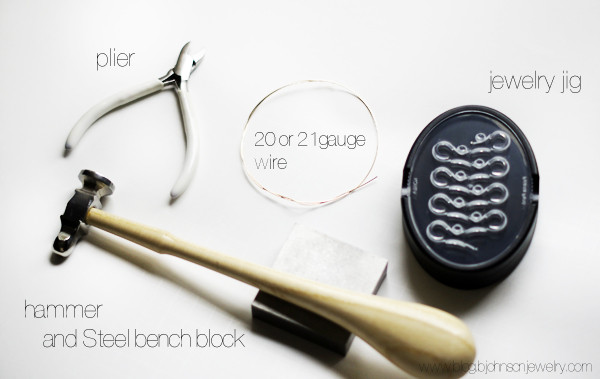
What you’ll need:
Instructions:
1. Cut 15″ inches of your wire ( I used 21g wire in my tutorial )
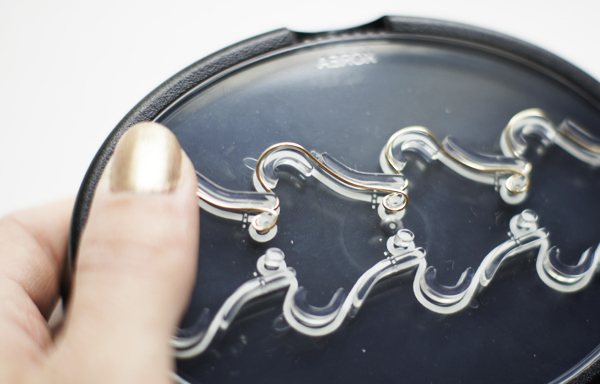
2. Start wrapping it onto the Jewelry jig, as it shows in the picture.
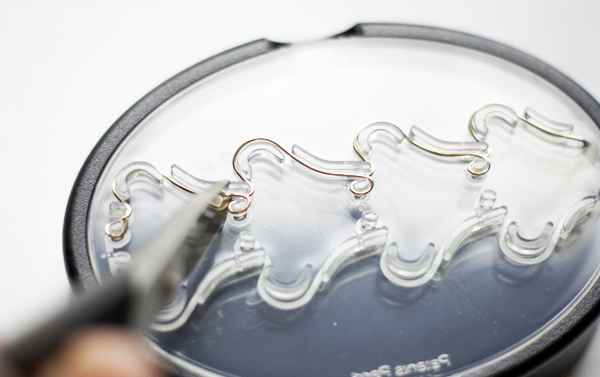
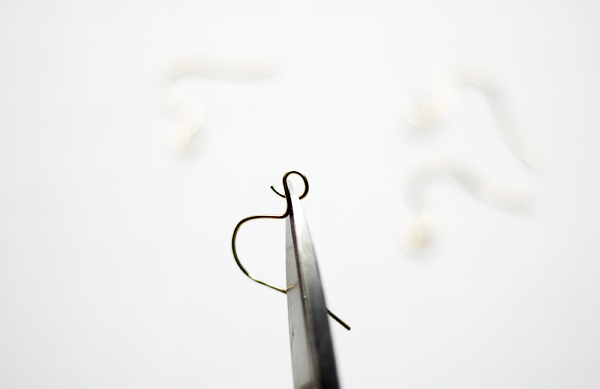
3. When you are done, cut the wire at the dotted area.
4. I cut the wire one more time, so it closes nicely.
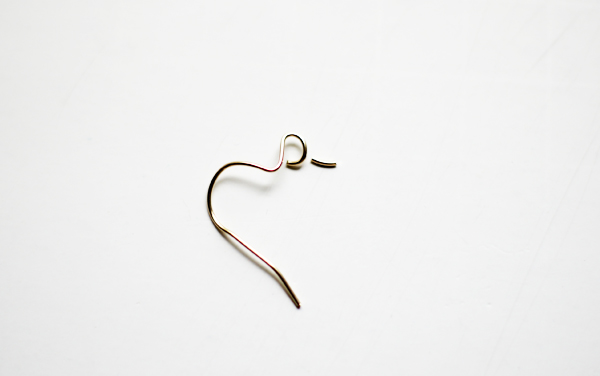
5. The ear wire will be a little bended, so make sure you straighten up the ear wire before moving onto the next step.
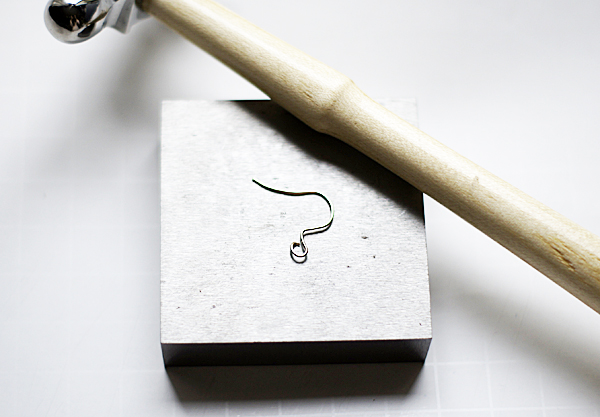
6. Pull out your hammer and steel bench block, you’ll need them in the next step if you like to give your earwire a hammered look. If not, You can also skip this step, and continue with step 8.
7. I hammered only the back loop, but you can give your entire earwire a hammered look. Be gentle, do not apply to much strength to the wire.
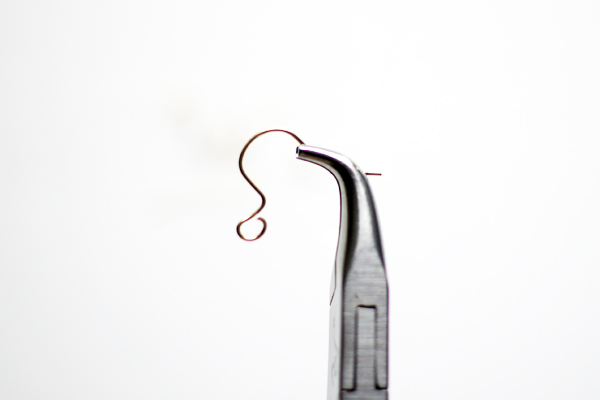
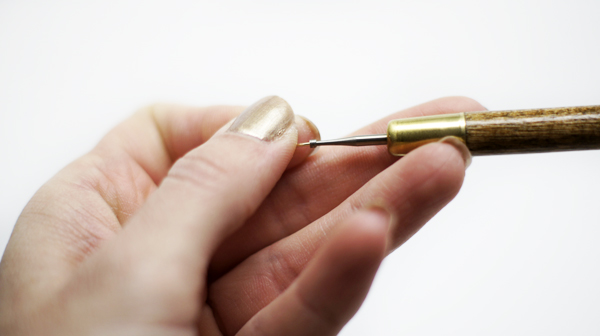
8. This step is the most important in my opinion! To smooth out the ends, so you or your customer won’t hurt themselves when putting your earrings on. I used a wire rounder, but you can also use a nail file to complete this step.
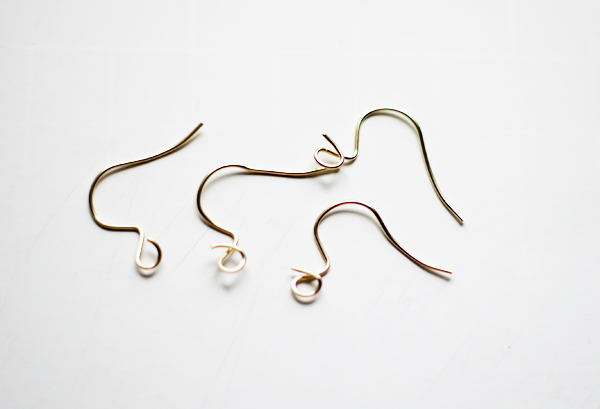
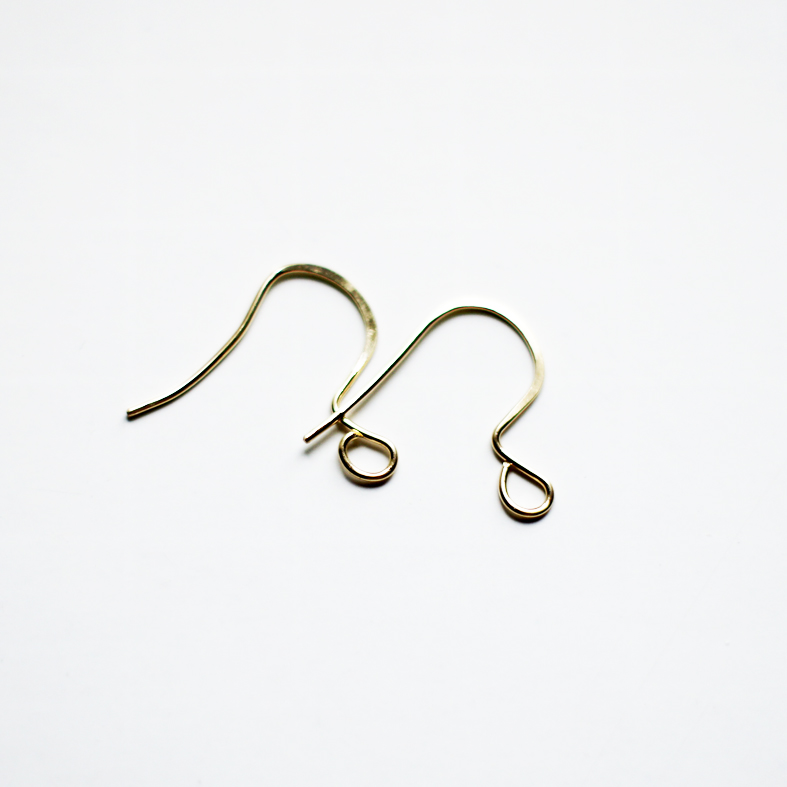
FINISHED!!!






I love handmade jewelry! These earrings are beautiful
Thank you Kate!