Nigella & Protea Wild floral wreath
This post was brought to you by: Afloral.com
This is not a sponsored post, all opinions are 100% my own.
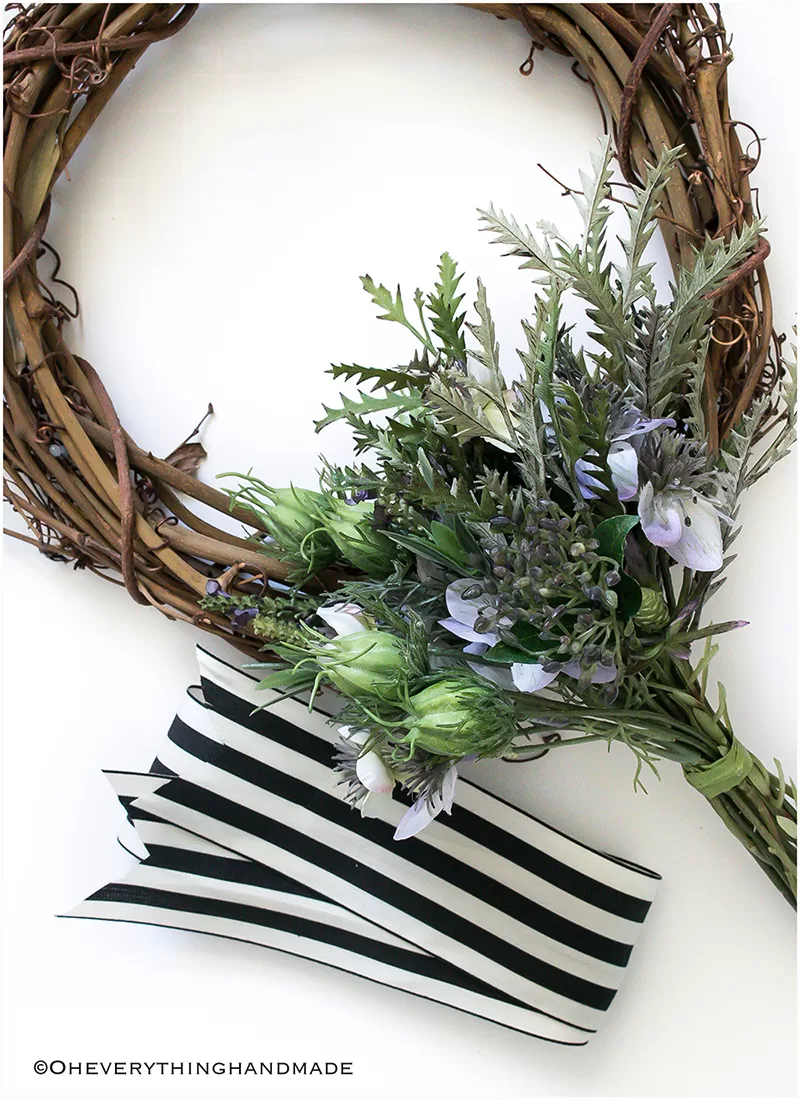
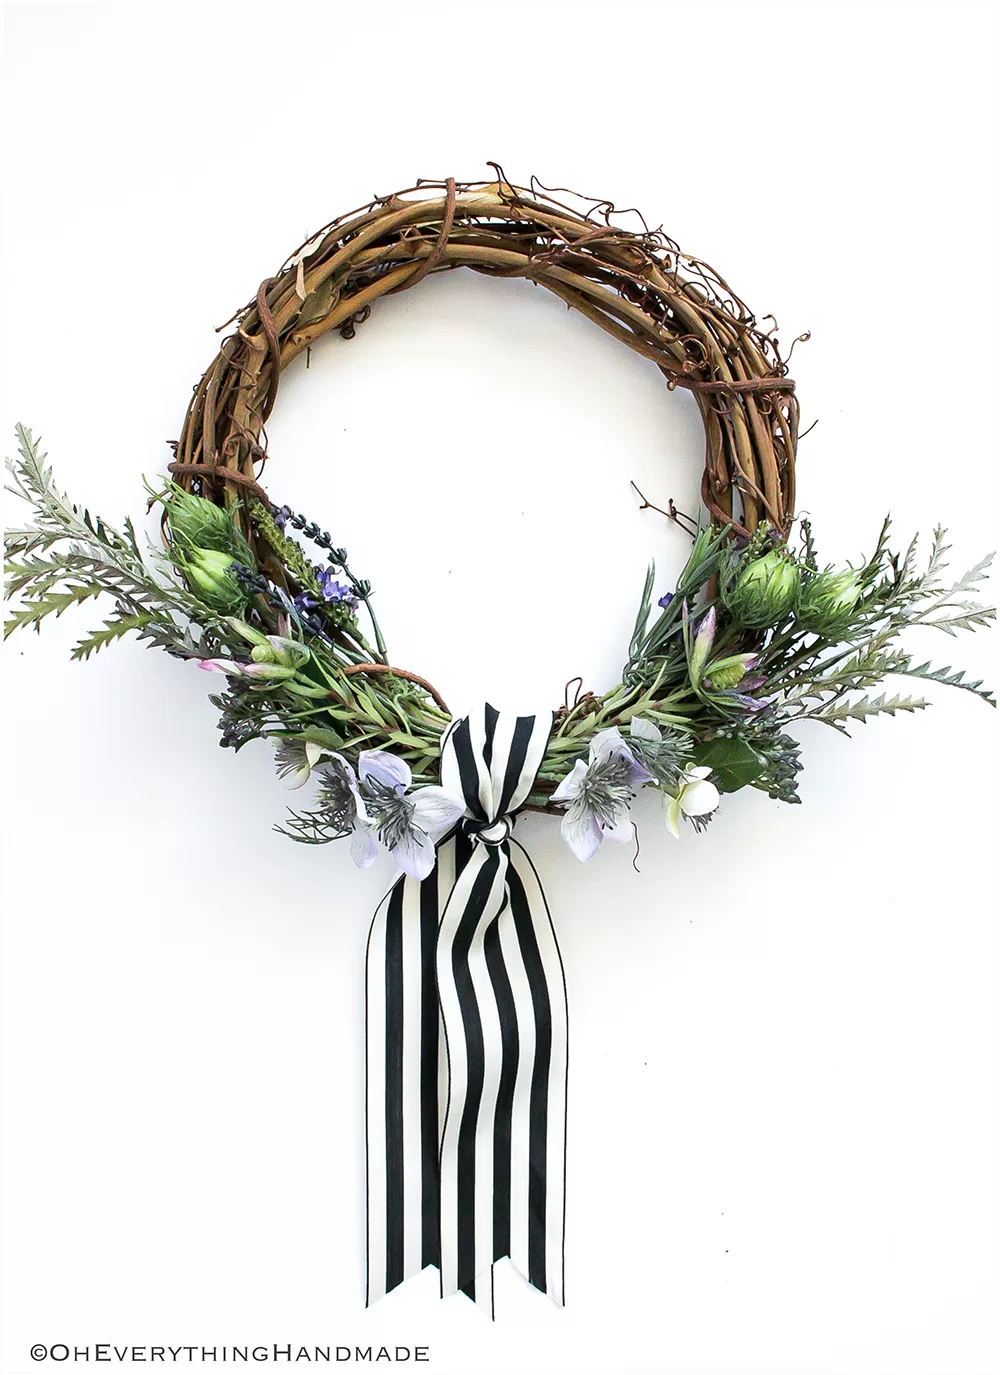
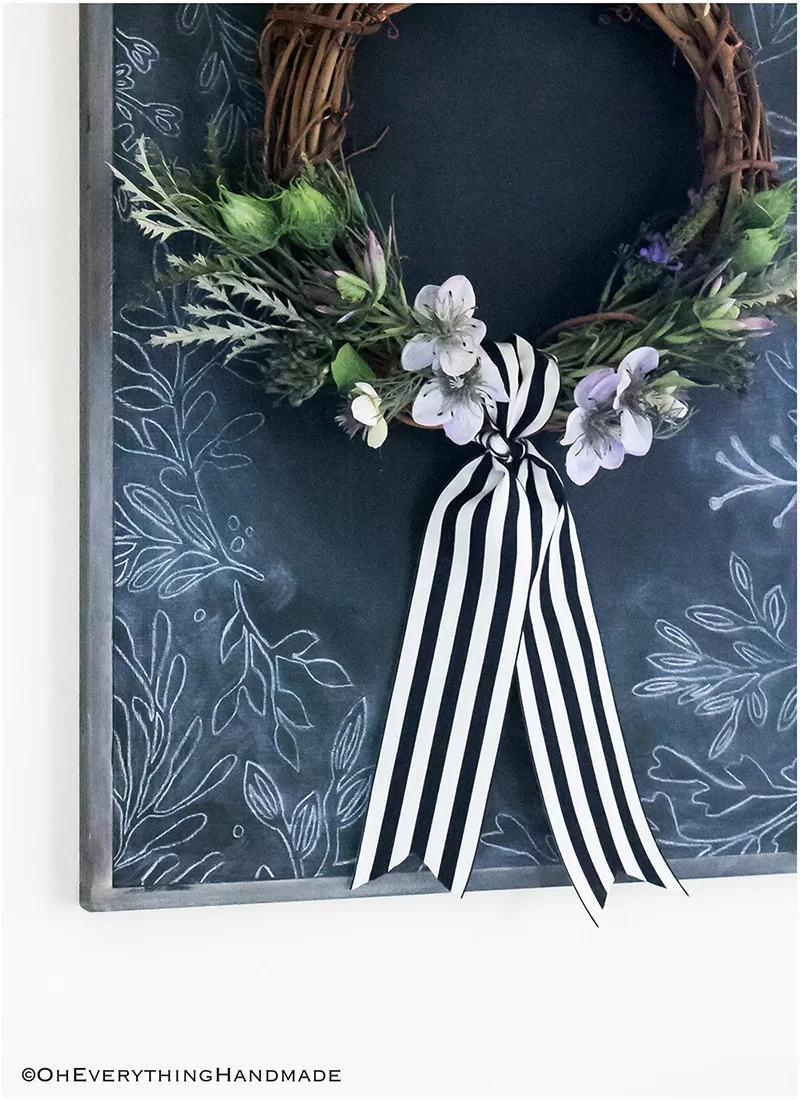
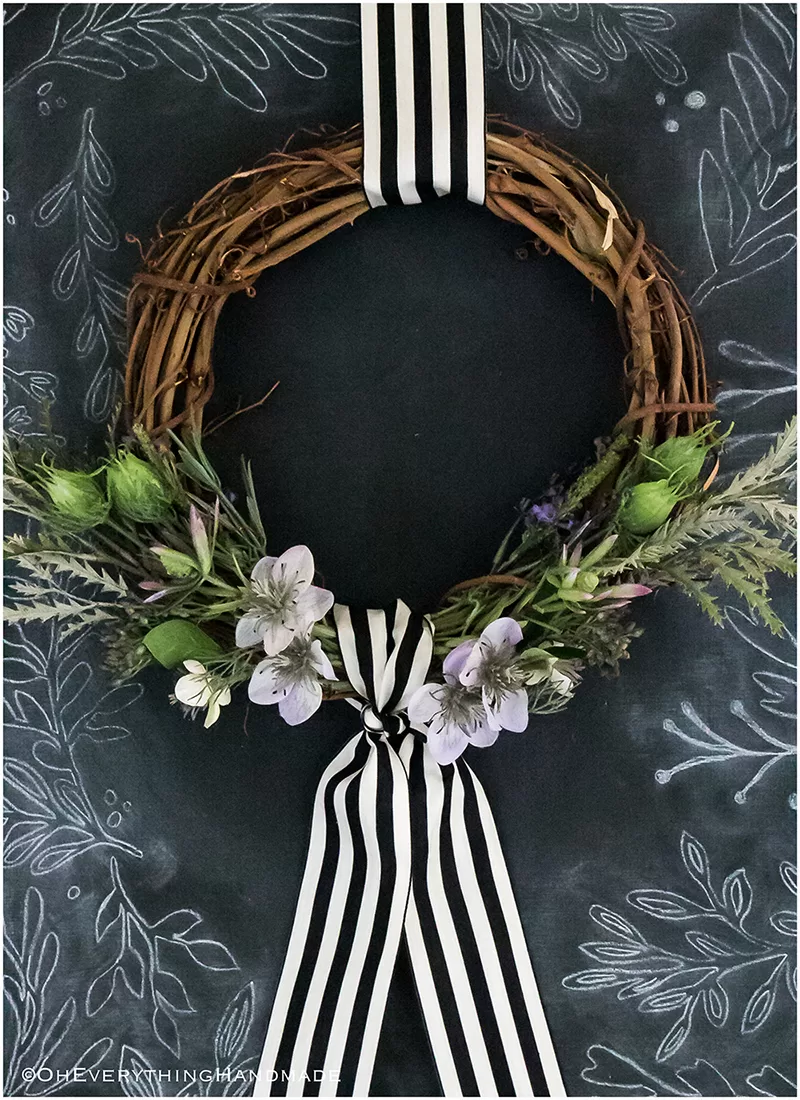
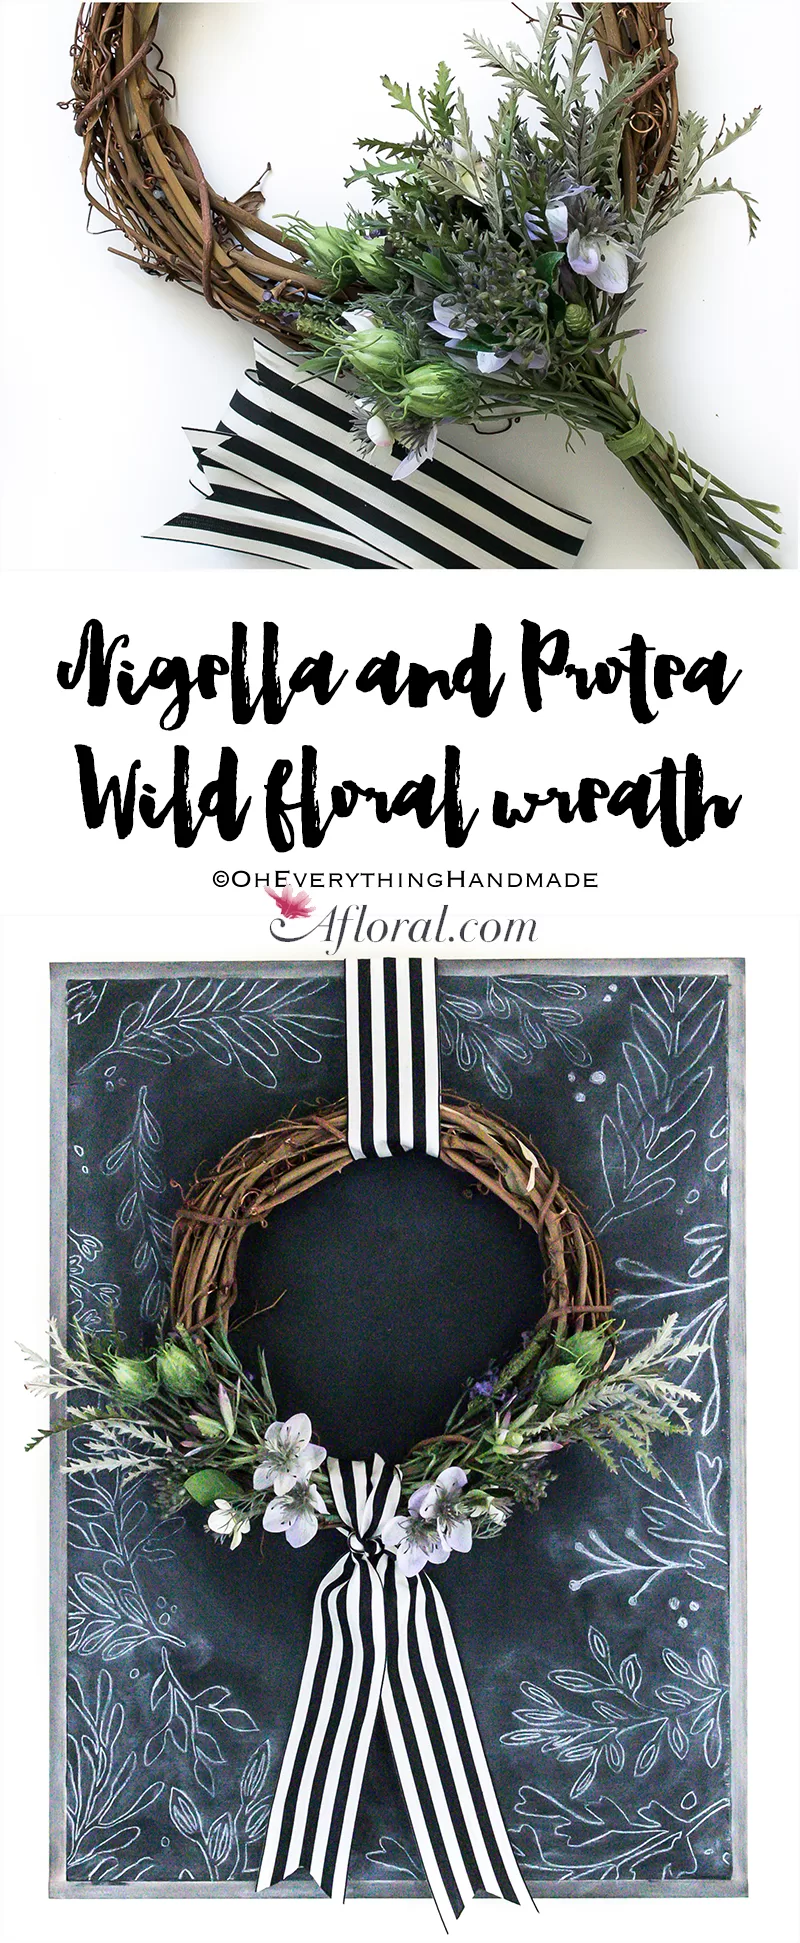
With fall almost knocking at the door, I felt the itch to create a Nigella and Protea Wild floral wreath! And because crafts should be fun and easy, I made this one a “5minute NO-Glue Wreath”. All you need is this bouquet from Afloral, a grapevine wreath, and ribbon.
Nigella and Protea Wild floral wreath
Instructions
Attaching the faux floral
This bouquet is so easy to work with, and the flowers are made with such great detail. I love working with something that was a little out of my comfort zone, but I think I nailed it and made it fit right into my style.
[do_widget id=text-100]
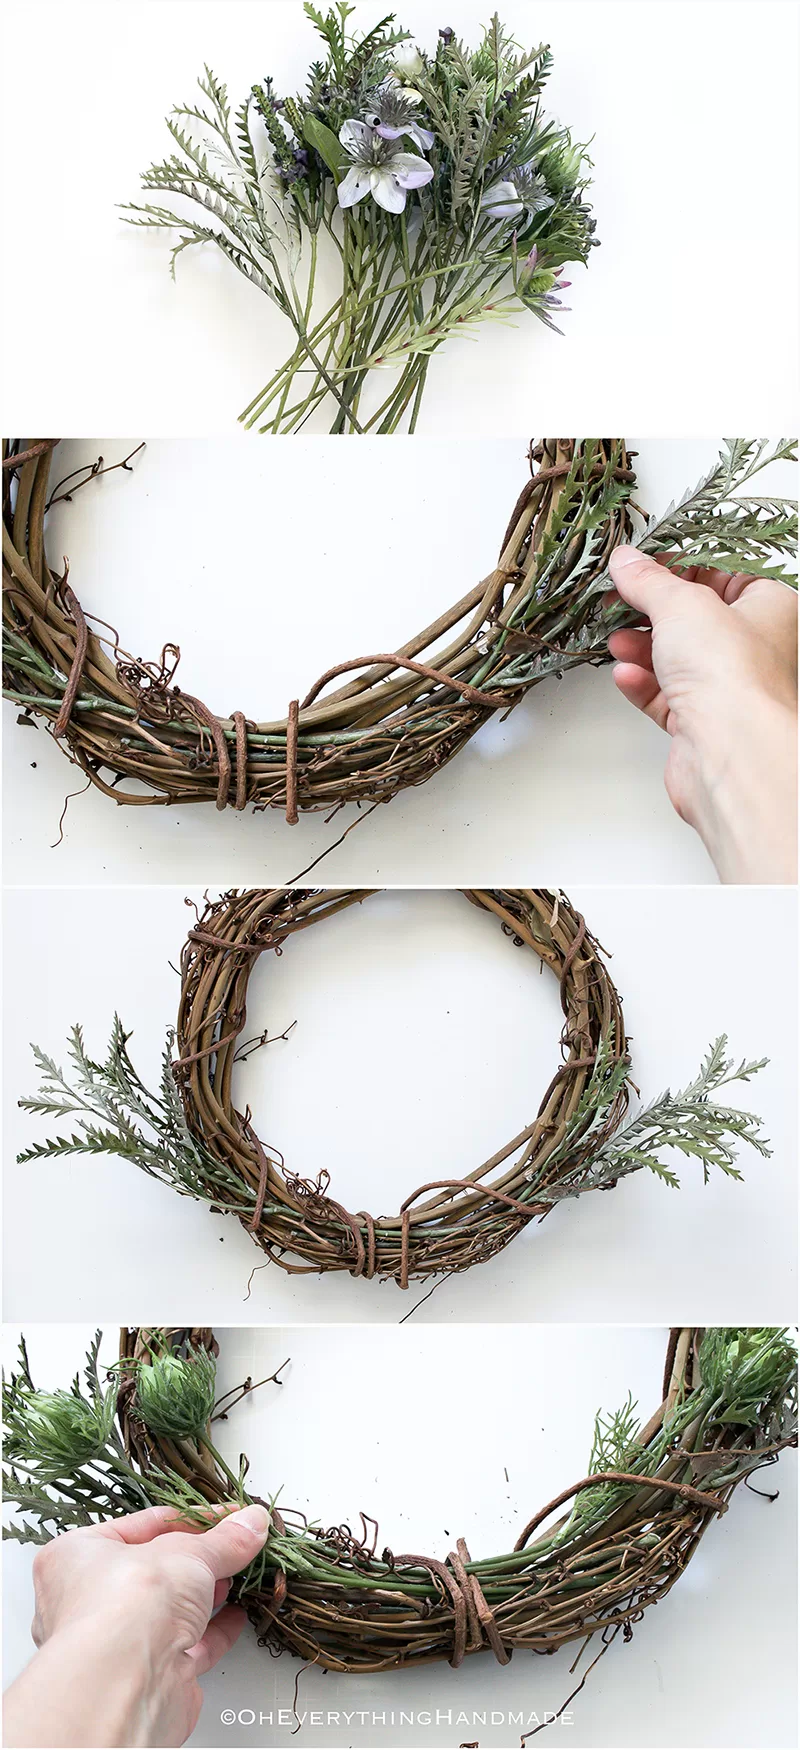
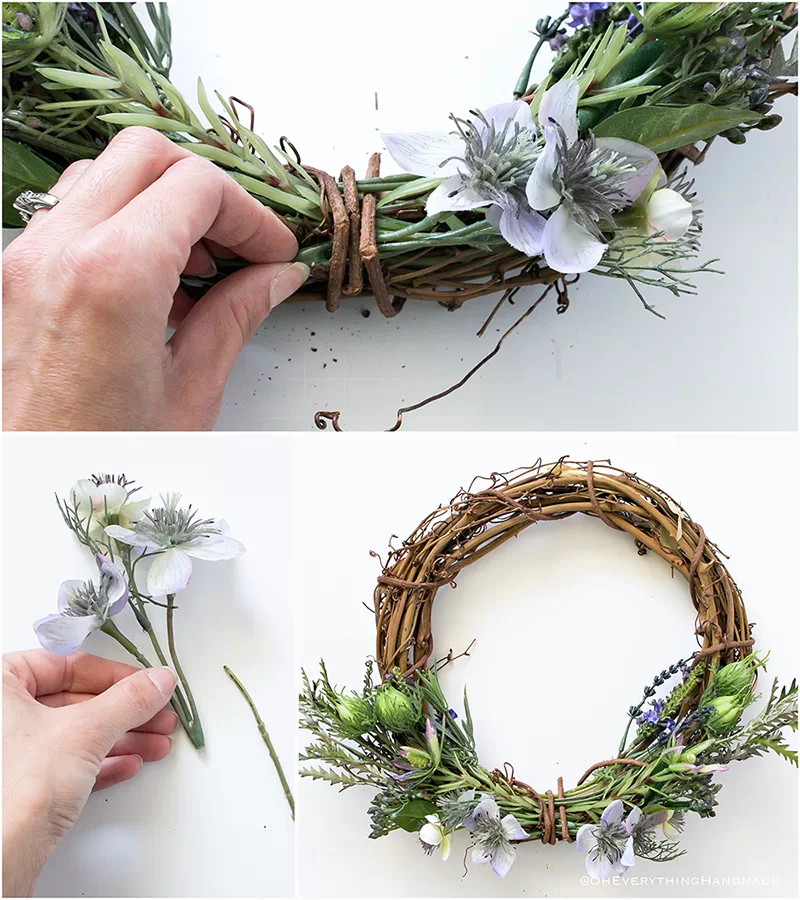
First, I cut the wire and wrapping which was holding the bouquet together. Simply use wire cutters and snip it all off. The bouquet should fall apart fairly easy!
Once everything is sorted, best is to use greenery and flowers that come in pairs. I used the thicker vine as my center point which was wrapped vertically around the grapevine to hold each stem. Then I started to slide the biggest greenery through the wreath, this gives it a nice dimension. It is important to hide the stems while sliding them between the vine if you want a nice looking wreath.
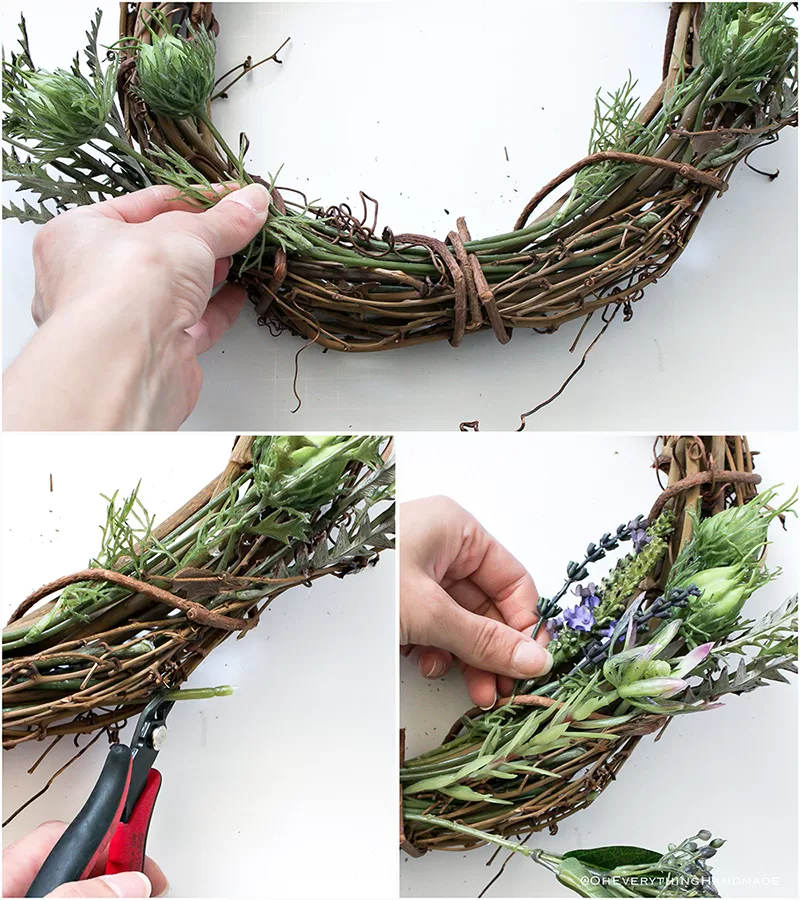
Long stems can be cut off with a wire cutter, and if some of the branches don’t sit right they can be bent in place since they’re made with a wire interior.
Tie the Ribbon on
A ribbon is only a decorative option, if you rather fill the wreath with more greenery you don’t have to add a ribbon. But because this wreath was on the smaller side, I decided to add a ribbon so it appears bigger. It was also hiding the thick vine in the middle.
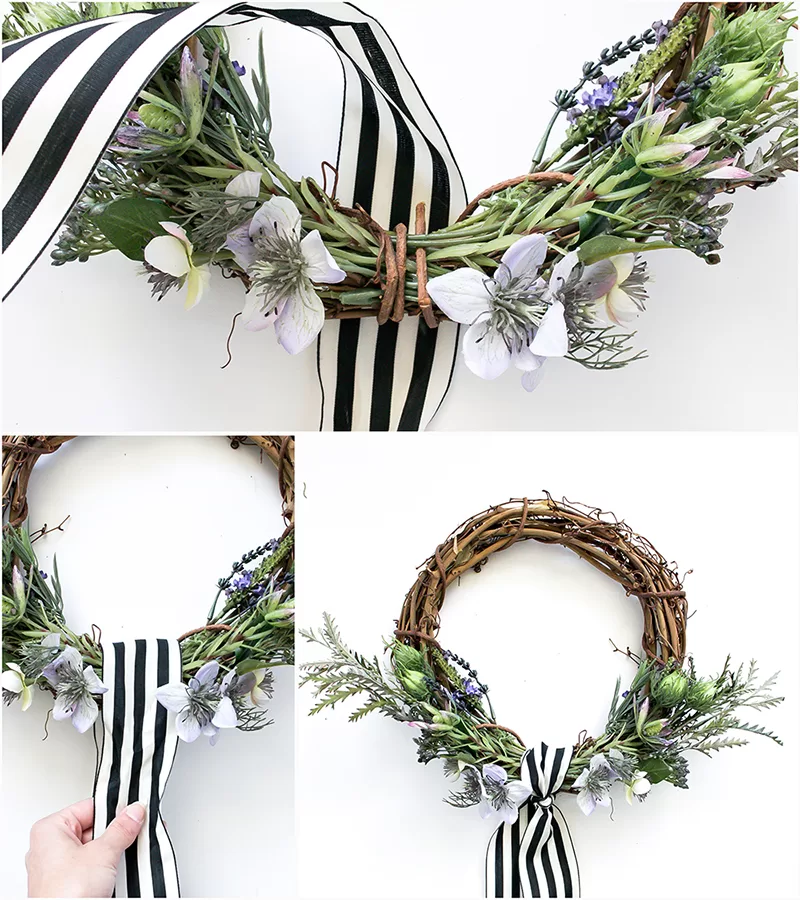
A ribbon is one of my favorite accessories to add to a wreath, most my previous wreaths have them, see here and here.
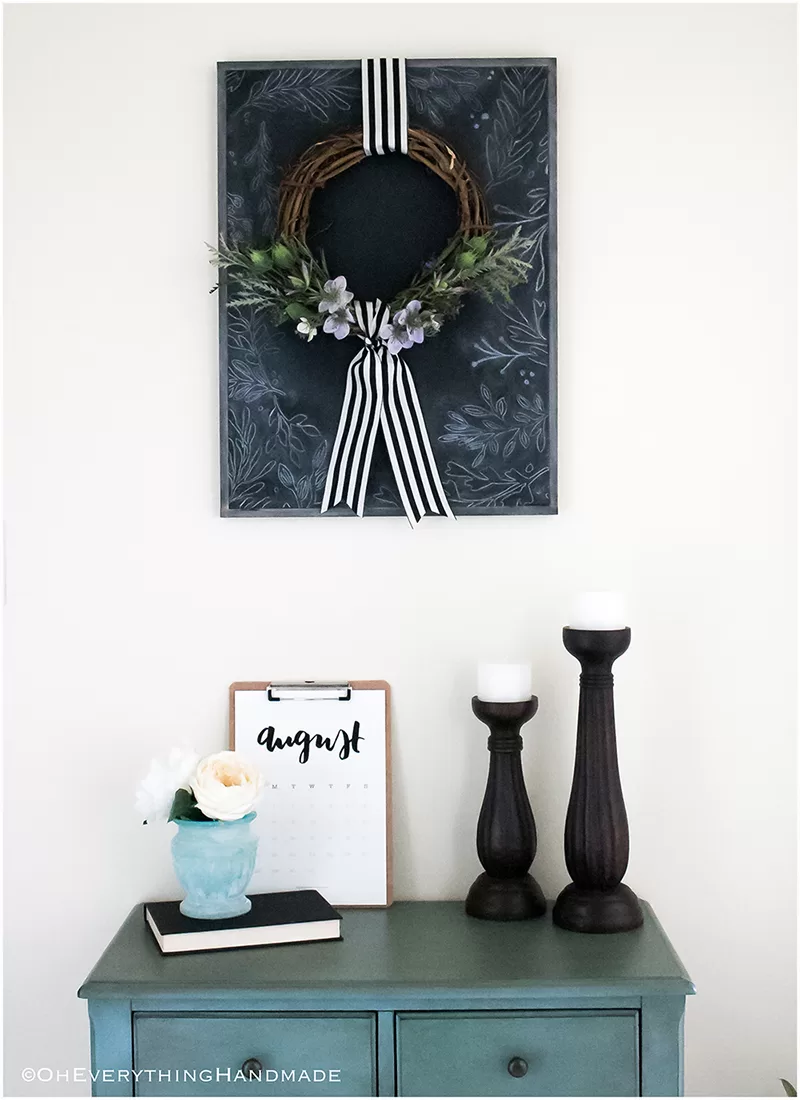
Add the wreath to a chalkboard
As I mentioned, this is a rather smaller wreath with only 12″ inches in diameter. So, I added the wreath to my chalkboard, you can find the tutorial for it here “how to make a Chalkboard Design like a Pro“.

[do_widget id=text-102]
This is all there is to it, hope you enjoyed the tutorial and will give this a try or share with your friends. Thank you!
SOURCES
|
|
//PIN FOR LATER//
[go_portfolio id=”related-post”]

