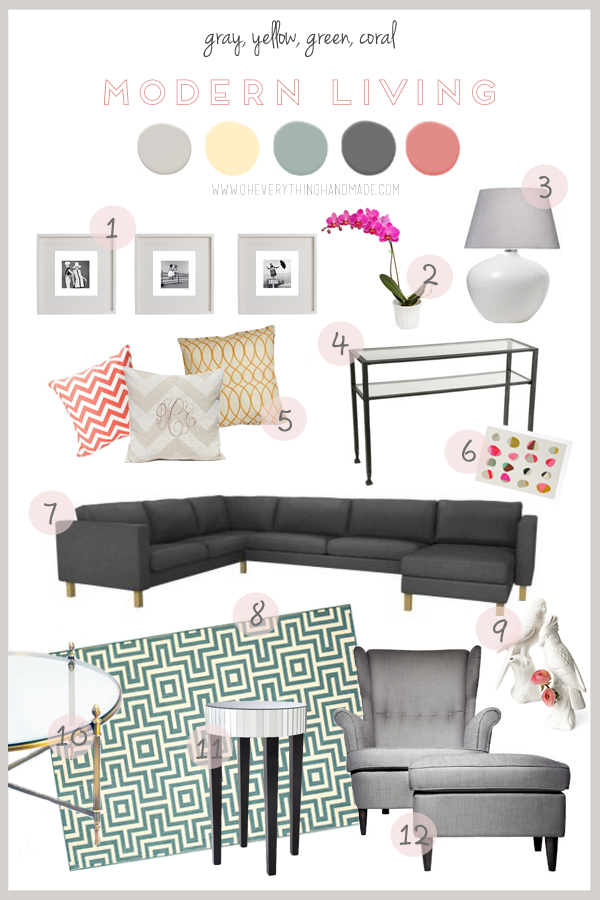
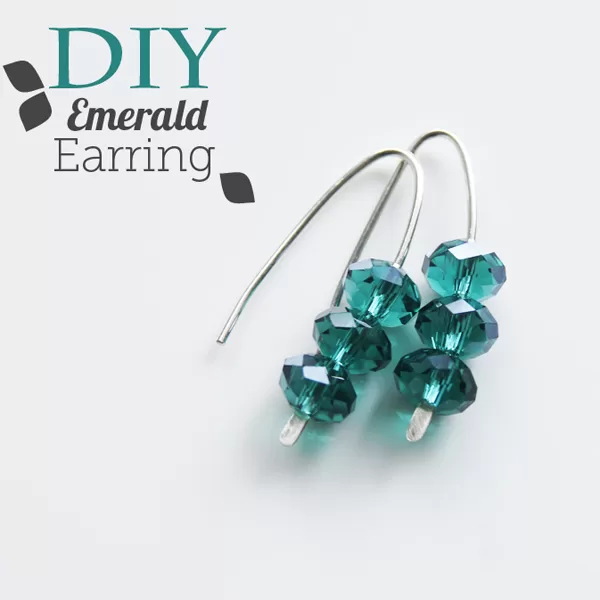
DIY // Emerald Wire Earring + Giveaway
It’s been quite a while since I’ve published a jewelry tutorial. Today’s jewelry tutorial came to life due to a collaboration with allfreejewelrymaking.com. I also like to welcome all our new followers, thank you for joining our community.
There will be a surprise at the end of this tutorial, so stick around and continue reading…
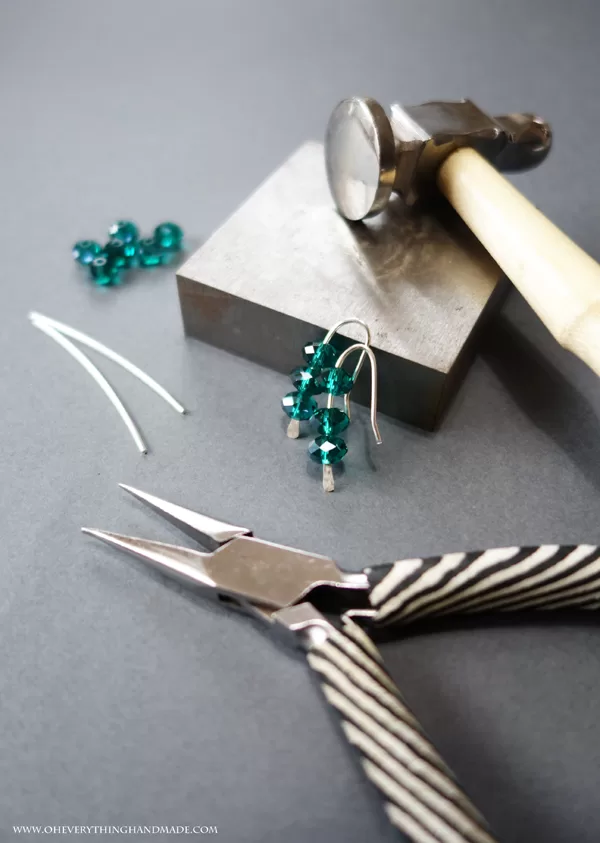
What you’ll need:
- 2x 2 1/2″ 16 gauge wire
- 6 crystals 8mm rondelle
- Nose Pliers
- Chasing Hammer
- Steel Bench Block
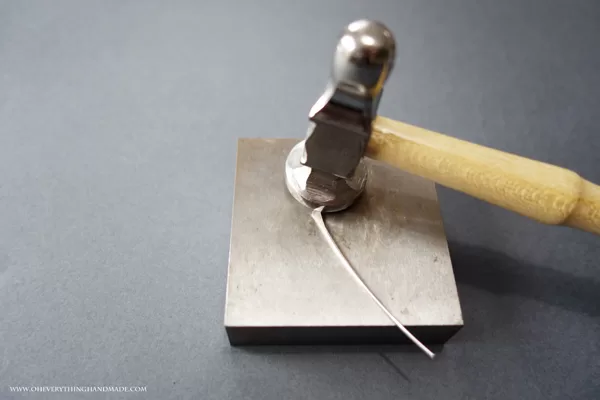
(you can use a regular hammer and pliers, the concrete floor should also work as a working surface – just make sure you have some newspaper underneath, so you don’t engrave the rough texture of your concrete into your earwire while hammering…)
1. Hammer carefully one end of your earwire, about 8-10mm into the wire.

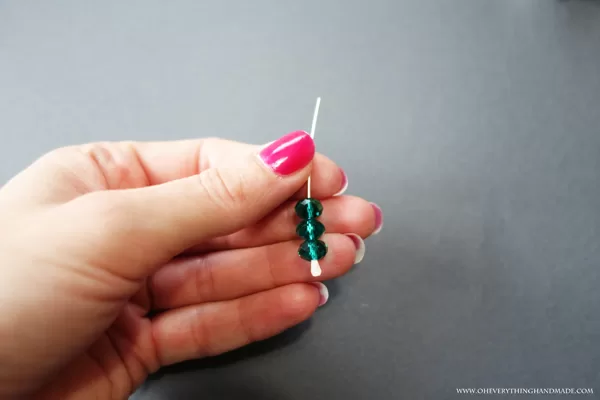
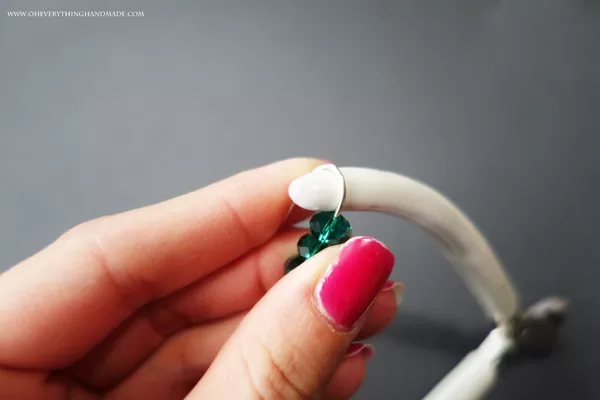
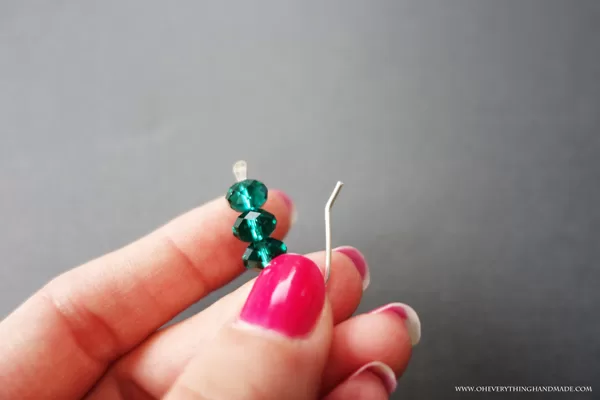
2. add 3 crystals to your wire.
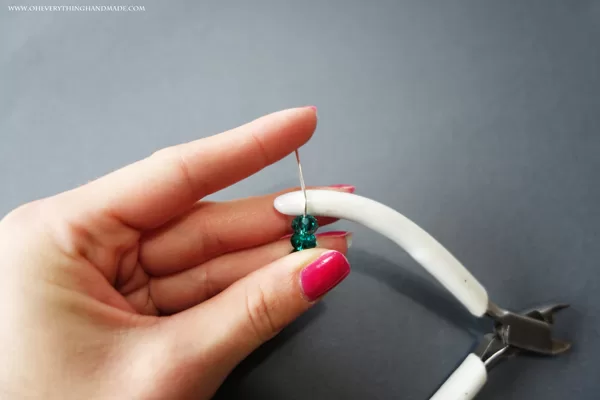
3. Use the end of your pliers to bend the ear wire, you can also use a round pen (if it has a rubber-covered area you want to use that, it will help you keep the earwire stable). The pen or pliers end shouldn’t be thicker than 9-10mm.
4. Bend the wire downwards until you have a U-shaped earwire.
5. With your nose pliers bend 5mm from the end of your earwire outwards.
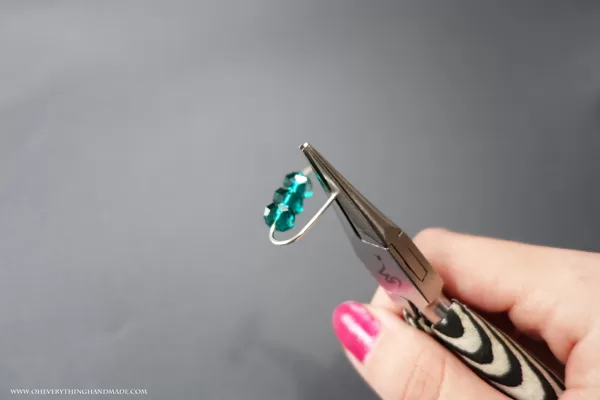
6. Now simply adjust your earwire by bending carefully toward the inside.
Note:
You may want to use a file for smoothing out the earwire ends, especially the one that goes into your ear. I use a file just for smoothing our earwires, it’s the easiest and fastest way to finish up an earwire.
(make sure you rinse your file with water after you have used it on your wire. I use this file for all my wire smoothing: Sponge Sanding and Buffers Polisher File)
I hope my instructions are clear and understandable, should you still have trouble completing this tutorial, please comment below and I’ll do my best to help out.
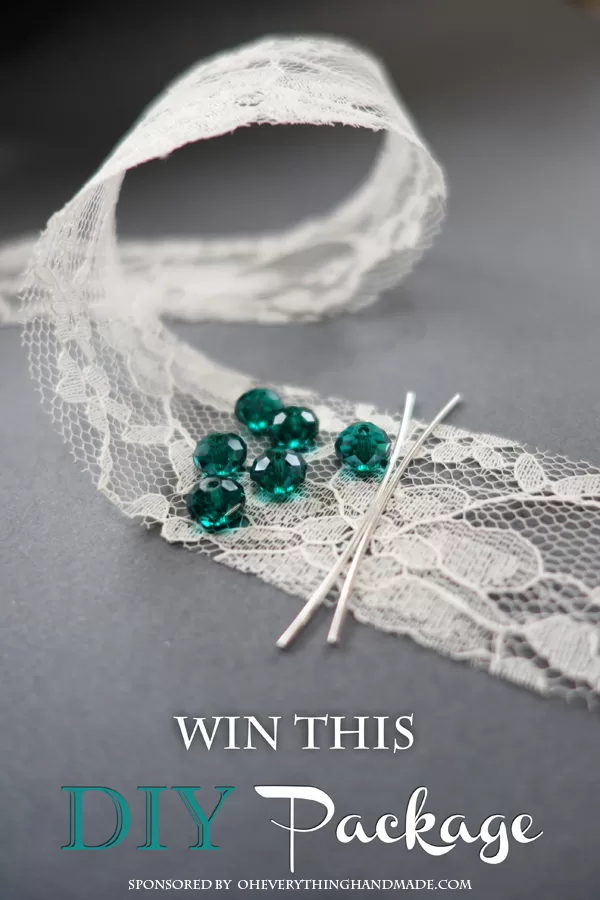
Speaking of making this tutorial, how about winning all the supplies you need to make today’s earring? Sound good, right?
We are giving away 5 packages with all the supplies you need to complete this tutorial*
*tools are not included!
(credits: all images by Bettina Johnson)