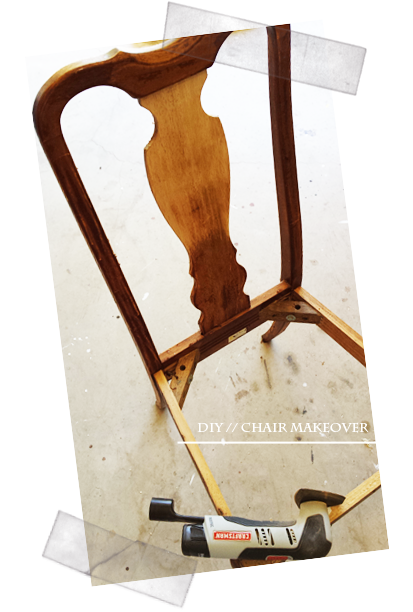
DIY // Dining Chair Makeover Tips

It’s time I update you guys on the progress of my dining chairs! I bought these chairs a few months ago, while I was still pregnant. And because I wasn’t able at that time to do any sanding and staining, these chairs have been waiting for me to be refurbished since!
I have been working on the chairs lately whenever I had time, but it’s such a slow process due to other projects I needed to finish first, like the IKEA chest drawer for Bailey.
Anyway, I have a few images and tips for you guys that will make refinishing a furniture piece easier and a faster process.
// STRIPPING & SANDING TIPS:
- To remove old paint and varnish you can go by a couple of different ways, primarily by sanding and by use of chemical strippers. A Black & Decker HG1300 Dual Temperature Heat Gun
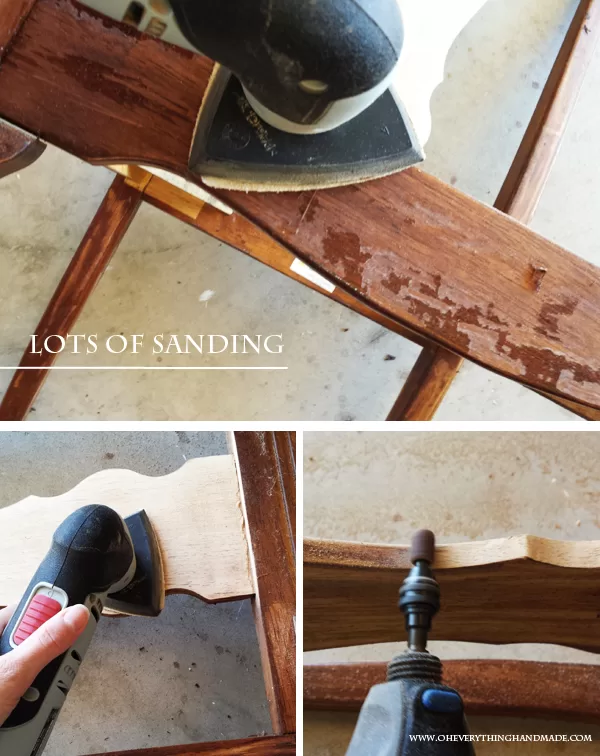
can also be used for stripping especially when you have stubborn finishes. - Sanding is a good method only if you have good sanding equipment and are experienced in the use of such equipment. I used this Craftsman 9-17438 Nextec 12-volt Lithium-lon Multi-Tool
for most of the areas. However, the smaller and rounded areas I used this Dremel 100-N/7 Single Speed Rotary Tool Kit
(see images below).
- Now if you are trying to remove an old finish by hand sanding or with a common orbital finishing sander, you will work yourself into a puddle and waste a lot of sandpaper. I would recommend a DEWALT D26451K Corded 3 Amp 5-Inch Random Orbit Sander with Cloth Dust Bag
sander which can remove finishes quickly.
// STAIN TIPS:
- Applying sanding sealer is like priming the wood. The sealer reduces the tendency of some woods to absorb stain unevenly. Sealing end-grain prevents the wood from absorbing too much stain and creating very dark areas. Sealer can also be applied after staining and filling to reduce the number of finish coats which will be necessary.Sanding sealers are available commercially here –> Rust-Oleum Zinsser 854 1-Quart Bulls Eye Sealcoat Universal Sanding Sealer
, or you can create your own by thinning the material you intend to use for the final finish with an equal part of the appropriate thinner for that product.
- Applying Stains Always follow the manufacturer’s recommendations for the product you are using. In general, liquid stains Minwax 22718 1/2 Pint Wood Finish Interior Wood Stain, Ebony
are applied with a rag or brush and allowed to penetrate into the wood. The longer the stain is allowed to penetrate, the darker the color will be. This only works to a certain extent, however. The excess stain is then wiped off with a clean rag and the piece is allowed to dry. If a darker finish is desired, these steps are repeated.
// OIL FINISHES:
- Penetrating oil finishes are easy to apply and produce handsome results. AFM Naturals Clear Penetrating Oil – Gallon
is one of my favorite oil finishes, because it is eco-friendly. However, you may want to choose another type of finish if extreme durability is a requirement.
I have one more chair to go, the sanding takes the longest especially when you have one with rounded or hard to reach areas!
On the front legs I used the Dremel 100-N/7 Single Speed Rotary Tool Kit with this Dremel TR470 60, 120, 240 Grit Band, 1/2-Inch, 2EA (see image on the left side), to smoothe the legs out I used my Craftsman 9-17438 Nextec 12-volt Lithium-lon Multi-Tool (image on the right) you can also do this by hand, but with the multi-tool it was done in less than a minute.
Next will be painting… still deciding if I should go with a color or just stain! I’ll keep you posted.
Have a nice day!


