DIY // Wooden Stump Side Table
Is it really Thursday already? With the extended Labor Day weekend, and an additional day off due to us being in the military made this week fly by so fast.
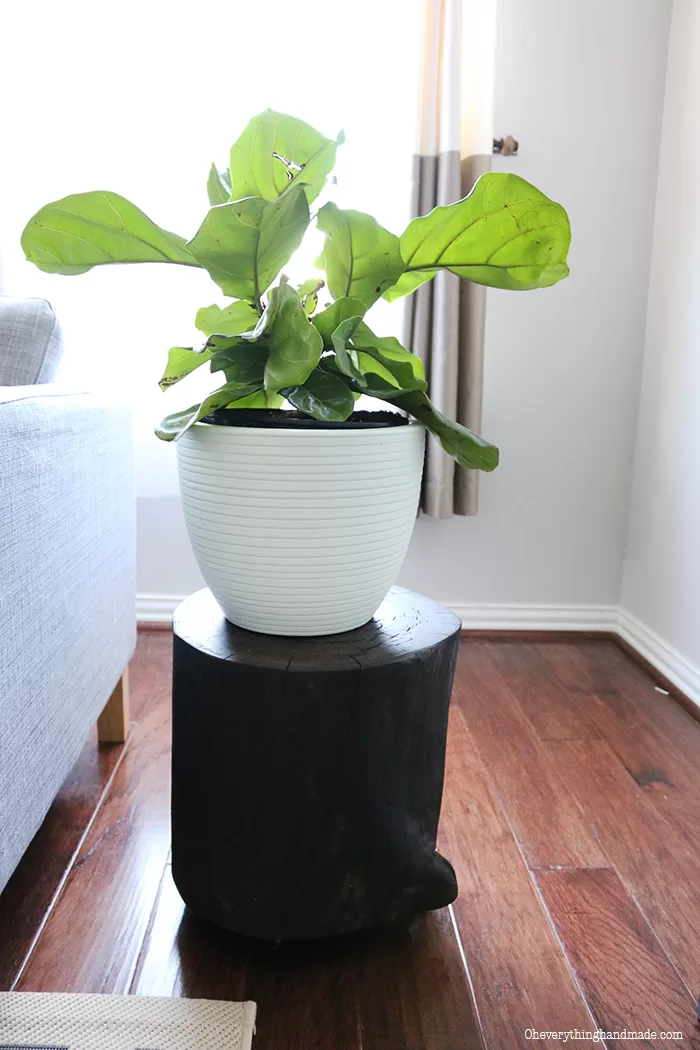
But, before the weekend starts, I like to share my newest DIY project, the “Stump Side Table”. If you are on my instagram @oheverythinghandmade or Facebook, you may have seen some snips of me working on it?!
I always wanted a wooden stump side table, but they are not really budget friendly – so, when I came across a great craigslist listing weeks ago, I had to get me one!
DIY // Wooden Stump Side Table
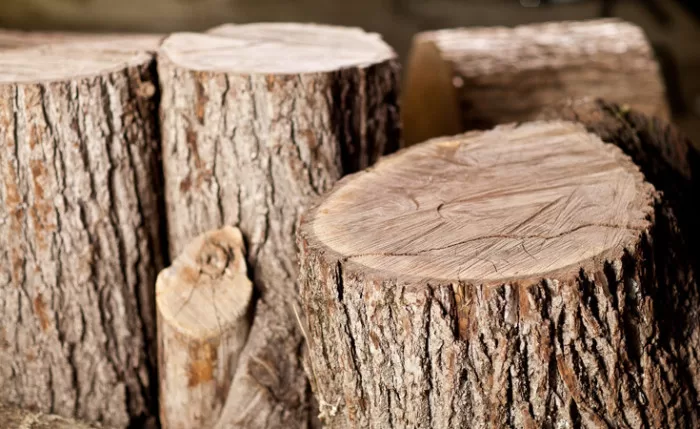
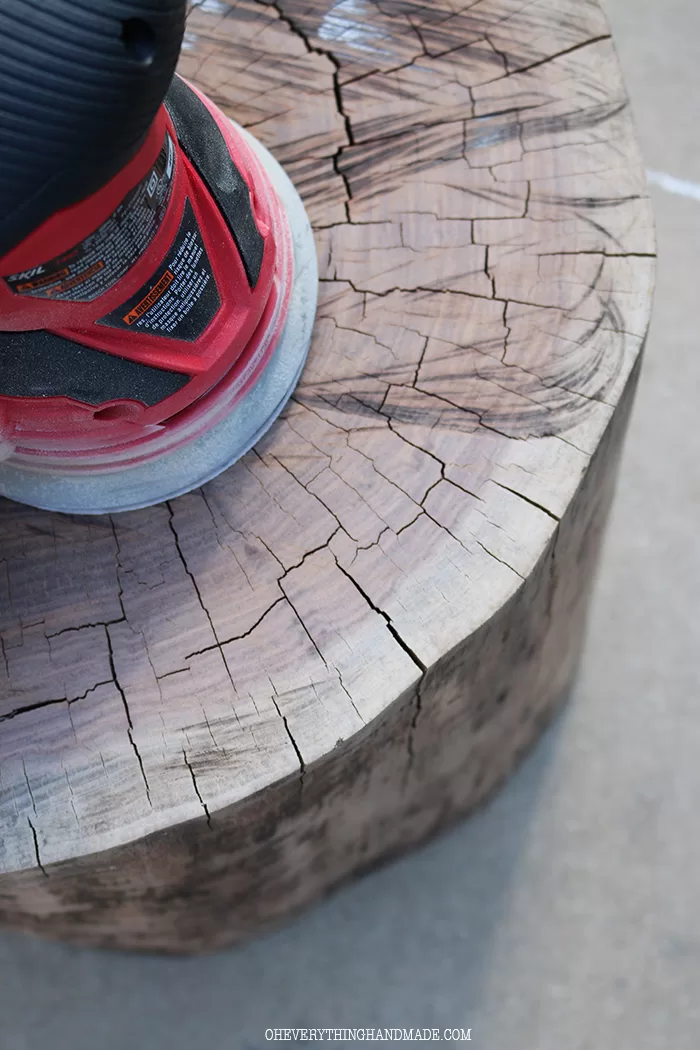
So, my first step was to take off the bark, and sand the stump. The bark came off fairly simple, but the sanding took quite some time!
I would recommend a good electric sander, it will get the job done much quicker.
After I completed the sanding, I applied a termite killer and let the stump dry in the shade. After it was dry (24-48h), I moved the stump to a very sunny spot and left it there for one entire week (make sure you move it when it rains), Termites dislike the sun (heat or dryness).
My next step was to fill in any holes with wood filler, I let the wood filler dry overnight and sanded everything smooth again the next day. Since the wood filler dried white, I had no other option than to apply a stain (let dry again for at least 24h) and a sealer after.
The rolls (from Home Depot) were attached super fast to the bottom. We can now roll the stump around the room as we like (in case I change my mind about its position).
Have you ever worked with a piece of wood that needed termite treatment? I love to hear what products you used to kill these little wood-eating creatures.






Very nice stump side table.Looking very unique and great.And also the wood is very strong.
Nice and beautibul table, thanks for sharing, I like it
Wow… Bettina what a amazing & superb post to learn about use Wooden stump side as table in home. As you have used it…that’s really nice.