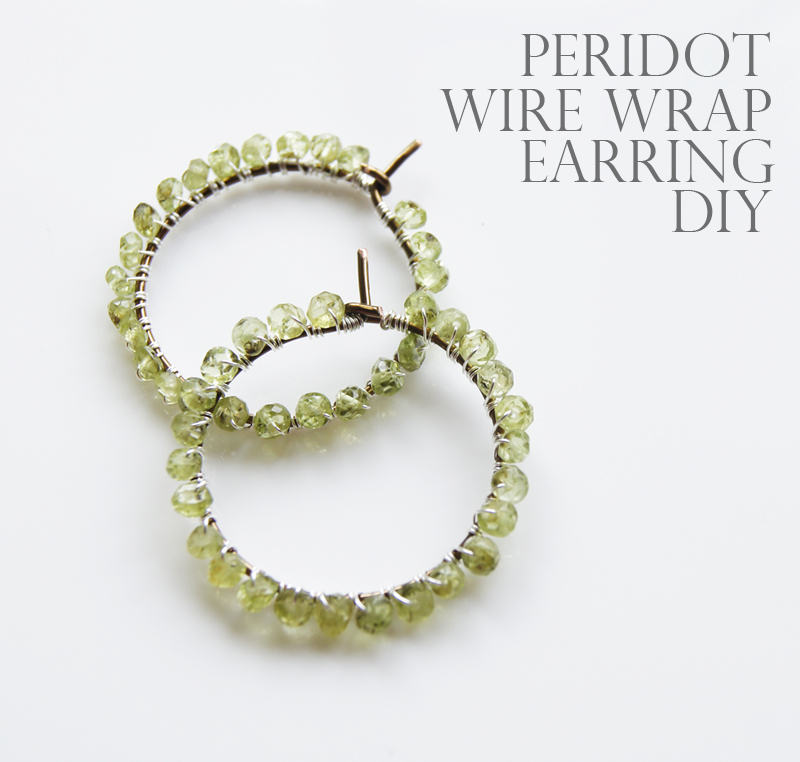
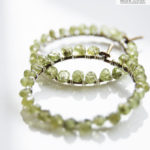
DIY // Peridot wire wrapped earring
This week went by so quick, hope you all had an amazing week. We enjoyed our extended Memorial Day weekend with great friends and lots of good food. Jasmine also started to walk along the couch, she keeps me super busy during the day now. Looks like I’ll have to adjust to working late night hours!
Are you ready to make some cute earrings?
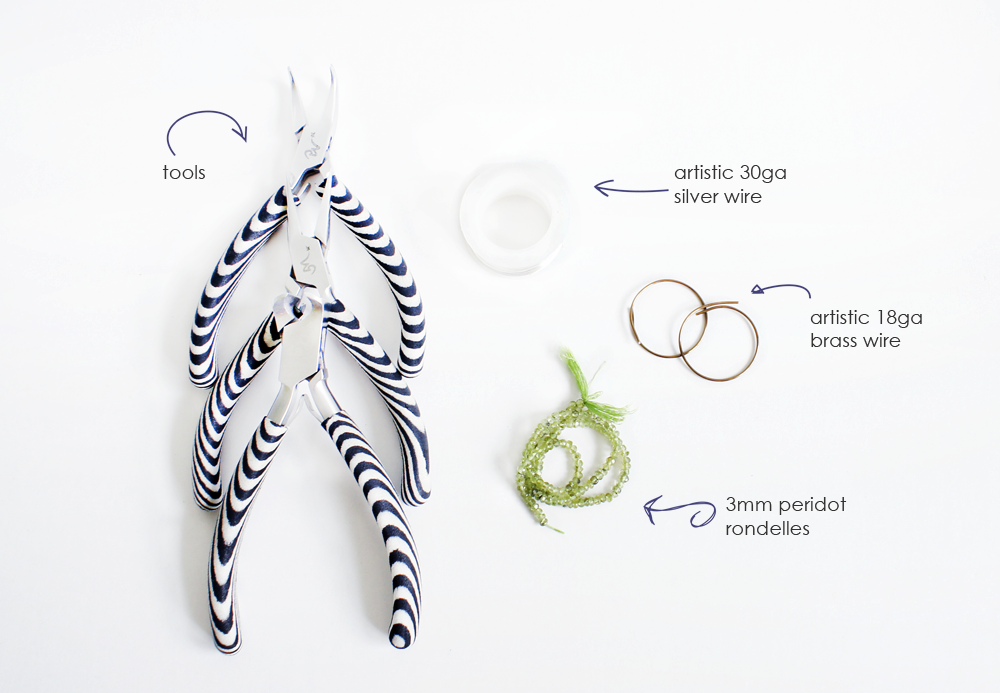
- 18 Gauge Artistic half hard wire 1ft
- 30 Gauge Artistic silver wire 3ft
- 50 x 3mm Peridot faceted rondelles
- Jewelry Plier Set, Set of 5
 1. cut your 1ft half hard artistic wire into half, use a round object, a spool or a ring mandrel and shape the wire, let the ends overlap!
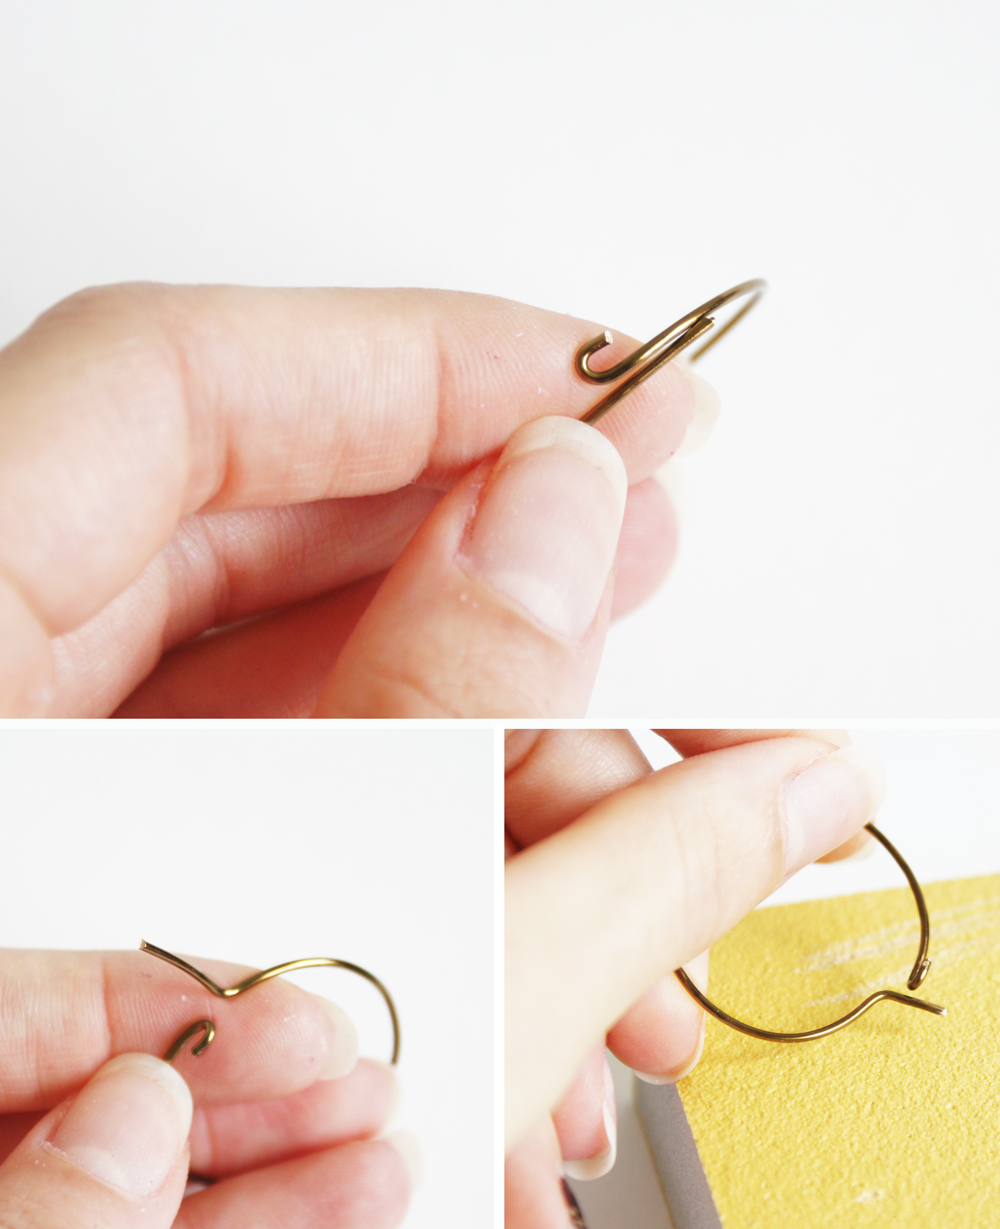 2. Bend one of the ends to the side (half loop), and the other half needs to be bent up at the point of connection.
3. Cut the end that goes into your ear so you’re left with 5mm.
4. To make the same end smooth I just used some very fine sandpaper or sand block. Move the end carefully from left to right, to give your earring a smooth finish.
 5. wrap one end of the artistic wire 30 gauge around, wrapping over your silver wire end (see above). This method will prevent the earring from loosening up during the time you wear them.
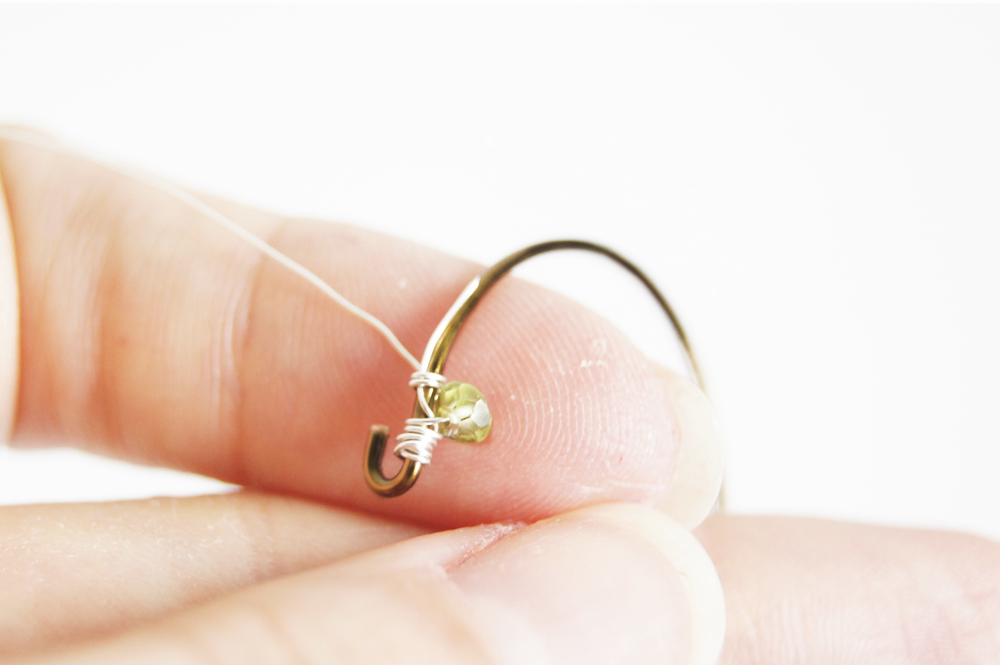 6. add a Peridot rondelle and hold the bead in place with your finger, while you’re wrapping the silver wire around twice (see above). Now wire wrap 24 more rondelles onto your base wire and space them each with a “2 wire wrap”.
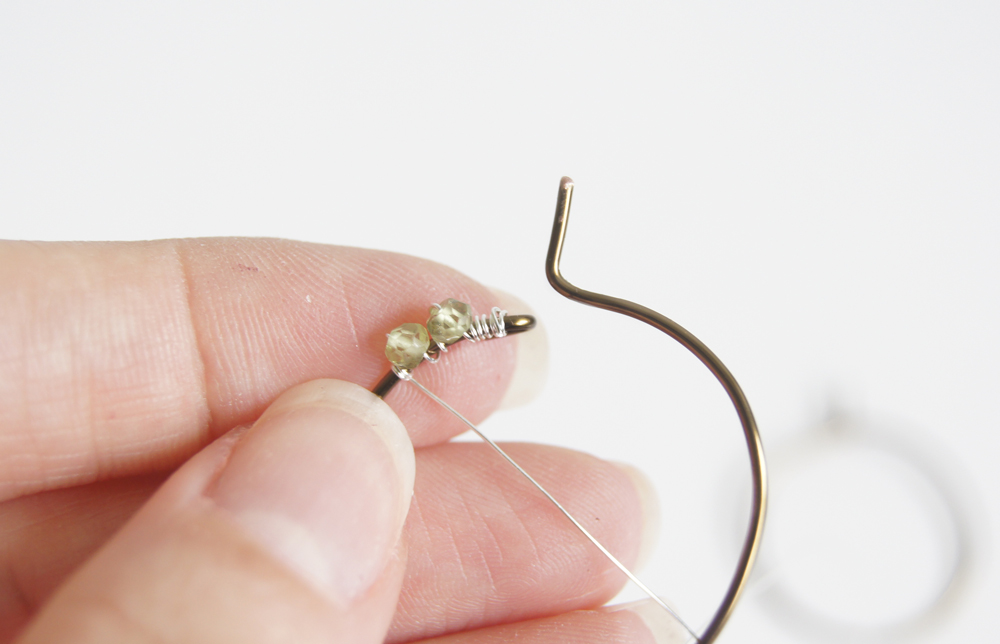
 7. after you added all Peridots to your earring, make sure to leave enough room so they actually fit comfortable. To secure the end-wire simply loop it twice through your last wired Peridot.
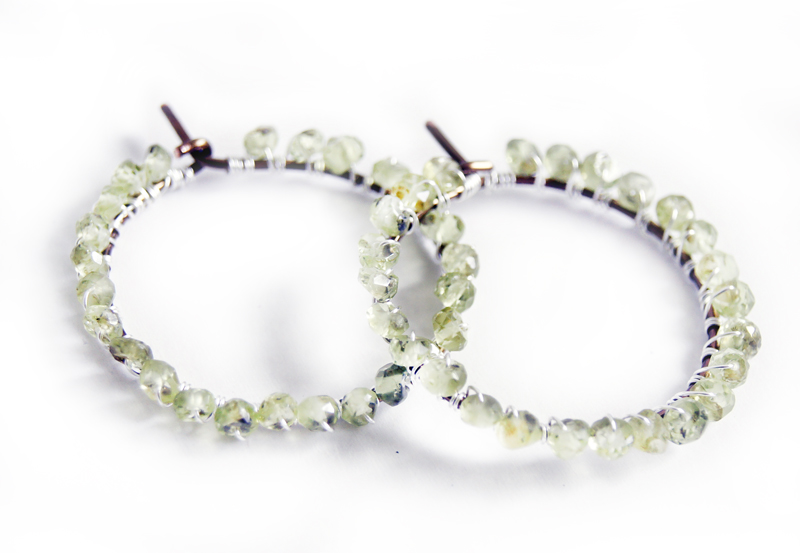
Please leave us a comment if you are going to try to make these cute earrings, I would love to see what you come up with.
Thanks
Betty xxx


Bettina-you are a very talented person and I love receiving your blogs. They are informative and help with doing design work for the person that makes jewelry. Thank you for sharing your craft.
Hi Kat,
Thank you for reading my blog post, I enjoy your comments very much.
The peridot looks so gorgeous wrapped like that, I would imagine that they would sparkle beautifully in the sunshine, too!
Great tutorial, with the use of different gemstones, pearls or glass beads, the possibilities are endless!!
Great idea, lots of variations possible…
After checking out your wonderful DIY posts, I believe that with the right tools I can conquer all your projects. thanks!
[email protected]
This is a lovely tutorial – both the design and the instructions!
Very simple fun design with a lot of sparkle. I like the hook instead of a loop to close. Easier for wearer to close. Thank you.
I have a pair of small, pink pearl earrings that look just like these peridots! I wear them so much since they go with lots of things and they are so comfortable! I can’t wait to make there peridots! I had looked at the pearls and actually thought of trying to make them with more pearls or another stone. Thank you so much for the directions!! 😀
Ah so glad you stumbled upon this tutorial then. Hope it turns out great.
xo Betty
I’m making two pair , 1for my granddaughter and 1 for myself as peridot is our birthstone. I may decide to make a pair for my great granddaughter in her birthstone,. love the appearance of them.