DIY // Painted Clothesline Coasters
You may have seen me work on these cute clothesline coasters on my Instagram account @oheverythinghandmade, I have a few coasters at home, one set is from theCoastal which is hand painted on a ceramic tile. But it’s not really kid-friendly and I am always worried that my little one will snatch it from the table and drop it, I don’t want them to break!
Then I saw the clothesline at the grocery store, while shopping and the idea of making kid-friendly and stylish coasters was born!
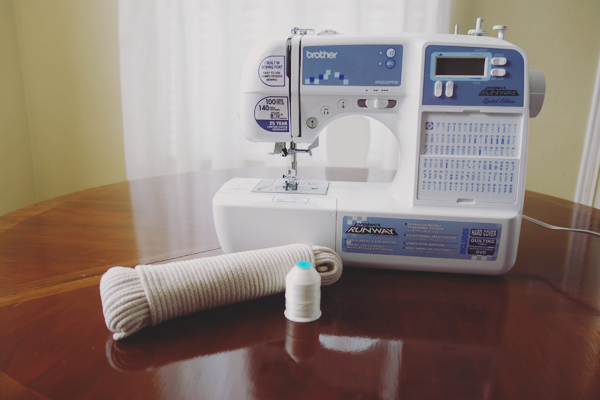
This is what you’ll need to make the coasters:
- Clothesline 3/16″ x 50′ (makes 2 full sets of coasters 4″ in diameter) 8 coasters (I got 100″ of clothesline at Kroger – light bulb section for $4.99)
- Sewing machine
- Tread
1. //
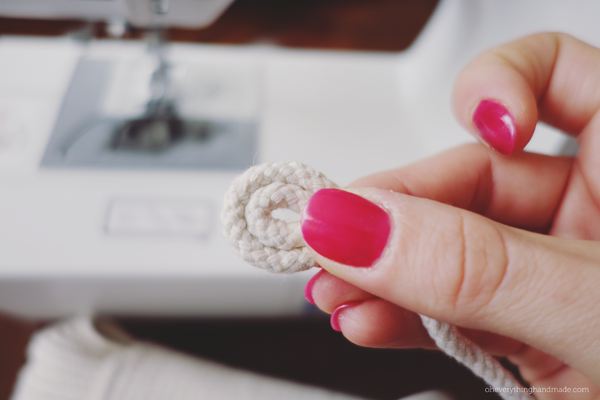
Start by rolling the end together, and place it under your Zig Zag “A” or “J” Sewing Machine Presser Foot. This will make it easier to start this project!
2. //
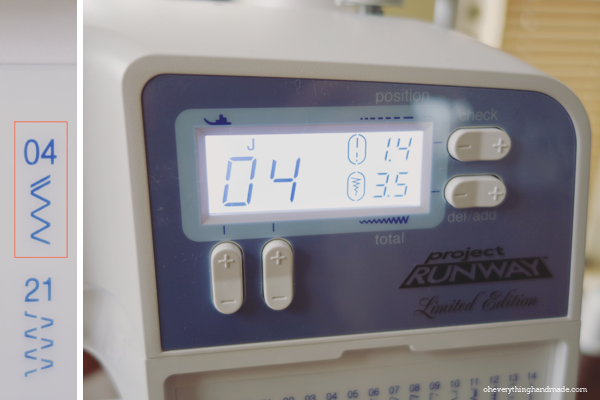
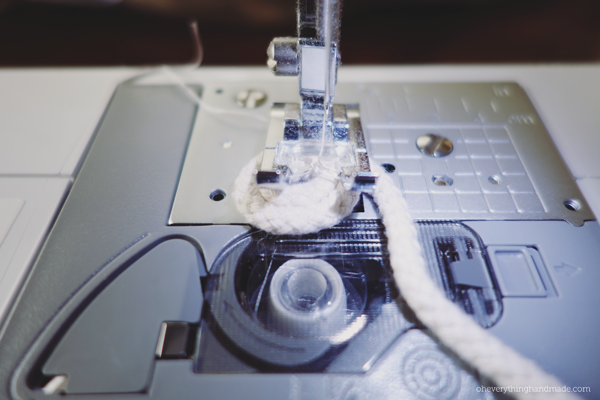
Then set your machine to a zig zag option and put it on the slowest setting until you have sewn the circle together. I set mine on option 4 with a 1.4 position and the zig zag total at 3.5
3. //
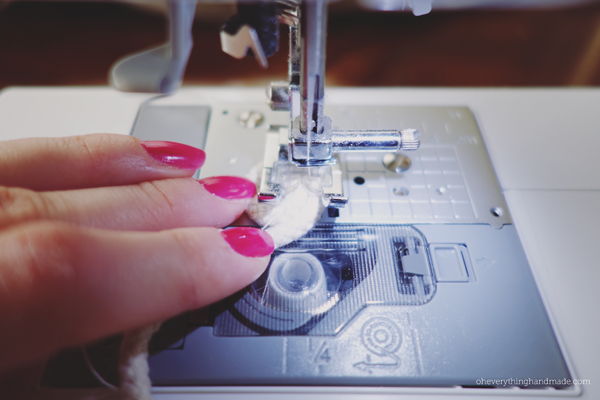
Start slowly by sewing your clothesline together, at this point it will be really hard to do it pretty, but you won’t see it as much. So let’s just get the circle to stay together without holes. You may need to lift your presser foot a few times to rotate the circle.
4. //
After you have attached the ends, you can start sewing 6′ 27″ together, this will make you the perfect size for a coaster.
5. //
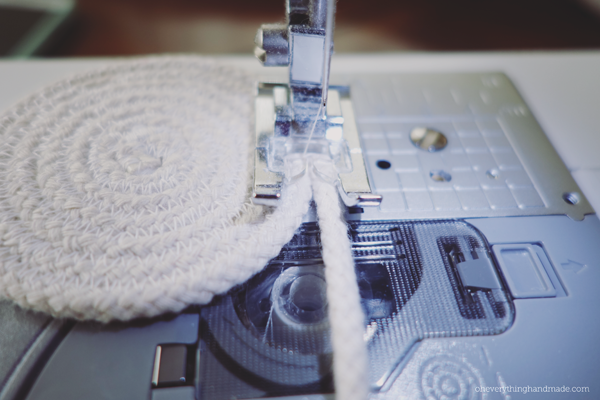
Make sure you stay right in the middle with your zig-zag presser foot, I basically kept my eye mainly on the clear part of my presser foot, because the opening was in the middle I had a great guide.
When you make these coasters, do not hold your clothesline tightly in your right hand, it should be only guided by your hand. Otherwise, you end up with a coaster that won’t be flat and lift on the outside. The same for the zig zag stitch, please use the one I showed you in the image earlier or your coasters will lift.
6. //
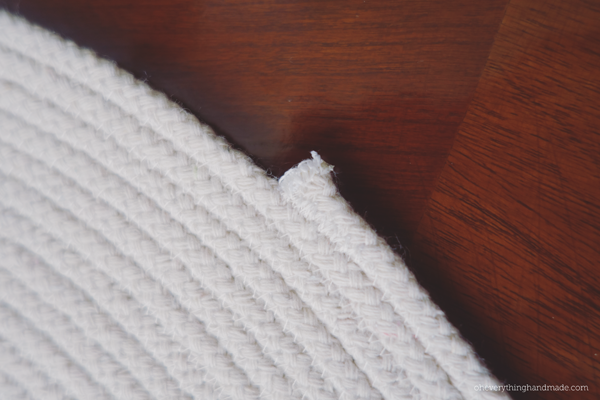
When your coaster measures 4″ inches cut the line and sew the end together. Go over the end a couple of times or it will start to come apart.
Now it’s time to paint them…
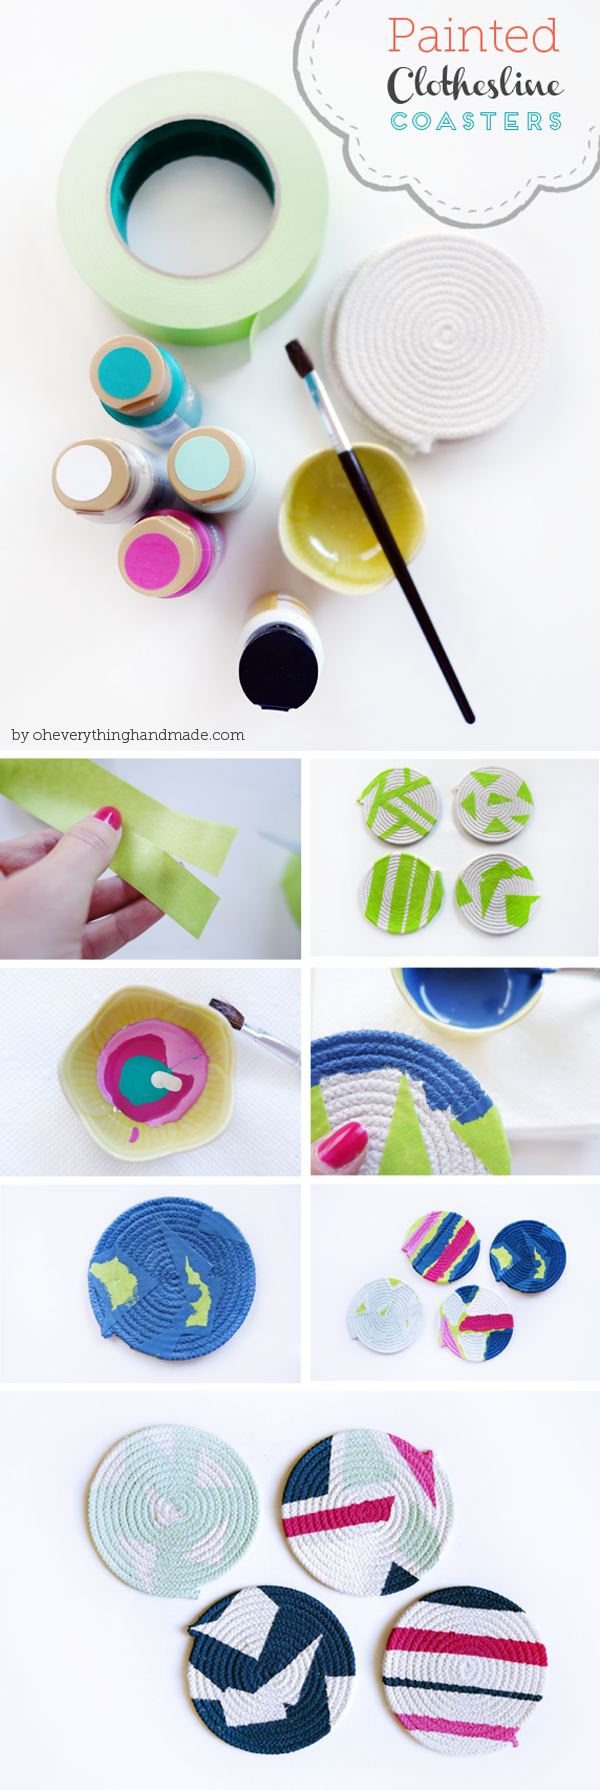
What you’ll need to paint the coasters:
- Masking tape
- Acrylic paint
- Brush
- Dish for paint
- Scissor
- Medium
Note: To make the paint last, just throw the coasters after 24h drying for 5-10 minutes into the dryer or iron them with a cloth on top and no steam!
Oh, and did I mention these babies are washable? Yep, that’s right!!!
I am working on some Christmas theme coasters next… This project is super fun, and great practice material for beginners!
Happy sewing!
This set of coasters is now available in our etsy shop, here!


One Comment