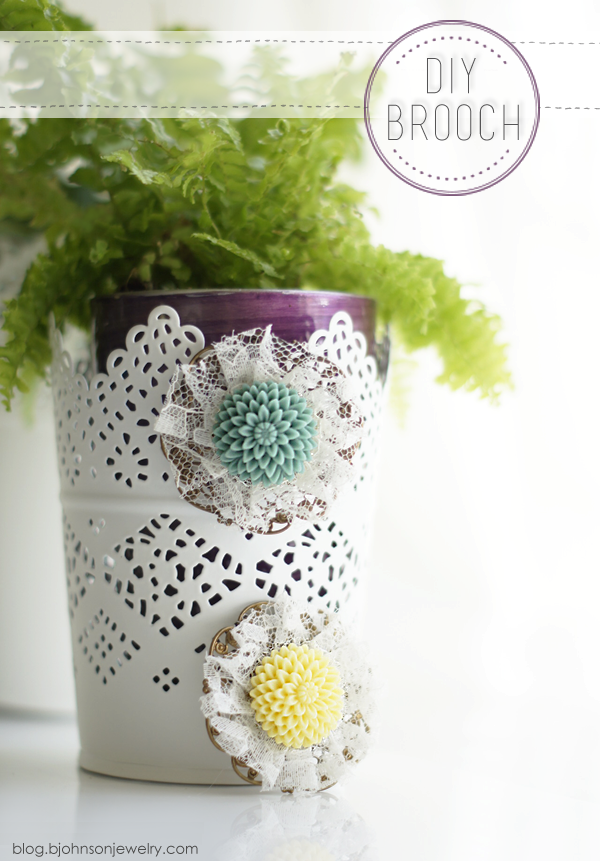
DIY // Filigree Mum Brooch
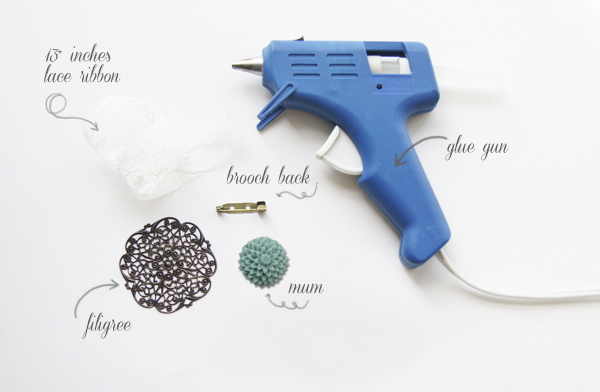
What you’ll need:
- Glue gun + 1 glue stick
- 13″ inch lace ribbon
- 1 Filigree (about 2-inches in diameter)
- 1 Acrylic mum (1-inch in diameter or 36mmx36mm)
- 1 brooch back
Order the DIY package (includes all supplies, except the glue gun) right, here at Bettina’s etsy shop.
Step by step instructions:
1. Plug in your glue gun, and place all the items in front of you.
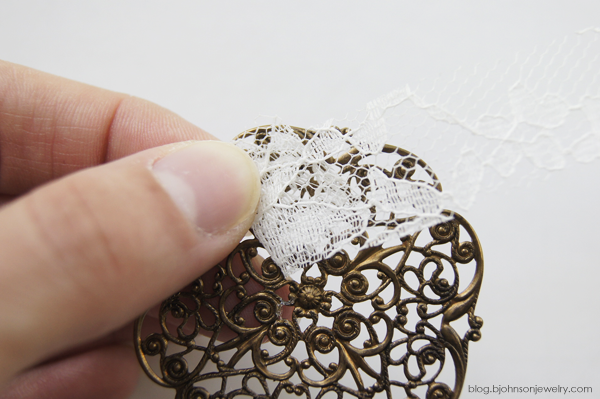
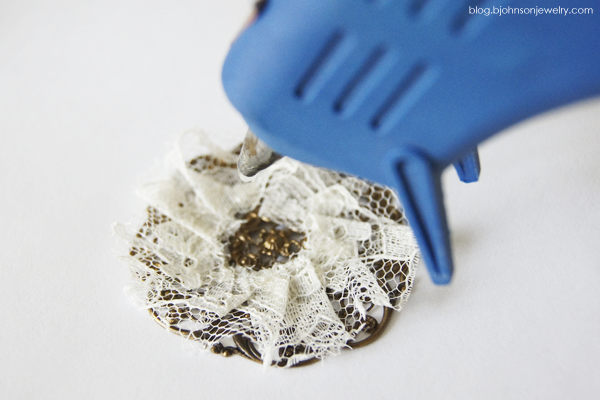
2. Add a little bit of glue onto your filigree and place the ribbon folded downwards onto the filigree. Place the ribbon about 1/4-inch away from the middle, and press the hot glue/ribbon area down with a scissor or other piece of metal – for a secure hold and not to burn yourself. Continue with this step (placing each time a little bit of glue in between each folded ribbon) until you come around to where you began.
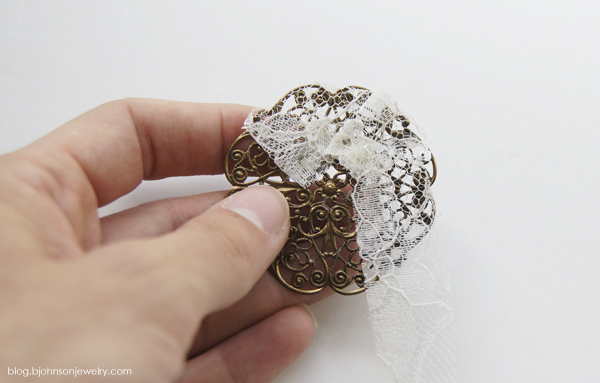
3. If you have some ribbon left, cut the remaining piece off, but leave 1/2-inch for the last fold. Fold the ribbon downwards and glue it in place.
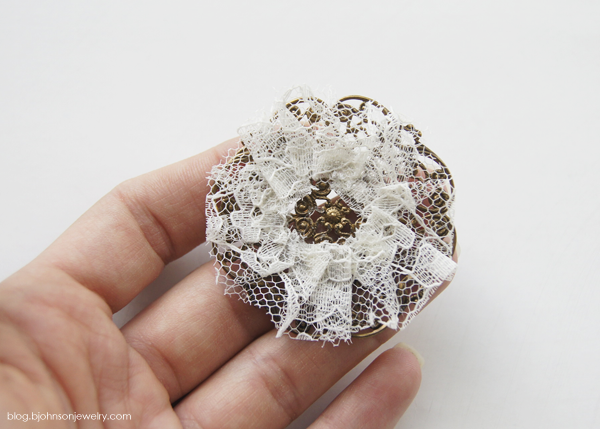
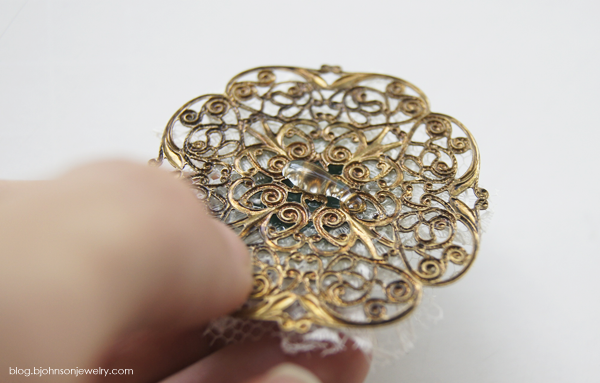
4. Your finished filigree/ribbon should look like this!
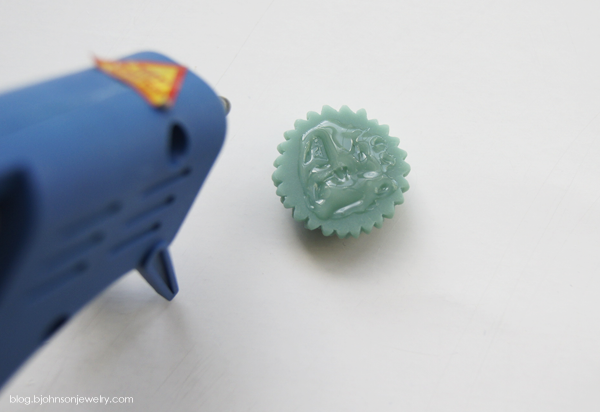
5. Set the filigree aside. For the next step you need to turn the mum over and add a good amount of glue to it.
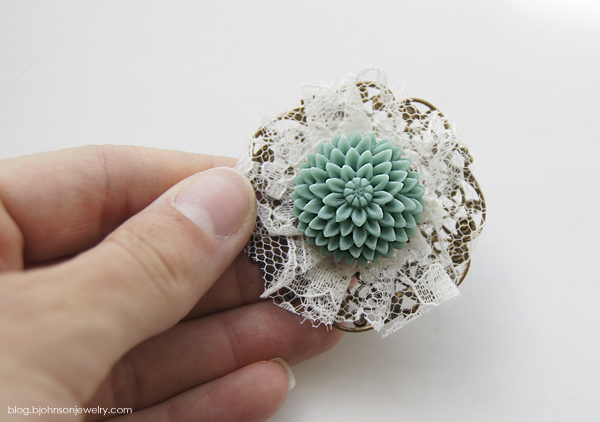
6. Press the mum immediately onto your filigree, holding it for a few seconds so the glue can set.
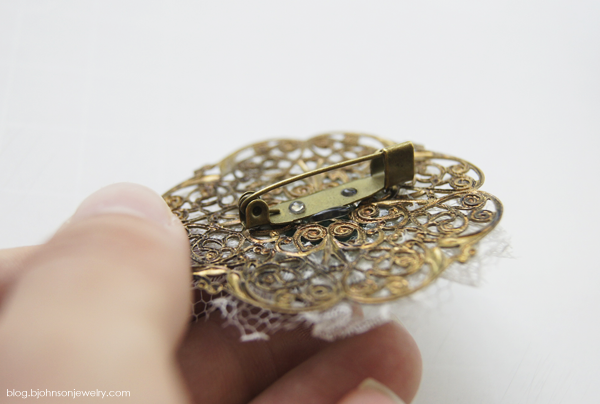
7. Turn your almost complete brooch over, and add a stripe of glue to the back.
8. Place your brooch-back onto the glue area and press down, holding it in place for a few seconds to set.
And your filigree-mum brooch is complete and ready to wear!



cant see the photo
Have you tried to, clear your browser and reload the page?