DIY // Bathroom Makeover Floating Shelves
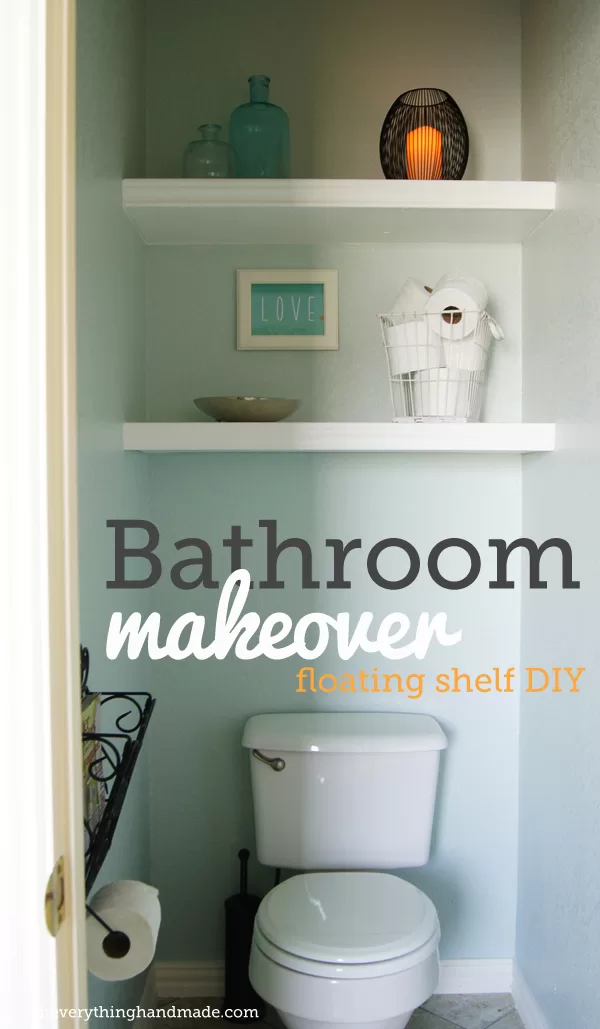
We started on our bathroom remodel, and one of the main issues we had, been that our separate toilet area was not functional whatsoever, no storage area!
So we decided to start with the separate toilet area first, by adding 2 floating shelves for storage.
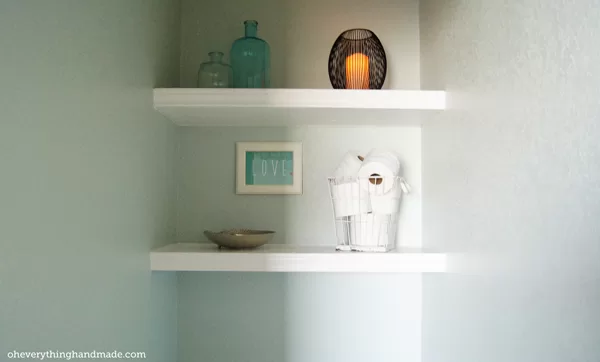
What you need to make two 1ft x 2.93ft shelves:
- 2 x 2-6ft pine boards – 2@$3.08
- 1/2″ 2′ x 4′ Birch project panel – $14.64
- 7/32″ 2′ x 4′ Sanded BC project panel – $8.87
- 1 x 2-6ft White border – $1.59
Total: $28.67

Step 1:
While Nakia was cutting the boards and panels, I painted the toilet area with the new Benjamin Moore Palladian Blue (which I lightened up by adding about half of a quart) paint for our bathroom. Better now than after the shelves are in, I figured it would be much easier to do it before the installation!
Step 2:
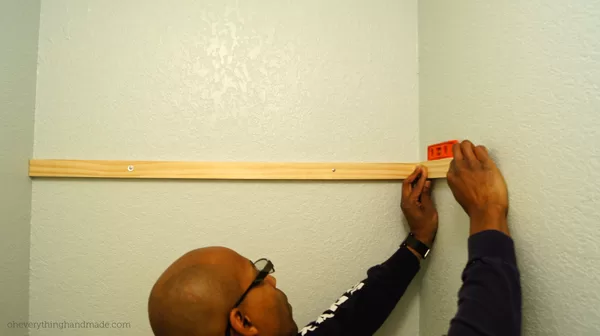
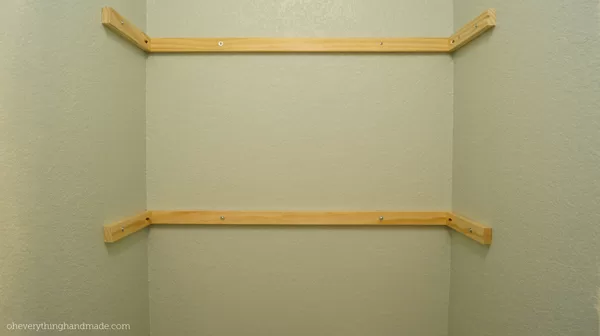
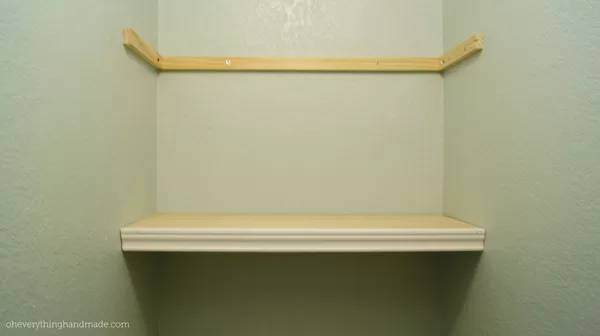
After the paint was dry he looked for the studs, but since we only had one on the right side, he used Plasterboard Cavity Heavy Duty Fixing Screws to secure the floating shelves to the wall. We placed the top board 2ft from the ceiling down, and the second board 1ft 1/2 from the board above. The 2x6ft were cut to fit into place, aligned on the wall and drilled right through them so they wouldn’t split during the installation (make sure you use a leveler).
Step 3:
Insert the heavy-duty screws and attach the boards, we also attached the outer board to the middle board, for more stability (a jig will help you to accomplish this).
Step 4:
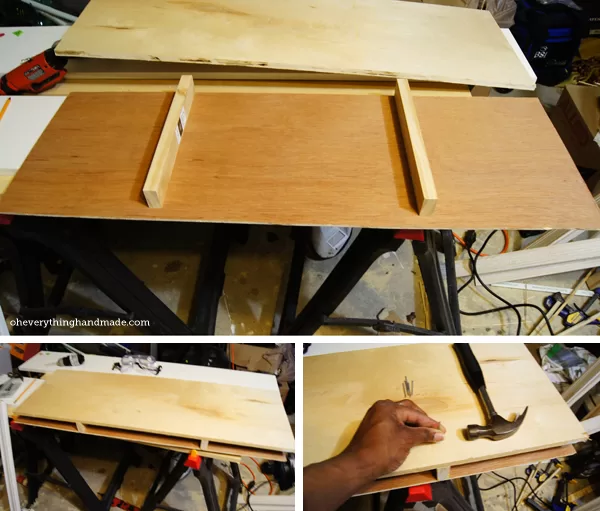
After that he build a slide-in shelf box, simply attach the two pine boards to the bottom of the Birch project panel, and the Sanded BC project panel to the bottom with the pine boards in between.
Step 5:
We painted the shelf at the end after installation, but you can also paint them before assembly. Painting the shelves after was for sure more work, but it was the only option for us at that point.
Step 6:
Bottom shelf first, simply because you need to attach the box with nails to the board on the wall. We attached the border right after, and repeated this step with the top shelf.
Step 7:
Seal all gaps and nail holes with caulk, and paint the boards. I used blue painters tape on the walls in case I get on them while painting.
Last step is to let everything dry for at least 24h after the second coat has been applied. That’s it!
The project took us all together 2h, not including the dry-time for the paint.




Love this idea! Such a great use of the space.
Rubina, thanks for stopping by! I am super happy with the new space as well, it’s so much more functional now.
I love this idea, the images and the step by step tutorial are very helpful, Putting shelves in a bathroom is really great to put some decorations and plants as well.
Glad you like the tutorial, it was fun to make and now that we have storage, I am wondering how we managed without it for SOOOO long!?