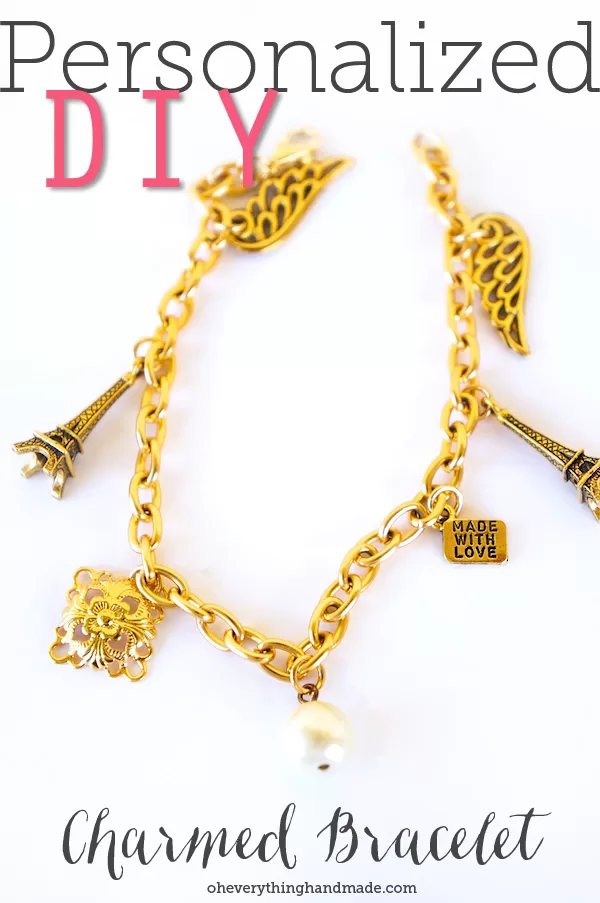
A Personalized DIY Charmed Bracelet
Bracelets are my favorite jewelry pieces to wear. Sometimes I would rather finish off my outfit with bracelets than earrings and so I tend to wear pieces that mean a lot to me and remind of a story or moment in my life. This love inspired today’s DIY post and so today I am going to be showing you how to create your own personalized charmed bracelet.
Tools

– 2 pliers (you can use 2 chain nose or flat nose pliers or 1 of each)
– Chain
– Charms
– Jump rings
– Clasp
Step 1:
Cut out a chain length the size of your wrist and add 1/2 an inch. My wrist length is 7.5″ so I cut out 8″ of chain
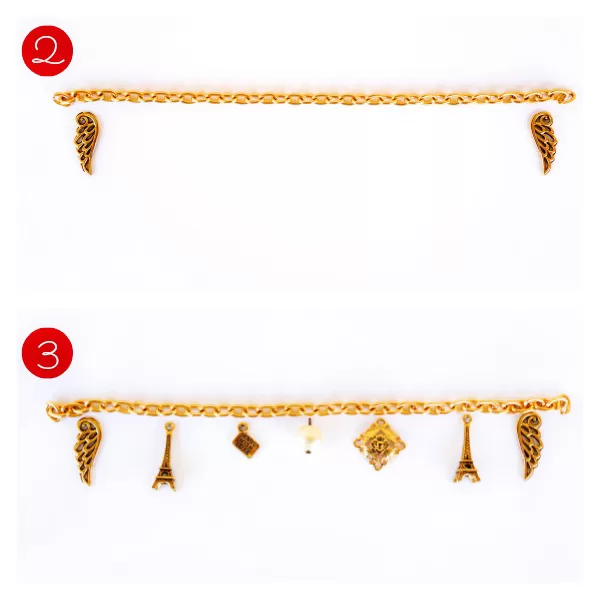
Step 2:
Layout the chain and arrange your charms along the chain in any order you like
Step 3:
Open up your jump rings using the pliers and pass your charms through them. Do not close the jump rings yet
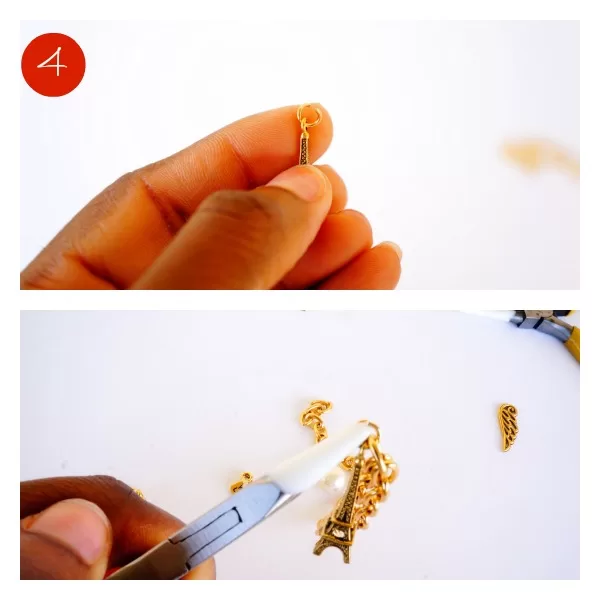
 Step 4:
Now pass the jump rings through the chain at the spot you laid out before, close them using your pliers and attach a clasp at the end with your pliers.
 Final Look!
 Hope you enjoyed this DIY. If you did, share it with your friends on Pinterest, Facebook, Twitter and your own Blog!