How to Make a Budget Friendly Chalkboard
Today, I’ll be sharing How to Make a Budget Friendly Chalkboard. You can customize the chalkboard by making it any size, give the outer frame a wooden stain or coat it with a colorful milk paint.
For the Chalkboard used today, I choose a 24×18″ plywood board with a 3/4″ thickness. The frames are 1 1/2″ x 3/4″, and I stained them with a black water-based stain (since we’re living overseas, I used a stain from my local store).
 I have used this chalkboard in numerous post throughout the seasons. as a Christmas sign
Over on Remodelaholic, I used it as a Christmas sign, you can find the tutorial on how I created that chalkboard art [HERE].
The Chalkboard was also used to teach a local class on “How to Make a Chalkboard Design like a Pro“, and my recent restyle was when I used the board in my Fall Home decor, see [HERE].
I used three different writing tools; chalk, chalk markers and chalk pencil on this board. They all came off nicely except the marker, it took a bit more effort to remove the design.
So, now you know what chalk pens to use once you have your chalkboard complete, and I hope it inspired you to use a chalkboard as a decorative piece in your home.
How to Make a Budget Friendly Chalkboard
Gather all material and protect your work surface with kraft paper or an old bed sheet.
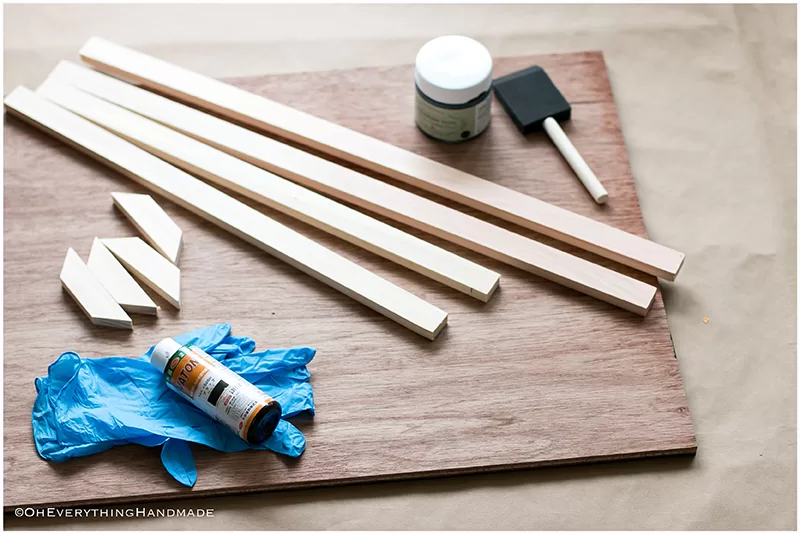
Material needed:
- Plywood 3/4″ x 24″ x 18″
- Frame board 3/4″ x 1 1/2″ x 8′
- Stain or milk paint
- Chalk Paint
- Gloves
- Foam brush
- Brown nails
- Wood glue
- Hammer
- Sandpaper (220 grit)
- 2 x 20″ Clamps (optional)
Prepare the plywood
With the 220 grit sandpaper prep the plywood, by removing any splinters or imperfections. Remove sand dust with a damp rag, and let the board dry before applying chalk paint.
Apply Chalk paint
Apply several coats of chalk paint, but made sure each coat is dry and slightly sanded before applying additional coats.
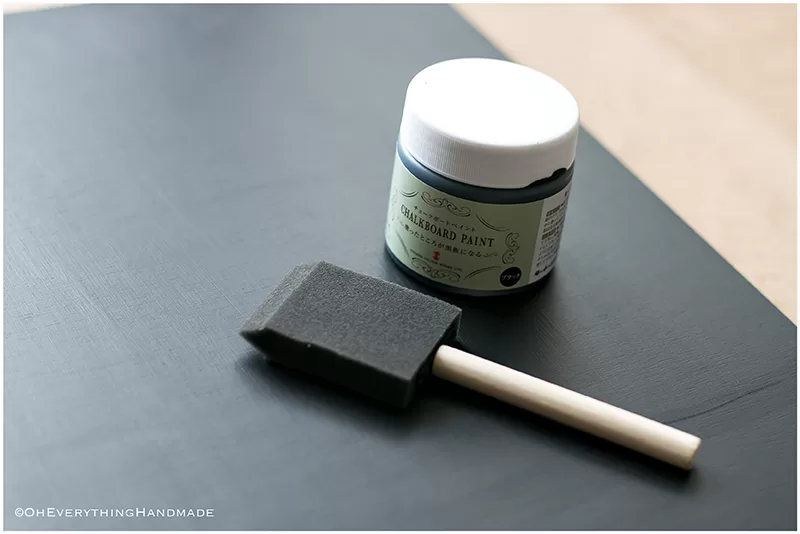
Use a 2″ foam brush, to ensure the chalkboard turns out nicely without streaks.
Prepare the frame
Cut the board for the frame:
- 2 x 24″
- 2 x 19.5″
- 4 brackets for the back with the leftover material
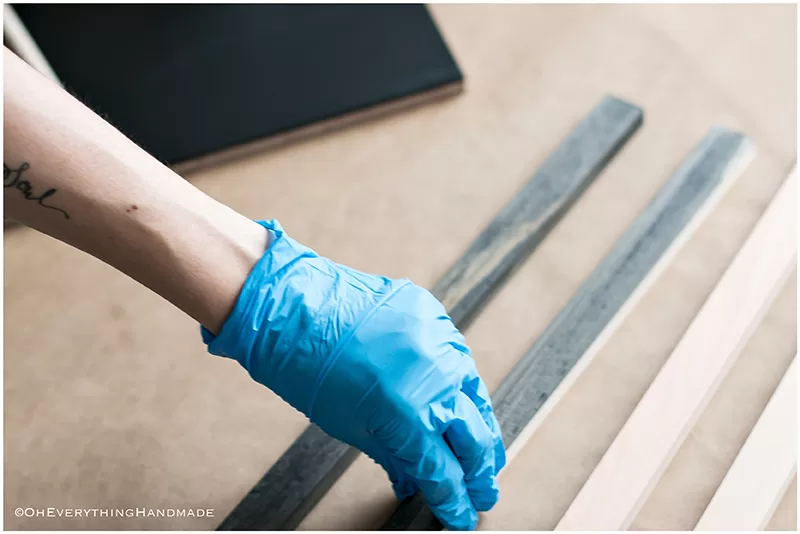
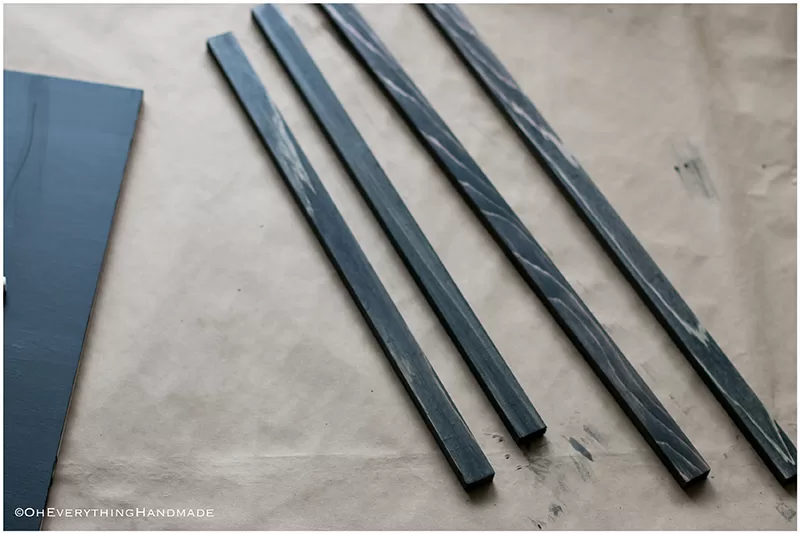
While the chalkboard is drying, protect hands with gloves if you aren’t already! Sand the edges slightly by hand to remove any splinters. Stain or paint all sides except the bottom side. Let the stain or paint dry as recommended by the manufacturer.
Attach the frame
Lay the chalkboard upside down, with the chalky side down. Place all frame boards in place and apply a strip of glue to the side we left natural.
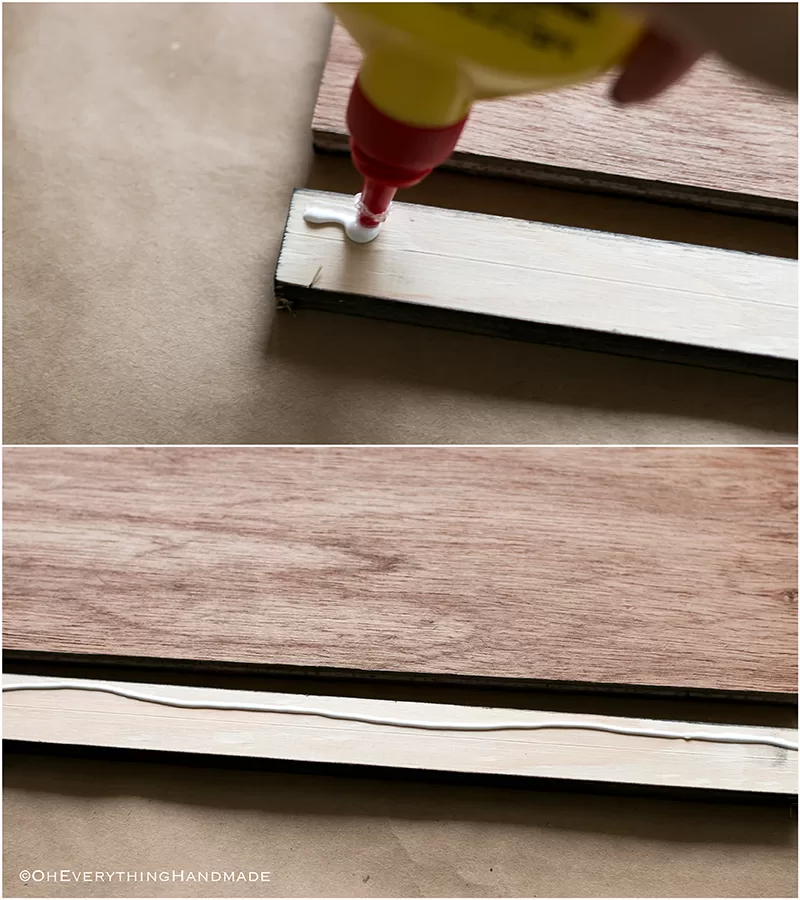
If you have big enough clamps get them ready, add glue to the board on the opposite side and attach both frame boards. Now use the clamps to secure the frame into place.
Attach the bottom and top boards with glue and nails, once the glue has set, take off the clamps and attach nails to this part of the frame as well.
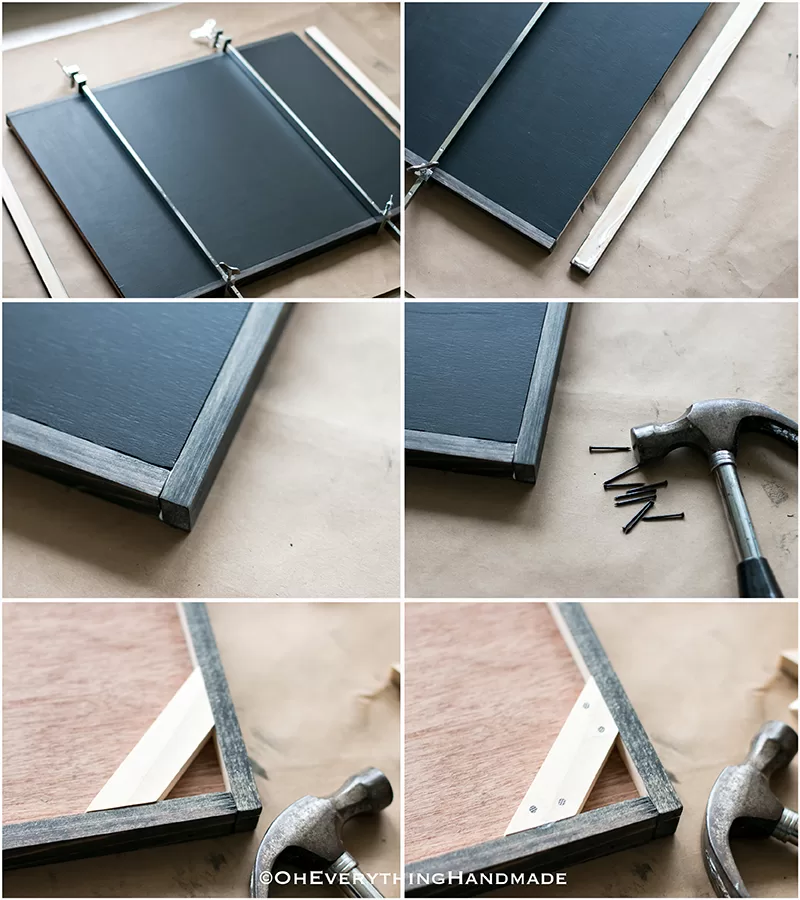
The brackets are important if you plan on hanging your chalkboard, it will keep it from arching and stabilizes the board at 90˚ degree.
Add glue to the bottom of the bracket, attach it with 4 nails on top and one additional on each side.
// PIN IT //

![Crepe Paper Wildflower [Video tutorial]](https://oheverythinghandmade.com/wp-content/uploads/2016/06/WildFlowerBouquet-by-OEH6-1.jpg)
