Office Makeover
Before I show you what I did to the office the past few days, I like to share a small DIY on “how to hide your extension cords“. Since Bailey turned into an award-winning crawler, I had to come up with a solution for my extension cords. Both Jasmine and Bailey seem to love crawling under my table and just sit there, while I work!
We had the Belkin Outlet, so all I had to do was get 2 screws that fit through the holes, a ruler and a driller.
Step 1:
I measured the distance from the first hole to the second, 10.5cm was my measurement! Then I placed the outlet in the area I wanted it to hang, and estimated on where my first screw would go.
Step 2:
After the first screw was in I hung up the outlet to see if it would have enough room on each side, I had the back leg of the table on the left, but luckily I had just enough space to hang the outlet. Second screw went in, hanging the outlet and plugging everything in was just as easy!
The cords still show on the picture below, but I used a hook screw and hooked them in.
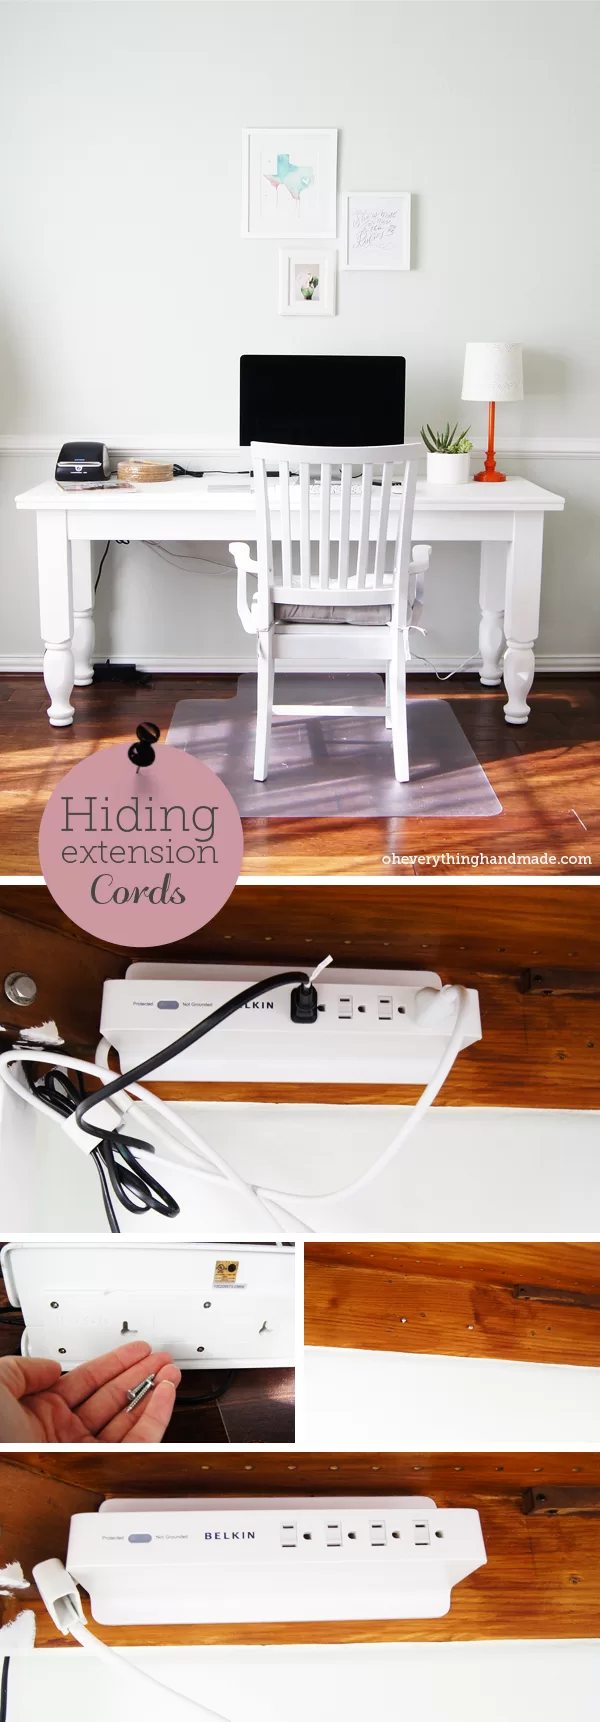
Yep, that’s pretty much it. It’s super simple and gives an open area such a clean look.
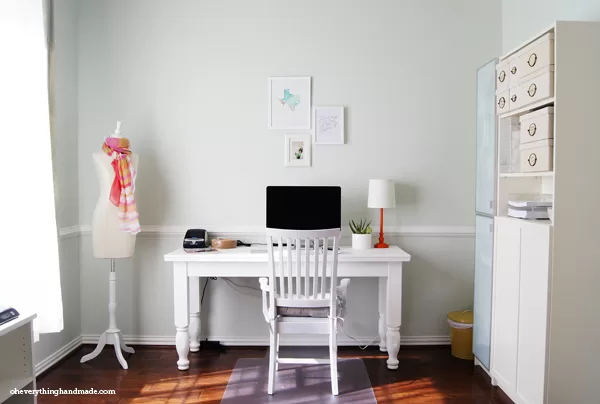
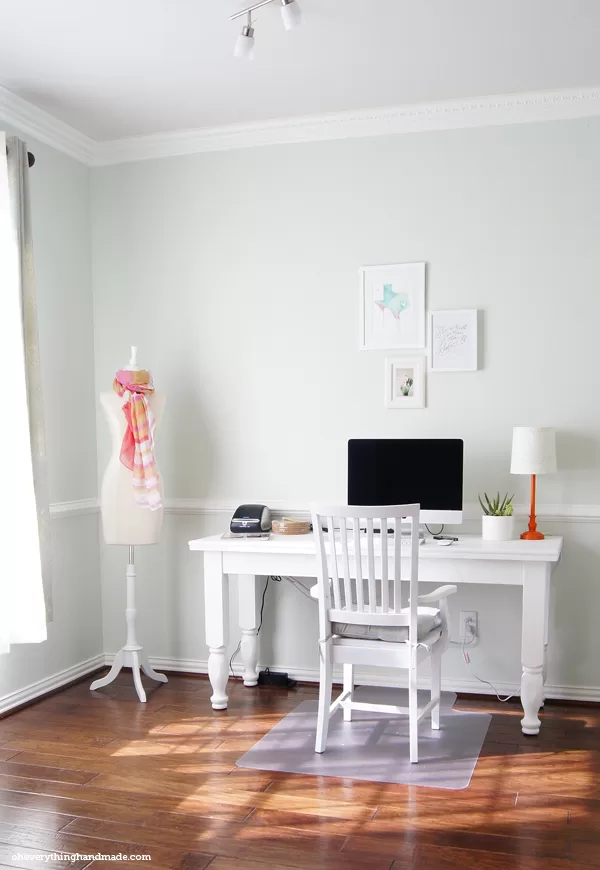
But, the main highlight is my office, today! I was painting it last night until 1am in the morning, not that I am a slow painter, no …I had GREEN walls (my office when we moved into our house | after I had moved into my office). I use Benjamin Moore for all the interior paint. I used a Behr color named Sage Tint PPL-47 for the walls, but had an ACE guy mix up the same color for me with Benjamin Moore paint, they have the primer already in the paint so it saves me a step, but with the dark green walls I had there was no way one coat was going to cover everything.
I painted the walls with two coats and used one gallon of paint. Nakia, was on a little hardware buying trip, for some other projects. And when he came home, he had brought me this little tool called Paint Edger, what a great little helper. Do you see all the molding and trims I have in my office, imagine I would have to blue tape all of that. I am pretty sure I would be still painting instead of writing about my office!!!
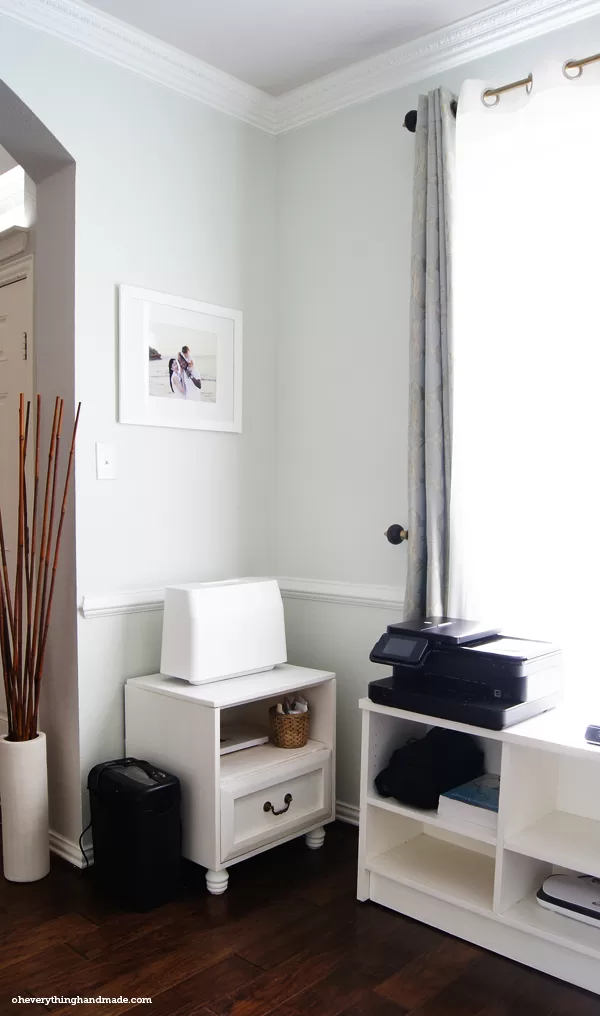
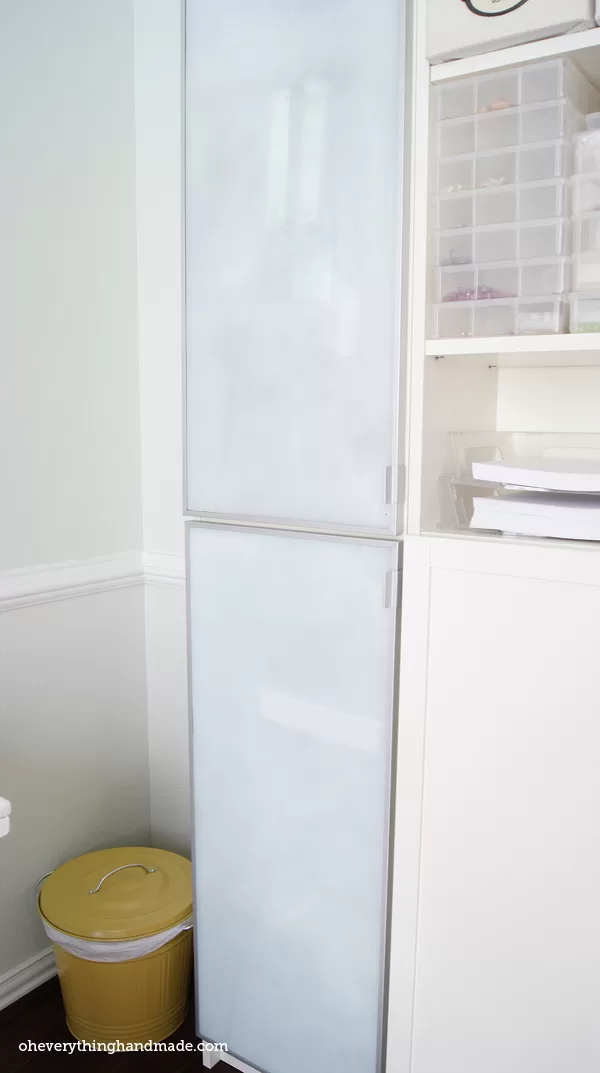
This is my little printing area, it’s not complete yet. I am still working on a storage unit from Ikea, but as soon as I am finished I’ll share it! My little sewing machine is also temporarily in that corner, but hopefully we will find some time to build a little corner table for it.
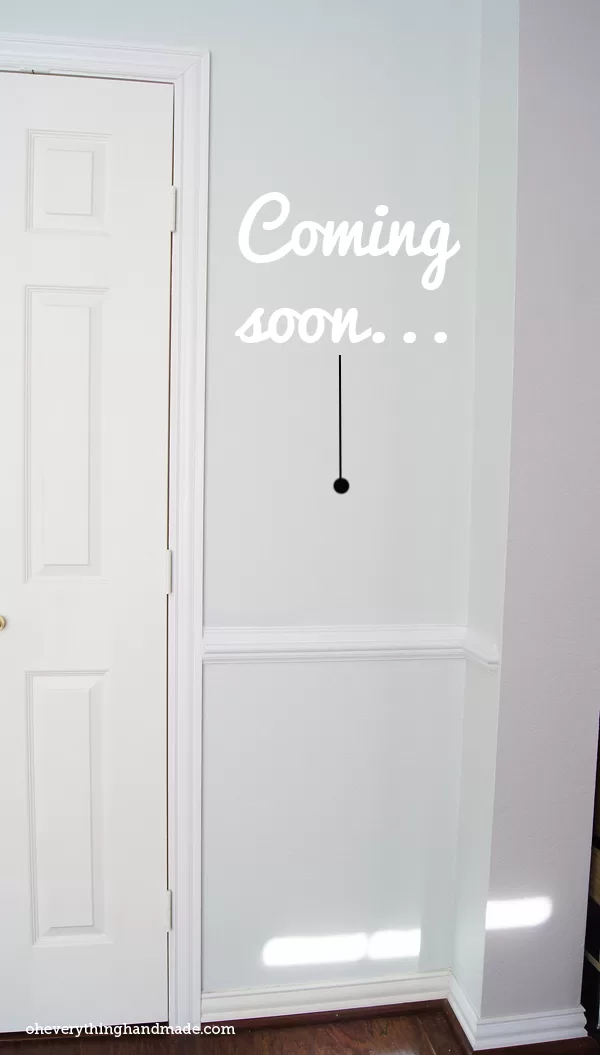
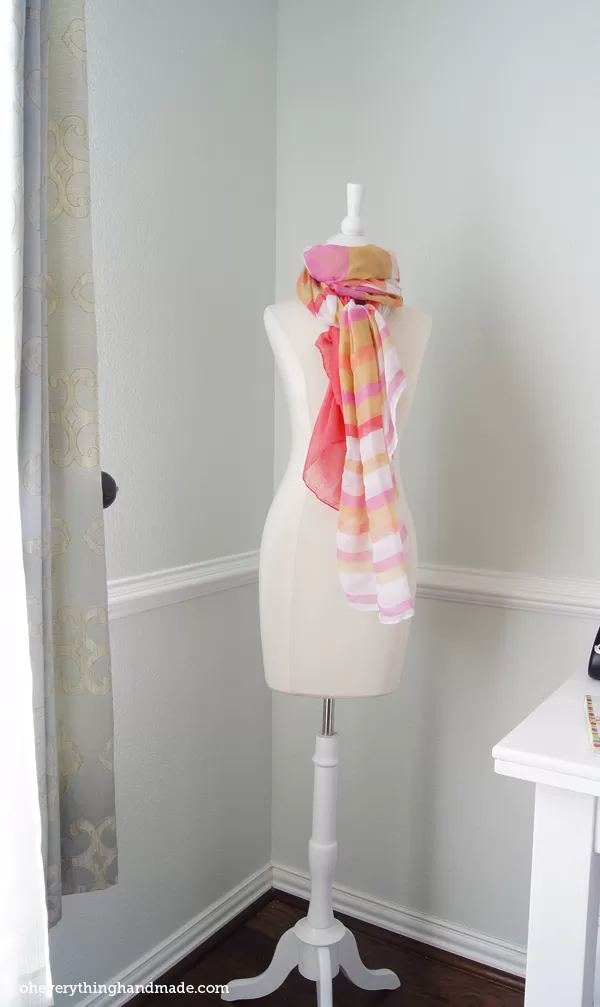
This is another area that needs a little bit of love, I am actually working on a DIY that will go up there! Can’t wait to share it.
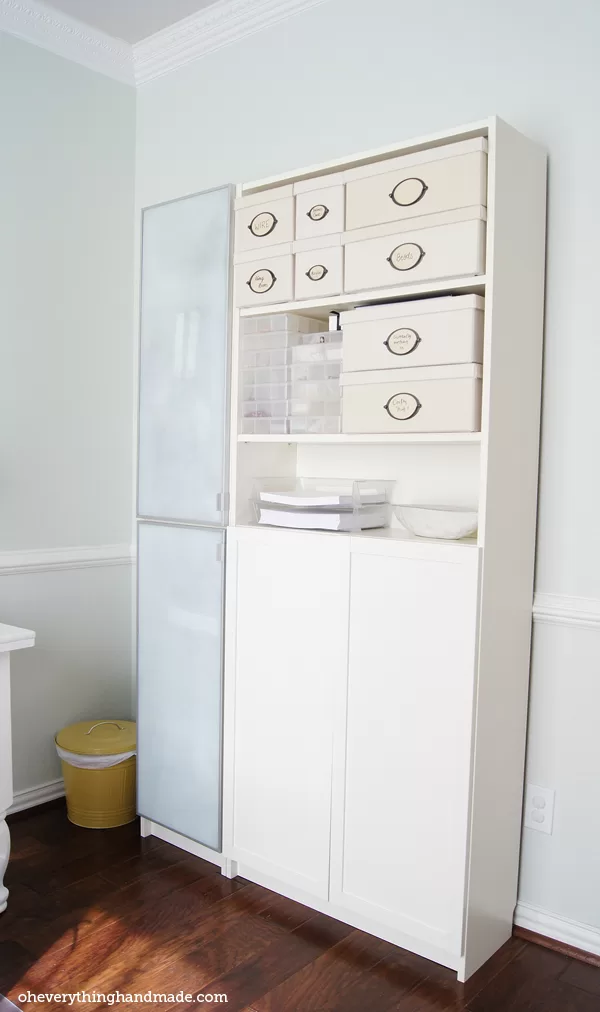
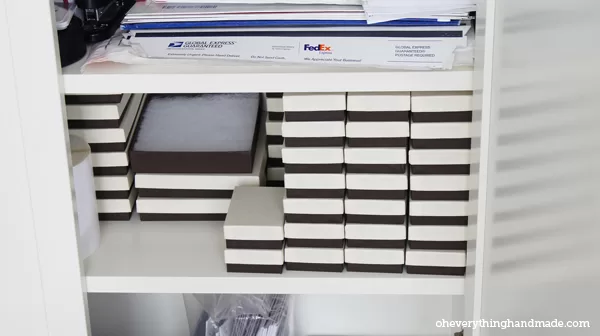
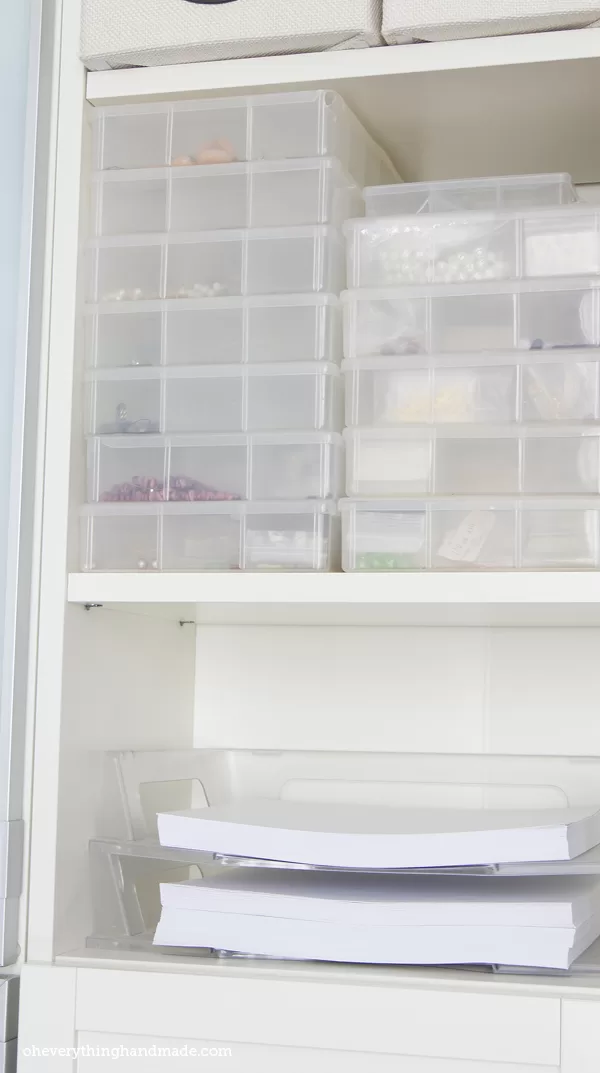
This is where I hide and store everything I need to craft, lots of beads, shipping supplies, books etc.
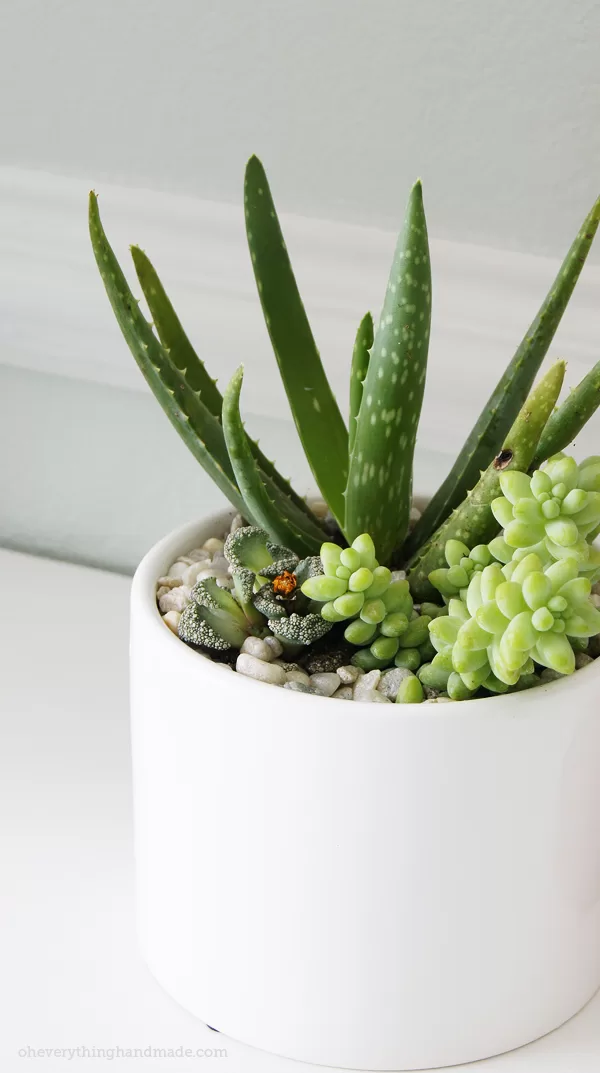
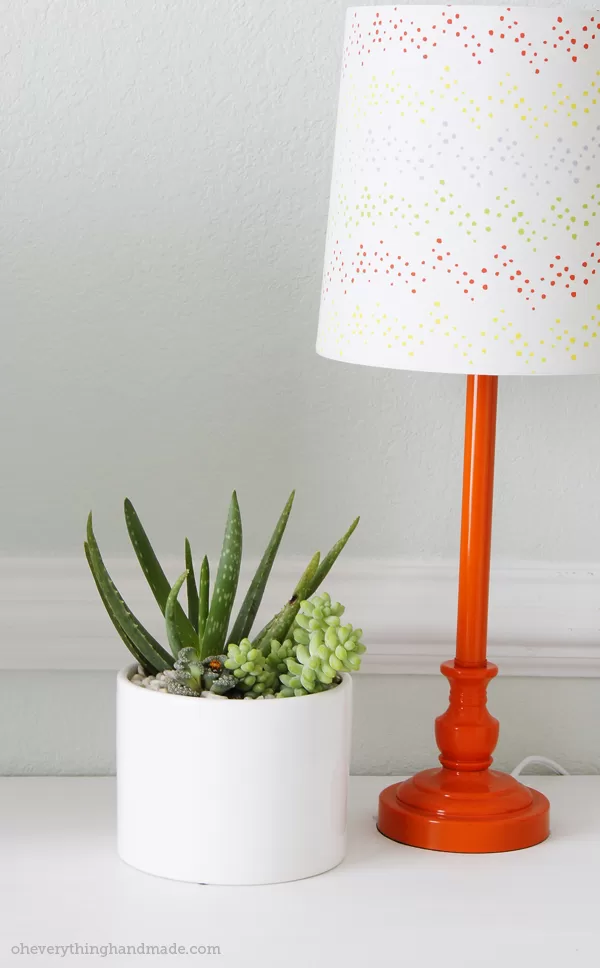
Office plants are just as important!
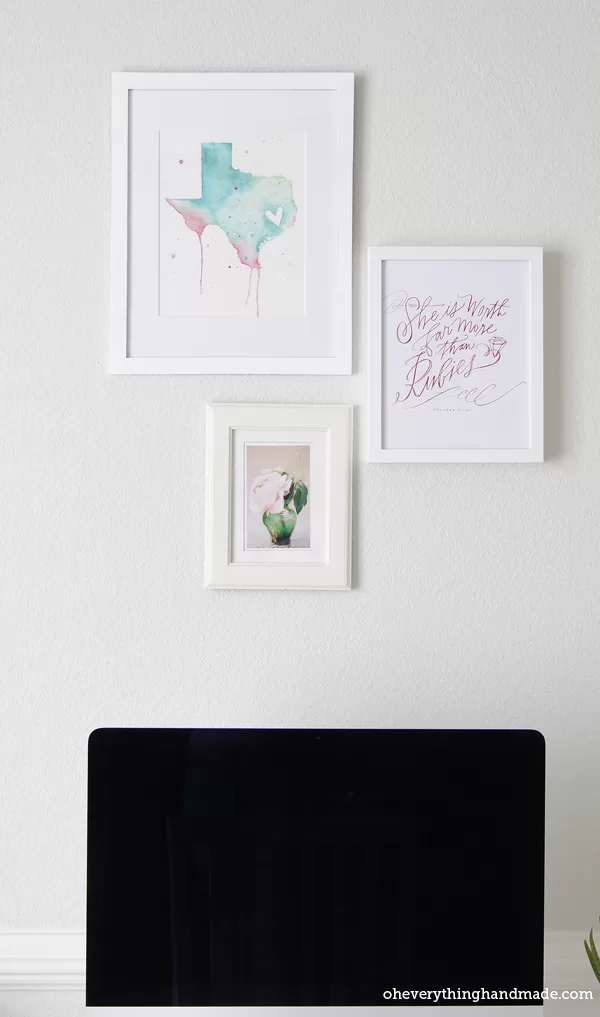
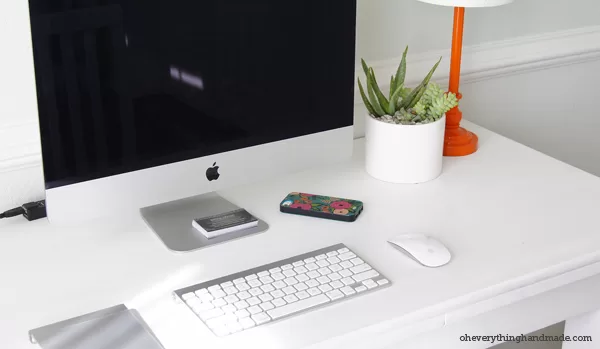
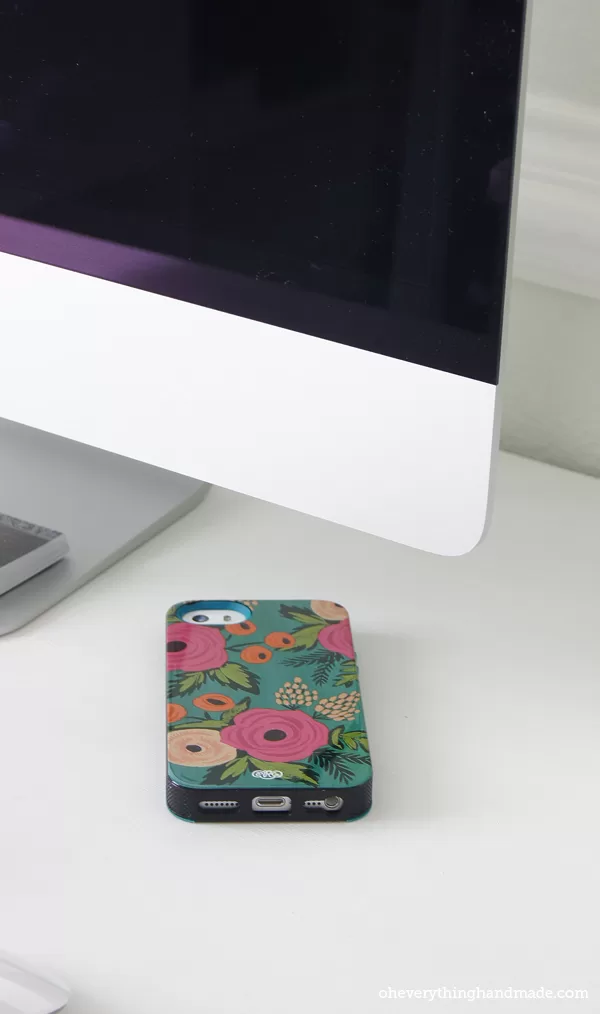
This is how the office looked before and after:
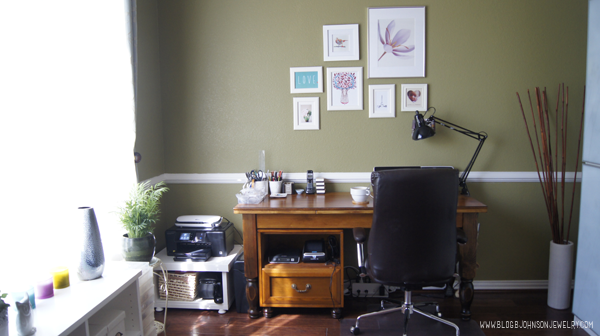


I’m in the process of creating storage other than cardboard moving boxes in my office/craft room. Where did you get the cabinet with the glass doors? I like the boxes with the tags on the front. I have to have lids because of a cat that can get into anything. Where did you get those boxes? I love the new office. Even your old office was neat. I need to get into the practice of putting things away when I finish with them instead of piling things up on top of the desk or any flat surface!
Hi Vickie, glad you like the new studio.
I got most of the storage items from Ikea, the boxes, the book case and glass doors too, we just simply added them to the book case. The glass doors are not frosted when you buy them from ikea. We used white spray paint to make them look frosted. (I didn’t like to see the clutter that sat behind the glass doors!)
I know its much easier to just pile everything up, but it will take you much longer to finish projects if you have to look for things first and make room to work.