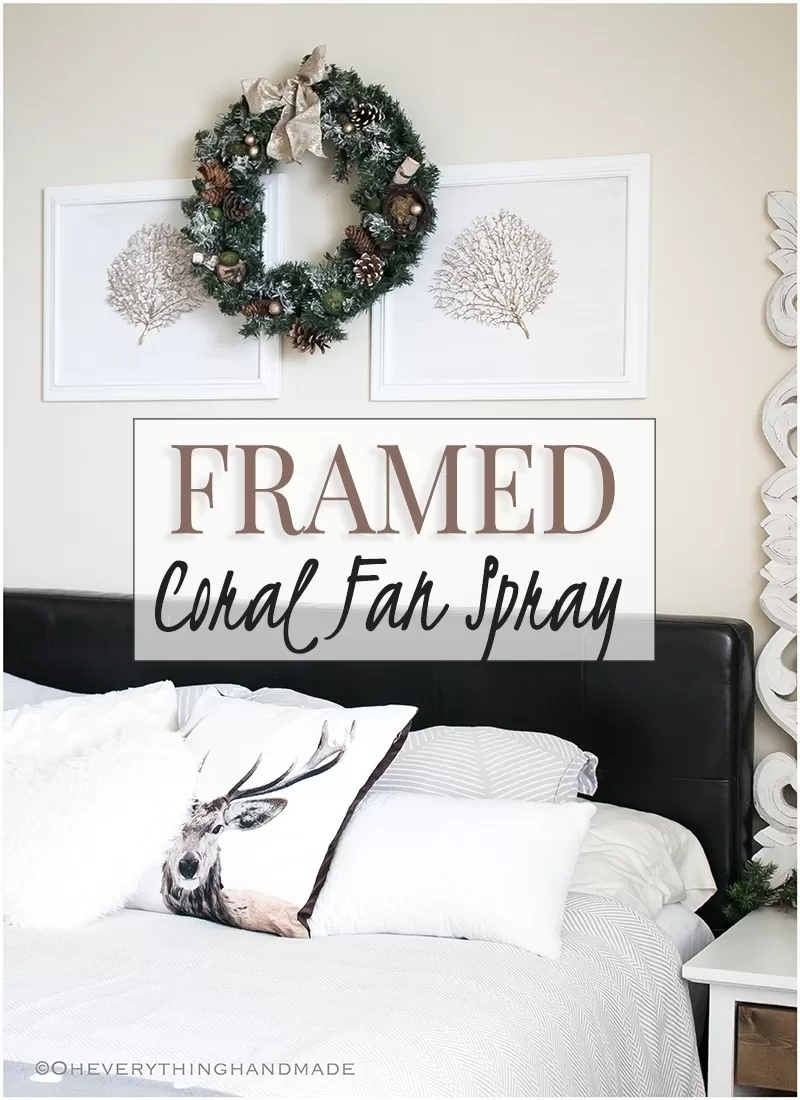
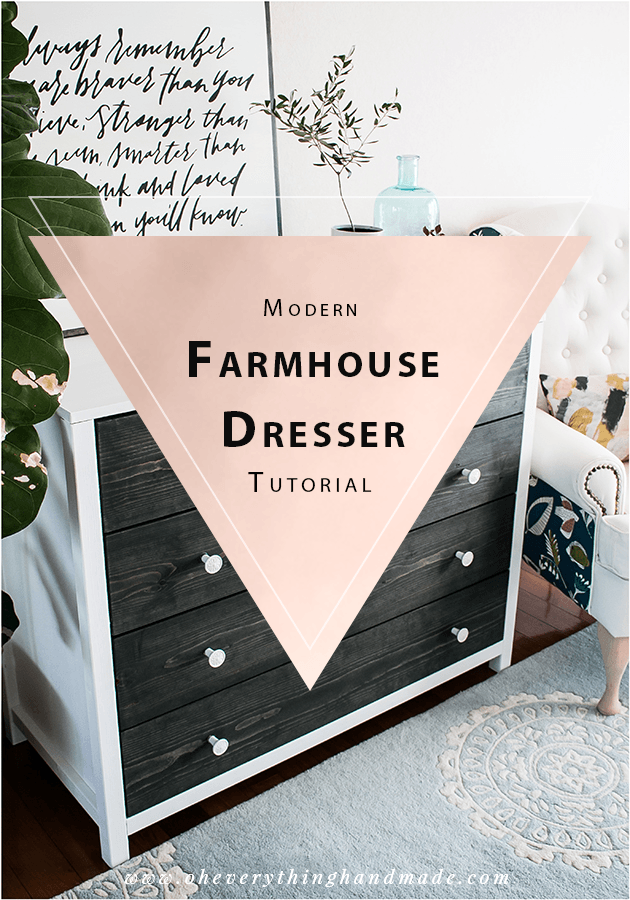
Reveal // DIY Ikea Rast Chest Drawer
Last week was quite overwhelming, filled with lots of tantrums that Jasmine was throwing and sleepless nights due to Bailey’s night wakings. But we all have bad days no matter how old we are.
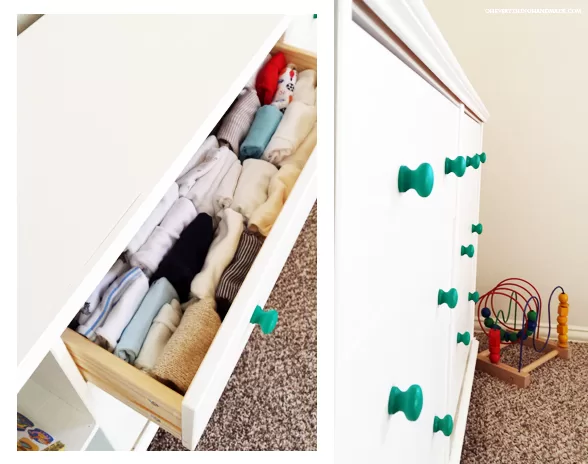
However, today I want to show you my little accomplishment …Bailey’s DIY Ikea Rast Chest Drawer is finished and makes quite a nice impression in his room.
Reveal // DIY Ikea Rast Chest Drawer

// Behind the scene images:
Even after the worst week behind me so far due to all the whining and screaming. I somehow managed to get some time each night in the garage to drill holes, glue, sand, and paint.
Then this happen!!! I was standing what felt like an eternity (maybe 10 minutes) in front of the chest drawer and looked at the shelf (on the left side) which I had previously attached with Gorilla glue and nails, and I just hated the look of it! This meant only one thing to me, “take it down and DO IT RIGHT”, ugh.

I was able to take it down fairly quickly with the right tools, nothing can stop me!
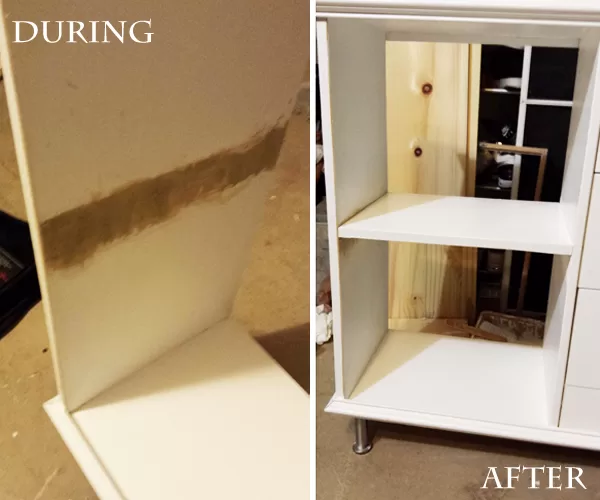
Luckily it was an easy fix, I used our Craftsman Multi-tool to cut the wooden pieces carefully away from the sideboard. After that, I filled the marks with wood filler and let it dry for 2 hours before I sanded and attached the shelf again with screws. This took me about 15 minutes without the waiting time for the wood filler to dry. Then I painted over everything and it looked like I had done it this way in the first place (well, I wish I’d done it this way in the first place!!!)
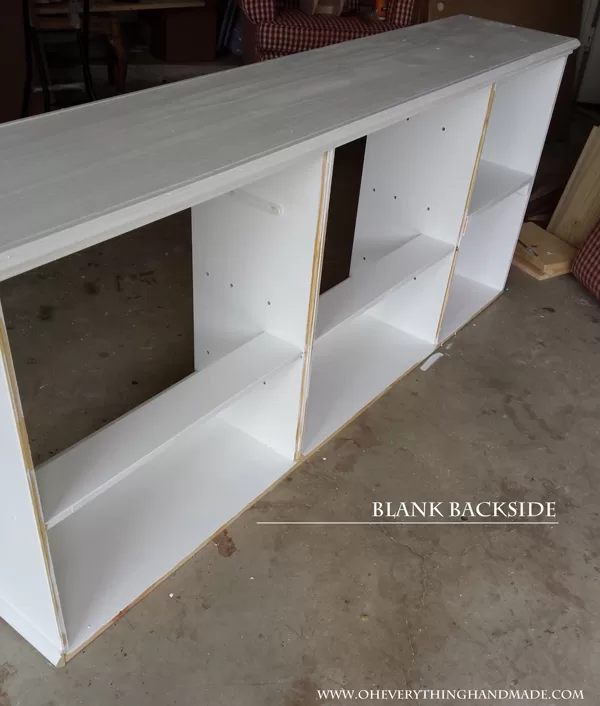
The Backside, before I attached the backing and legs.
 The dry time for the paint took longer than attaching the extra wood boards and border! Find my step by step instructions, here.
// You need:
- 2 RAST Chest Drawers from Ikea
// All the wood boards and border lengths you’ll need for this project:
- 2x 12 inches by 6 feet of Pine board
- 25 feet of your favorite border (includes a little room for cutting 45˚)
- 1x 12 inches by 27 1/2 inches of Pine board
- 1x 12 inches by 15 1/2 inches of Pine board
- 2x 1 inch by 23 inches by 3 1/2 inches of Pine board
// Paint:
- 1-quart white satin Behr Premium Plus Ultra
- 1 High-Density Foam Roller and tray kit
- 1 Angled Sash Brush
- 1 Acrylic paint and small brush for the knobs (your desired color, I used turquoise paint from hobby lobby)
// Accessories:
- 1 package of CAPITA legs from Ikea
- Nails
- 22 7mm x 50mm Cabinet Connecting Screws
- Hammer
- Gorilla Glue
- wood filler and spatula
- Measuring tape
- Leveler
- Pencil
- Clamps
- Driller and a 4mm in diameter drill bit
- Miter saw (you can also have everything cut at Home depot or Lowes, just make sure your measurements are correct)
Some of the links on my blog are affiliate links, which means if you make a purchase, I will receive a small commission, but it won’t cost you anything extra. Regardless of whether or not I receive a commission, I only recommend products that I personally use and genuinely recommend for you and for your blog!
// Budget
about $85.00 – $90.00 (includes all the wood, accessories and paint*) + 2 Ikea RAST Chest Drawers $69.98
*this does not incl. the tools I was working with since we already had those!
// Tips
- place your brush and roller into a zip lock bag after using them, and leave them in the fridge until you apply another coat of paint to your furniture. This will prevent the paint from drying out.
- never paint the same day you’ve been sanding something down, except if you paint in a different room. The wood dust is still circulating in the air and will lay down on your newly painted surface (you don’t want that!!!).
If you have any questions during or before you start on this project, please leave me your comment and I will make sure to get back to you ASAP.
You might also like:
[go_portfolio id=”related-post-ikea-hacks”]