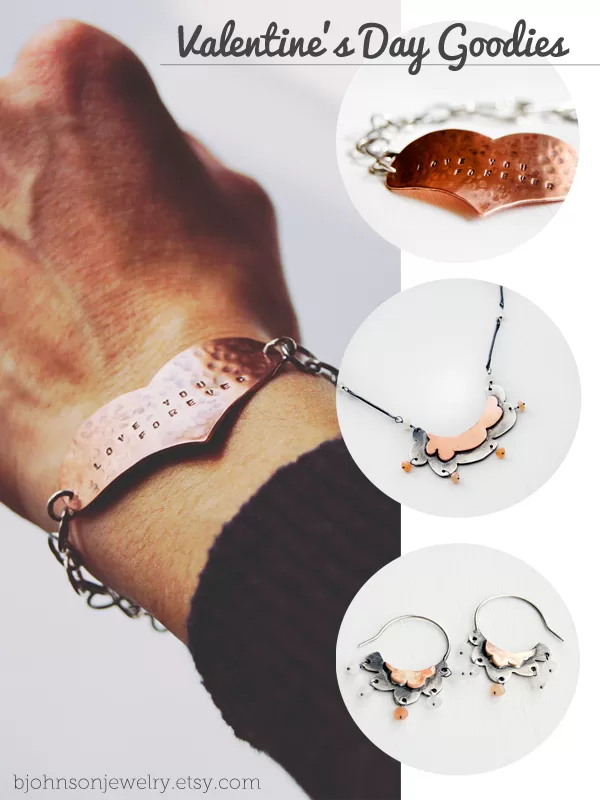
How to re-touch jewelry pictures!
Are you one of many that struggle with their product pictures? Yes, well today I like to show you how you can improve your images with a few quick tips.
I myself was struggling with this issue for the first couple of years after launching my business, I remember my husband saying this a lot “are you changing your jewelry pictures AGAIN???” I was really frustrated, and it seemed like I just wasn’t going to be satisfied no matter what I did. But after I spend hours on my laptop searching for ideas, and tips. I actually started improving ….and last year I found my own “perfect for me” way to take and re-touch my pictures.
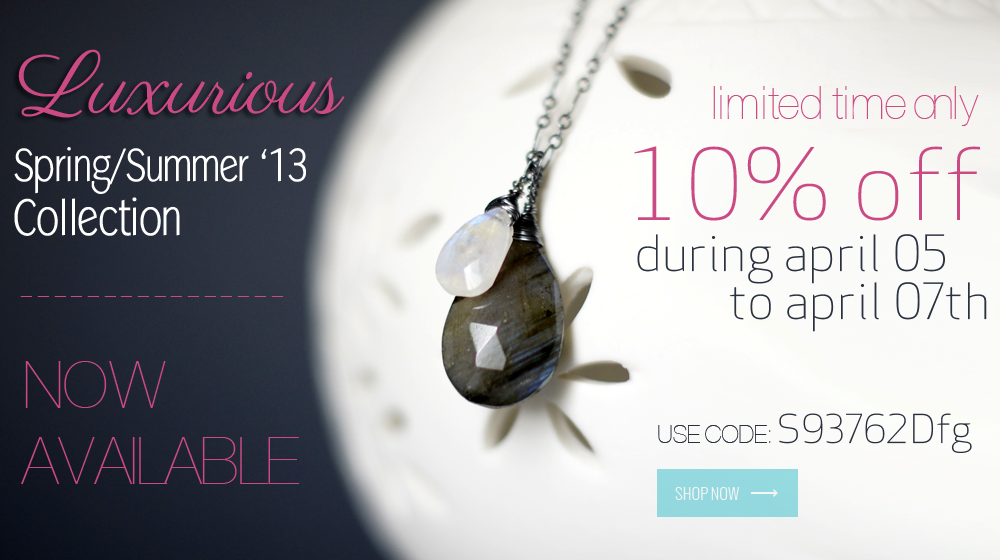
 Good jewelry photography needs sharp, crisp focus. Here is how to re-touch your image in just a few simple steps with Photoshop, with a 55mm or 80mm lens.
Note: The 100mm will only give you more distance between the lens and the set up (you don’t get any more magnification).
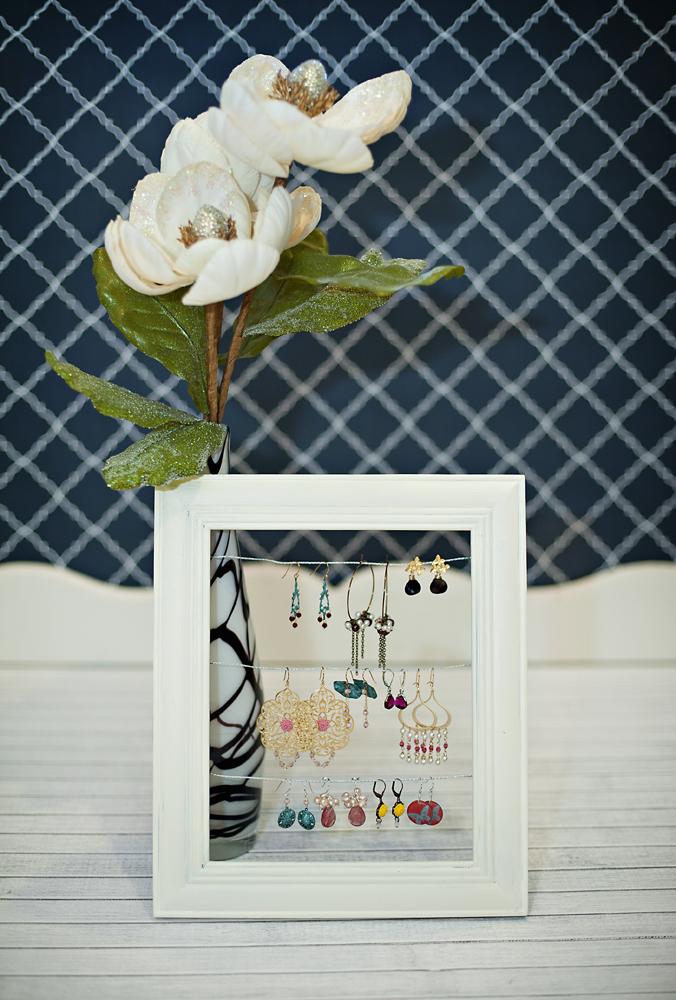
- take your product, and lay it on a white surface, like a white paper, white acrylic sheet or cloth (whatever you feel like, would fit with your product)
- get your Digital SLR Cameras ready and take a picture of your item. (I will post soon on how to take the perfect picture)
- ok, so now that you have your picture taken, upload it to your computer, and start-up your Photoshop.
- in your Photoshop, open the image that you just took and crop it first.
- go to Image > Auto color – this will highlight the colors and lighten the background, most likely it will be almost white now!
- under Image > Adjustments > Brightness/Contrast – now change the settings until you are satisfied with your image brightness.
- should you still have gray or blue edges, take them out with the Brush Tool (left hand side, under your tool menu)
- now let’s use your Dodge Tool (that’s the lens looking icon), this tool will lighten specific areas like a shadow. Take out the shadow around your piece or in between pieces.
- last tool – the Burn Tool (this tool can be found in the same area where you found the Dodge Tool), I like this tool – it basically darkens the areas you lighten too much, I usually just go over certain areas to highlight them.
Hope this helped you a bit to improve your gorgeous jewelry pictures!?
I also made a little video on how to actually apply these steps, in case you couldn’t really follow… here we go enjoy!