Soutache Necklace Tutorial for Beginners
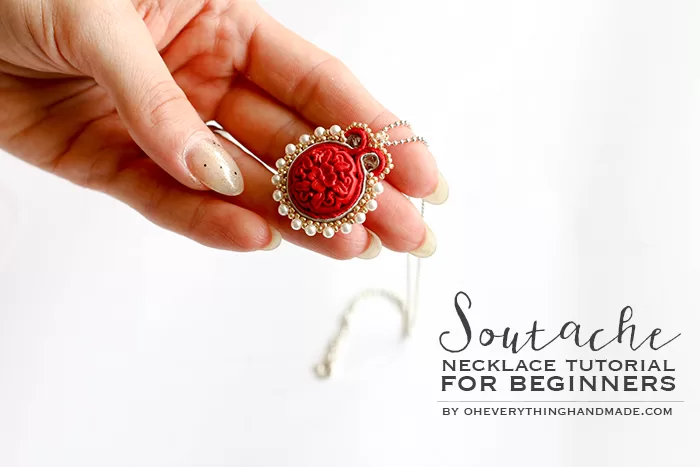 Soutache jewelry pieces are beautiful and bold, they have made a noticeable impact on the market for the past few years. This was my first time working with soutache, and I am very excited to share my soutache necklace tutorial with you- which is by the way “beginner friendly”. Hope you enjoy!
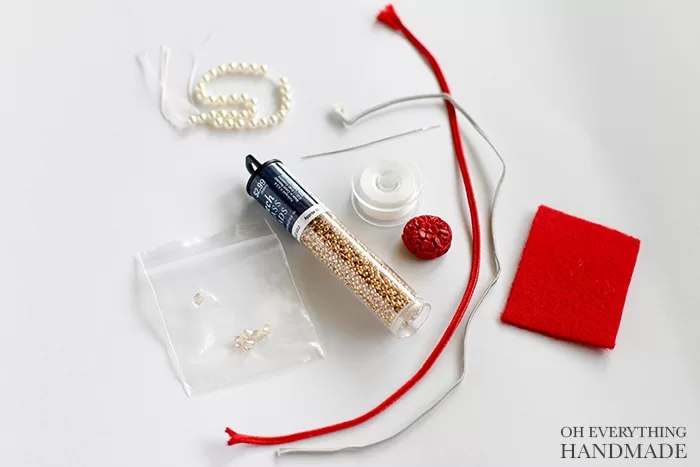
Material you need:
- 6 inches of Soutache Trim (gray and red)
- Gold color Seed beads – size 11/0
- 2 x 4mm Swarovski light shadow crystals
- 15 x 3mm Swarovski white pearls
- 20mm Carved Center Bead
- a piece of red felt
- Seed bead needle and yarn
- E6000 glue
Soutache Necklace Tutorial for Beginners
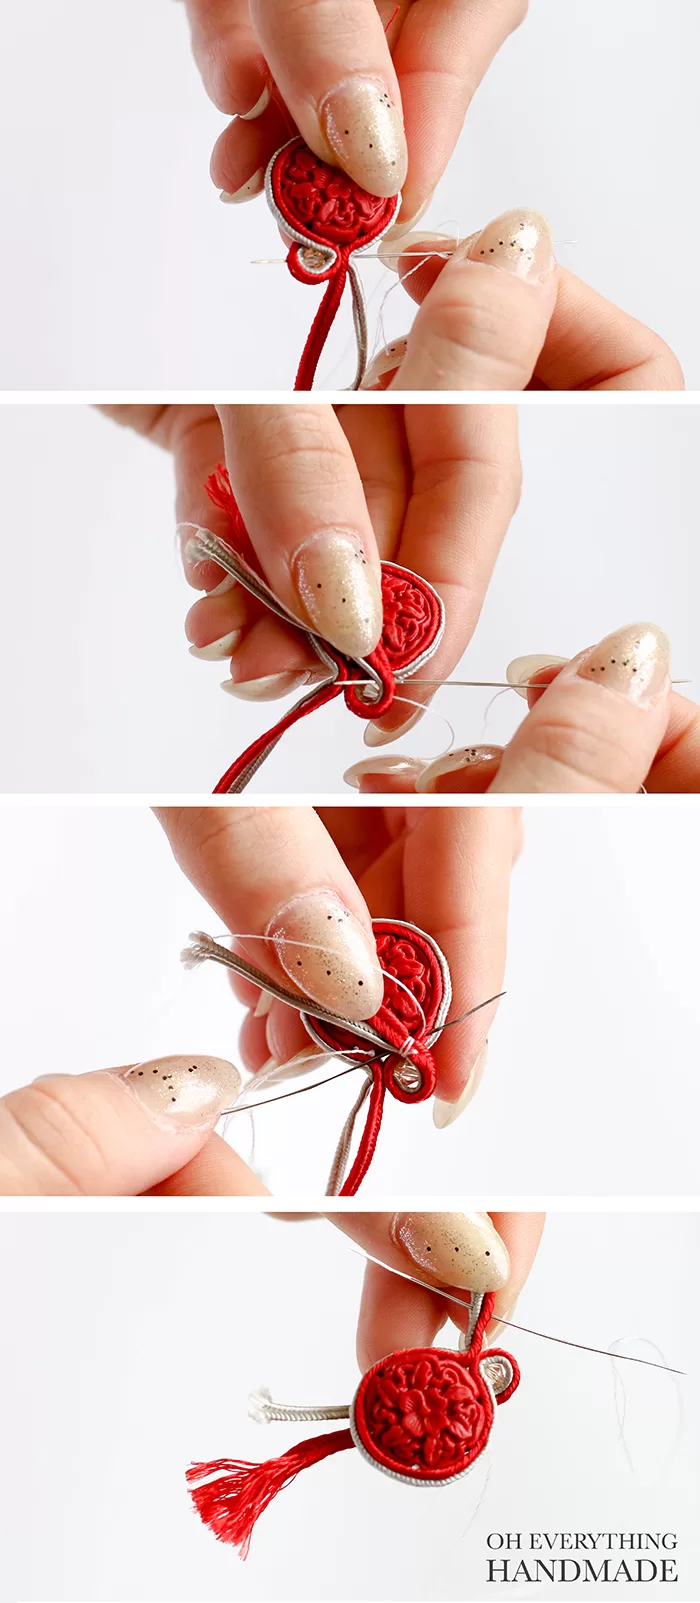
Step 1.
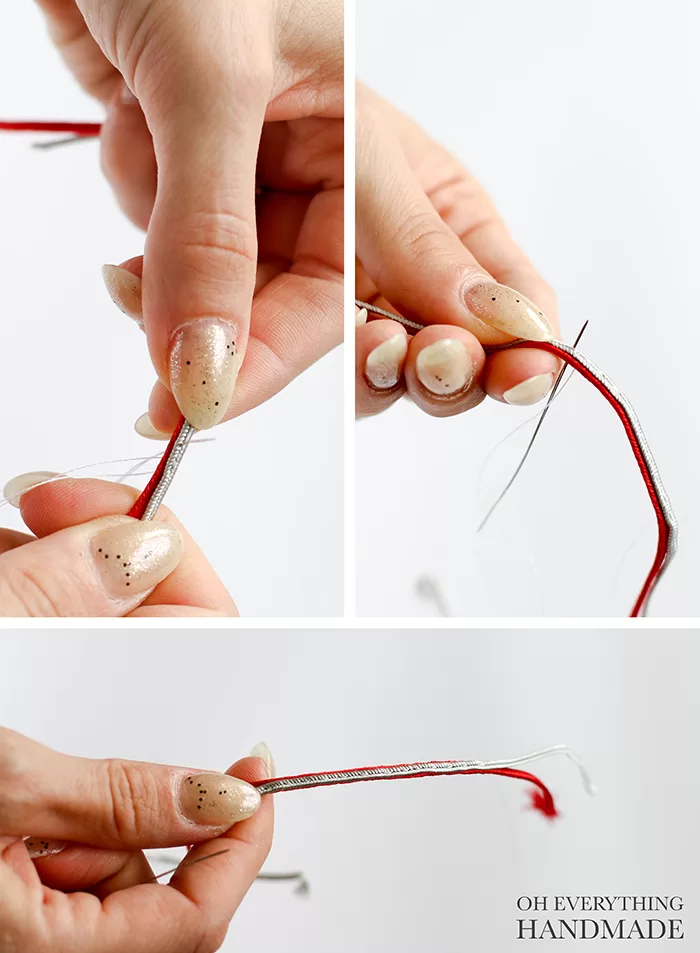 Sew the two pieces of soutache trip together. Note that with soutache, you have to make sure to always sew along the center of the trim or it will frizz. Sew until you have a 2-inch string (if you use a different sized bead, make sure you can wrap the trim once around your bead).
Step 2.
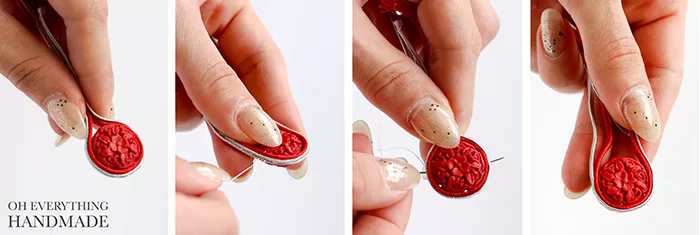 Use the hole on the bead and attach to the trim, this will give it extra hold. Sewing twice trough, gave it great stability.
Step 3.
 Make sure the trim fits around the bead, then sew each end together to create a loop.
Step 4.
 Sew one side of the trim together about 8-10mm, then add the 4mm SV crystal to the needle and sew it on, exiting through the middle.
Step 5.
 After sewing on the crystal, sew the excess trim to the back of the pendant. To do that, fold the trim over and sew underneath the trim and over, while sewing through the side trim. Repeat the same process with the other end of the trim.
Step 6.
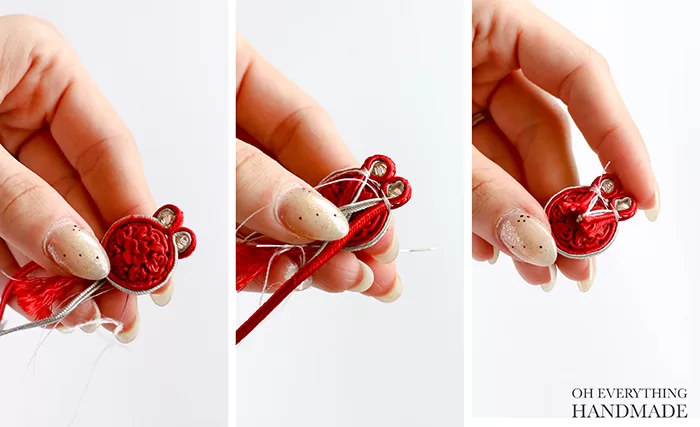
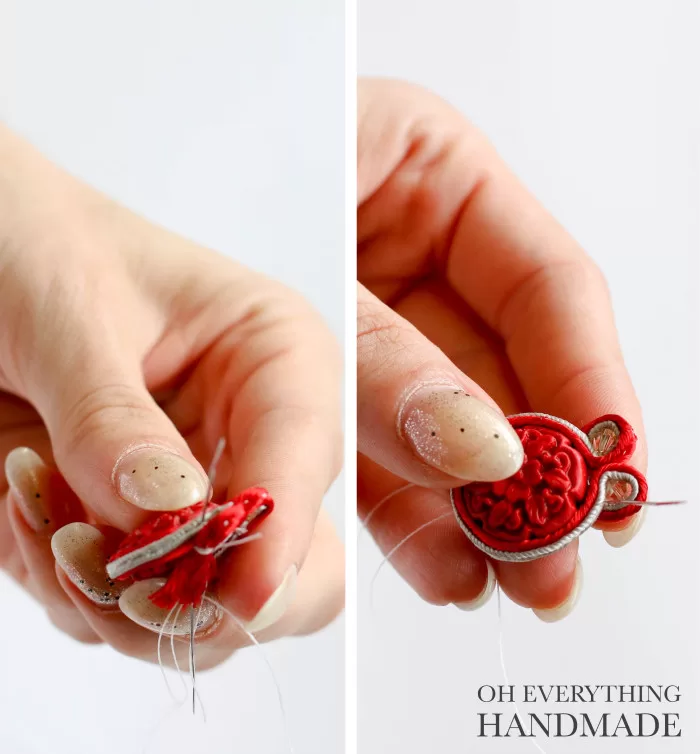 Both ends are secured and cut off, then sew through the backing to have the yarn come out of the front so the felted backing can be glued on. Tip: Depending on what type of trim you use, you can stop the frizzing by using a lighter. On this piece, only my red trim was made or polyester and it frizzed really bad. But using a small flame stopped it.
Step 7.
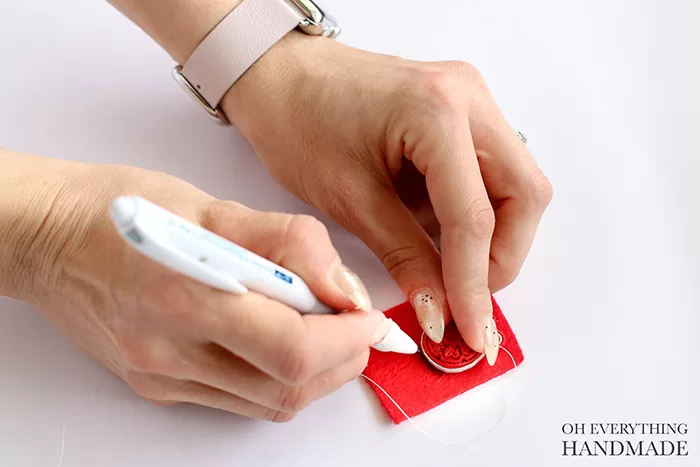 Use the pendant to trace around it on the felt.
 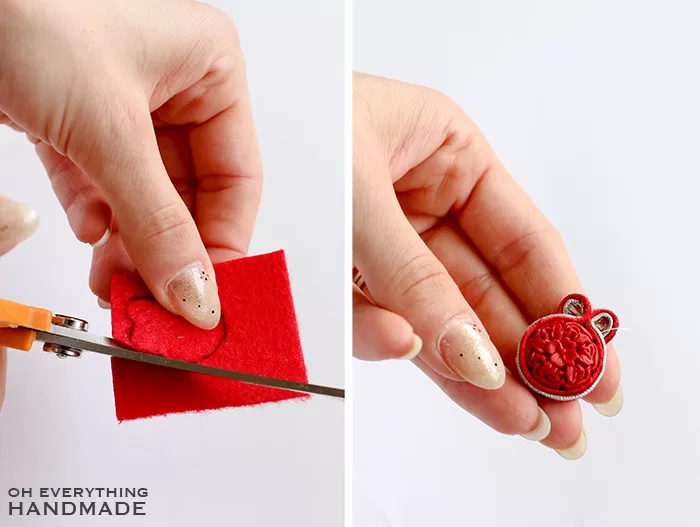 After cutting the felt piece out, glue it on the back of the pendant with E6000 – covering all excess trim.
Step 8.
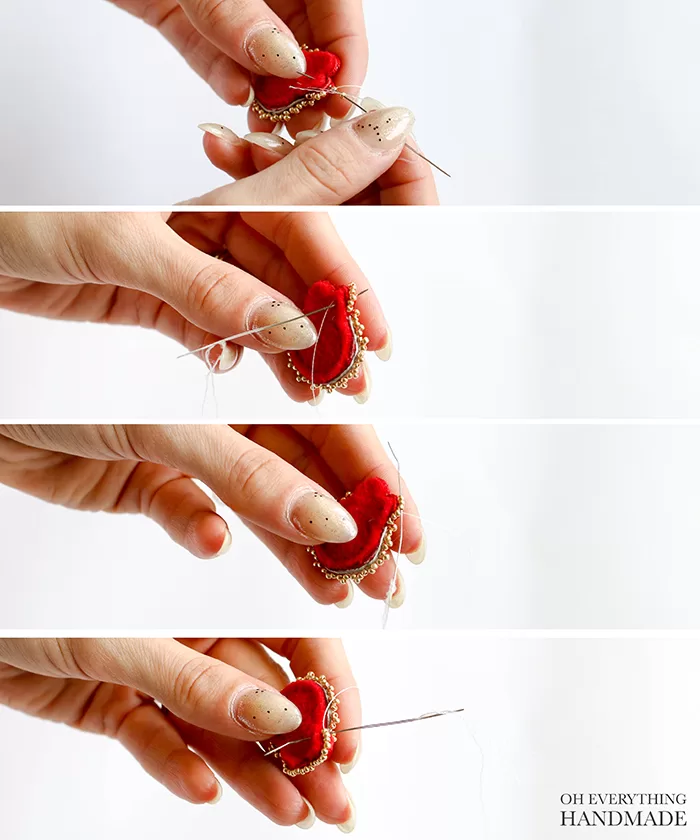
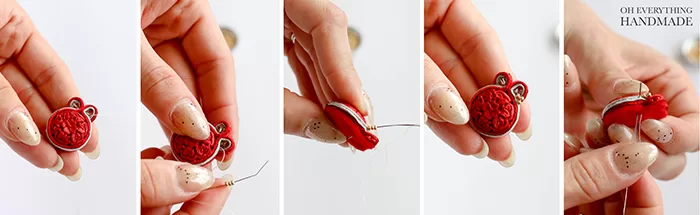 With the felted backing glued on the pendant, let the piece dry 1h before continuing to add the details. After the dry time is up, start with bending the peek of the needle for an easier seed bead pickup. It also helps to sew on the beads!
- pickup 3 seed beads
- place the needle only 2 seed beads of space on the trim, this will result in pushing the middle bead up and on top of the other two beads
- sew through the felted backing to secure the beads and felt
- repeat this process until you have a row of beaded details ending in from of the SV crystal
Step 9.
 The top of the pendant only has one row of seed beads, without the details.
- pickup 2 seed beads
- place the needle 2 seed beads of space on the trim
- sew through the felt
- place the needle 3 beads back (as seen in the picture) and sew through the last 3 beads
- pickup 2 more beads
- and continue these steps until you reach the end of the trim
Step 10.
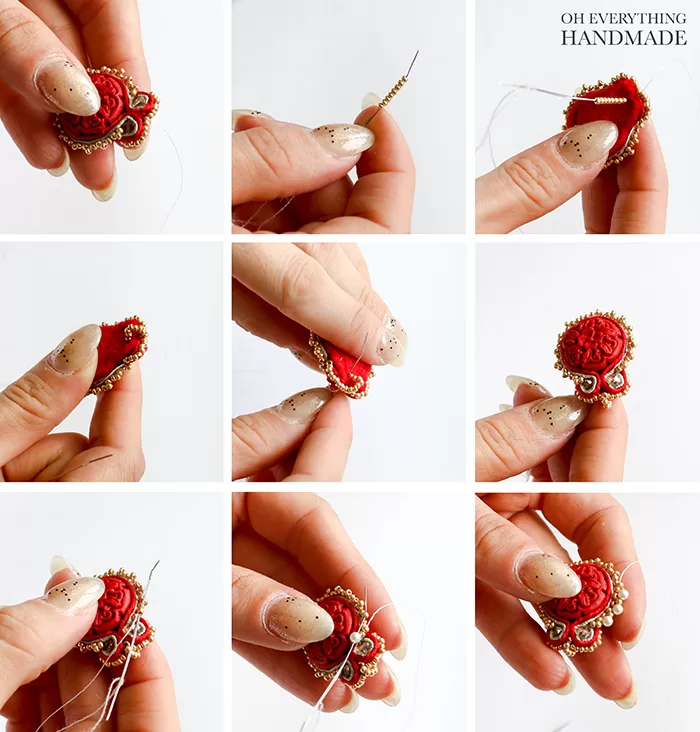
- Sew through the felt and back out
- place the needle through the seed beads until you reach the center
– To attach a loop for the chain, pick up 8 seed beads and sew them on with the needle going though the back and out of the front – to give the loop extra strength, sew through the beads a second time
- now, sew on the last part of the details, the pearls
- use the top seed bead as a guide, going through a seed bead, then adding a pearl, and again going through the top seed bead. Sew around until reaching the end of the seed bead detail
- to finish off the pendant, sew out the back and make a knot to secure the yarn
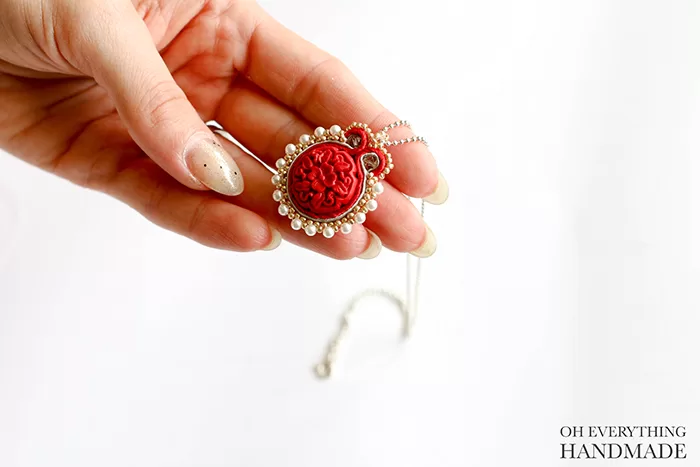 If you enjoyed this tutorial, and want to make your own pendant. We created a “Soutache Kit” for our readers that will allow you to recreate the exact same soutache necklace. Our kit includes everything you need, and can now be pre-ordered, here.