DIY // Swirl Ring
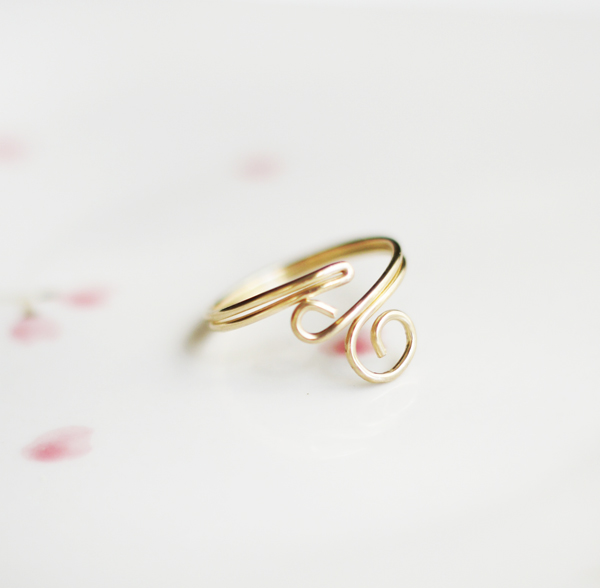
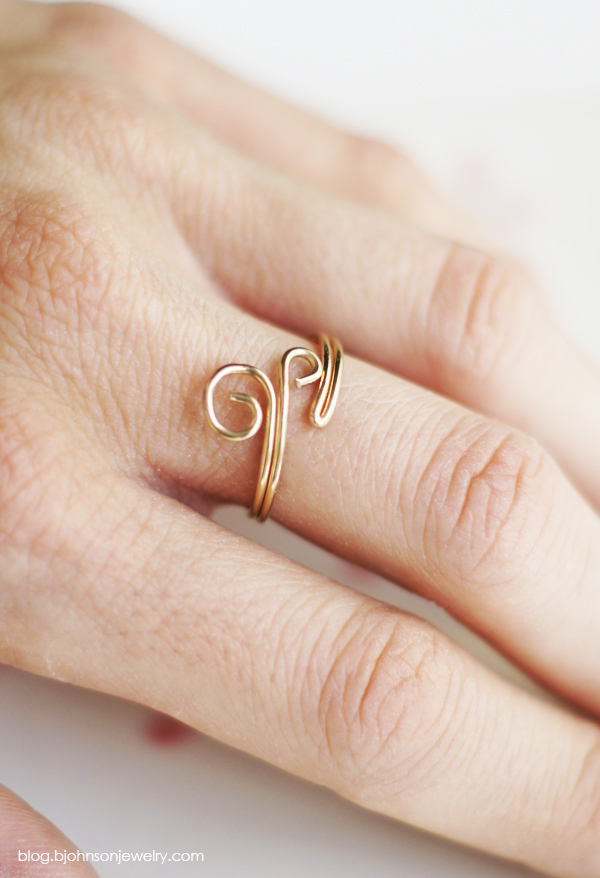
I am a ring addict, and because this Ring is one of my favorites I thought why not share how I make them. So this weeks DIY is my so-called “Swirl Ring”. Hope you enjoy!
Let’s get started with the things you’ll need to make the ring…
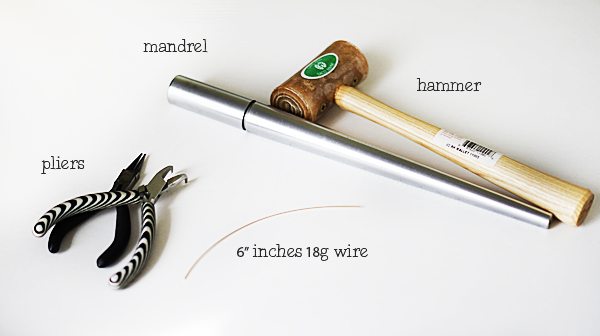
What you’ll need:
- Ring Mandrel Finger Sizer Gauges Find Exact Size Rings
- Rawhide Mallet 1 1/4in Size 1 – HAM-421.00
- Jewelry Plier Set, Set of 5
- 6″ inches 18G Half Hard Wire (this will make a US 6-7 size ring)
Ok, do you have everything? If so let’s get started!
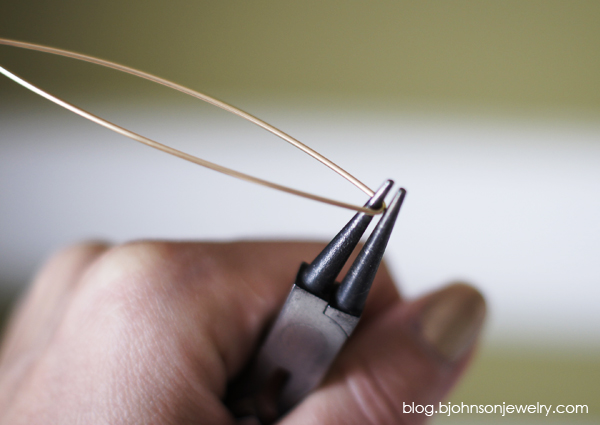
1. At the middle of your wire make a flat fold, use the very tips of your round nose pliers to bend your piece of wire in a U-shape.
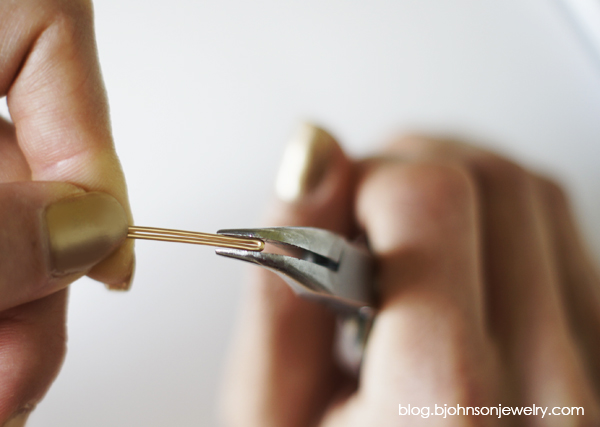
2. Then use your flat nose pliers or bent needle nose pliers to press the U-shape as flat as possible (I used the bent needle nose pliers because I have a better grip to my wire).
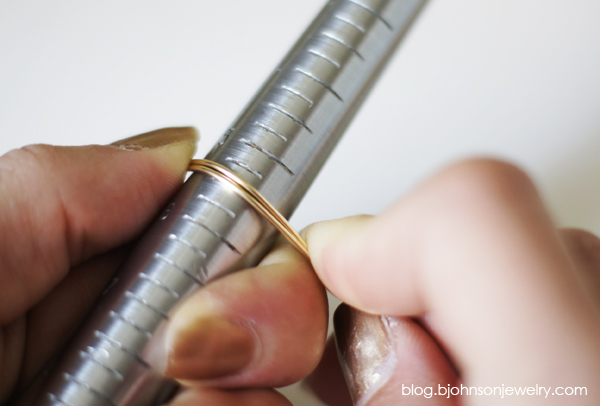
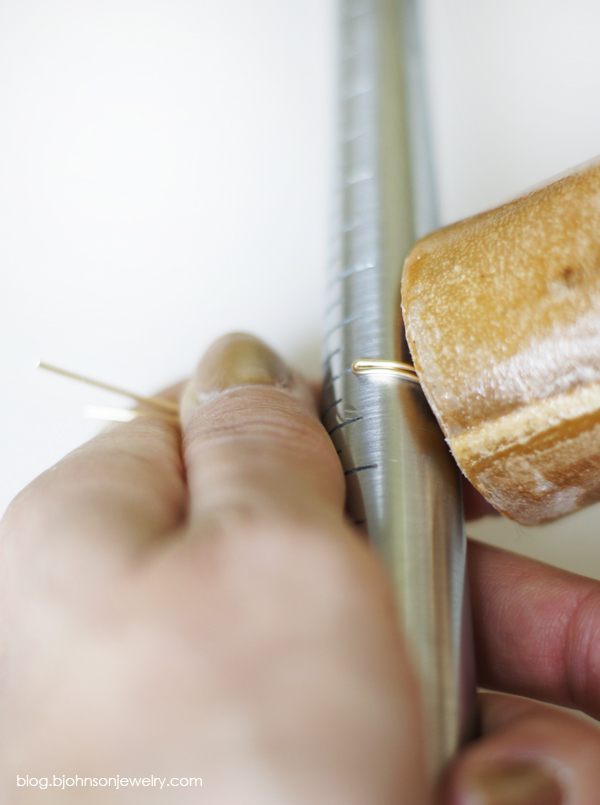
3. Now wrap your folded wire around your ring mandrel, and use your hammer to pound the shank into a nice ring shape. Start hammering at the folded end, and continue around to where your wires meet up with the fold.
Do not hammer your 2 wire ends yet, if you do so you won’t be able to curve and shape them easily.
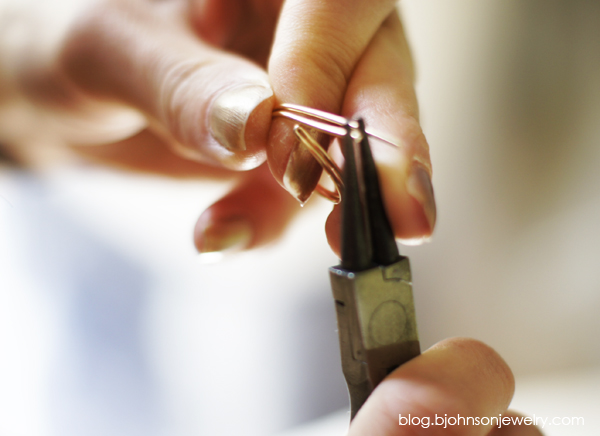
4. Remove your wire from the mandrel, start by using your pliers to shape both ends to your desired look.
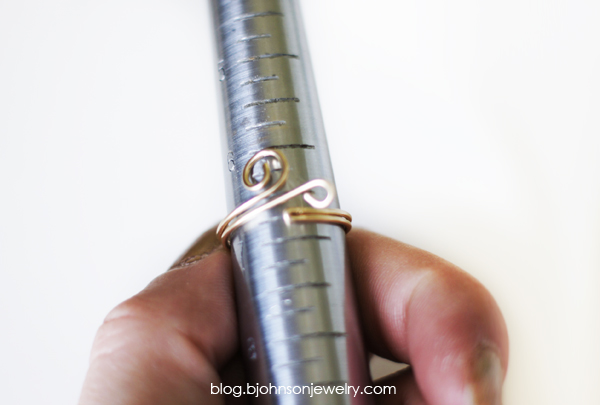
5. After your design for both wire ends is finished, put your ring back on the ring mandrel and give it a good all over hammering – including your wire design.
By hammering the wirework it ensures your design will curve naturally around the top surface of your finger. This step will harden your wire design and make it sturdier.
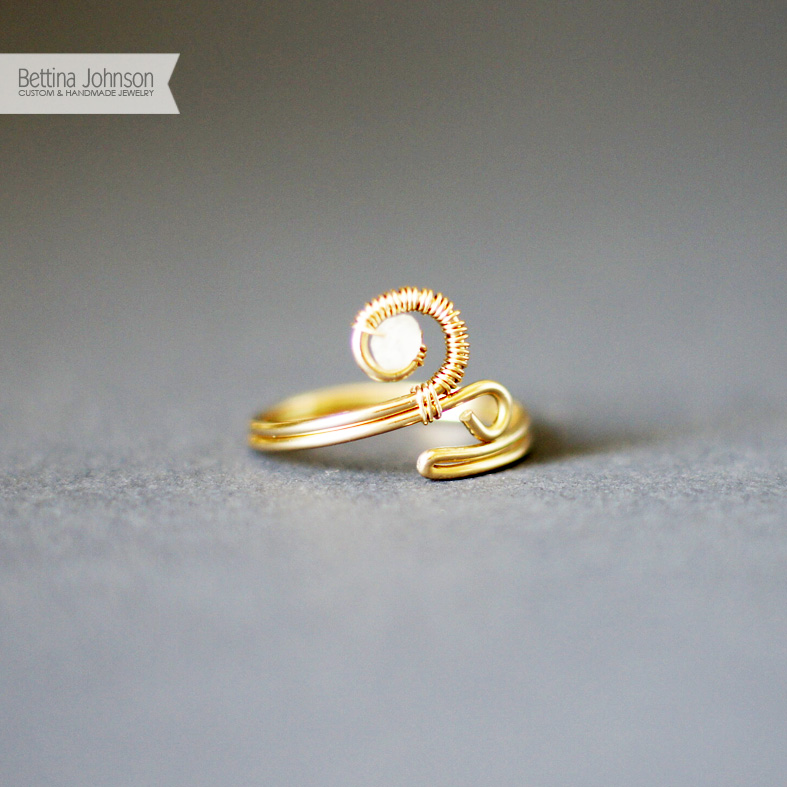
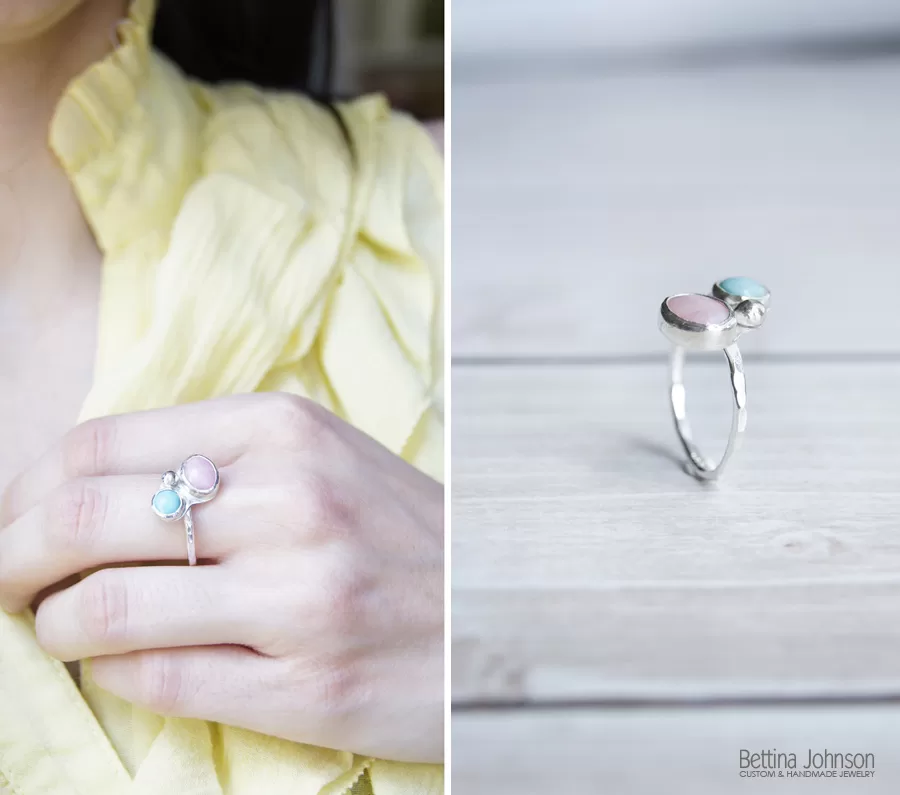
I took this little cutie a step farther and gave it a little sparkle. By adding a moonstone to one of the ends and wire-wrapping it, this Swirl Ring is now complete!
My little Swirl Ring design can now be ordered on etsy, just in case you don’t feel like getting into this Swirl Ring DIY or don’t have the tools on hand. Enjoy
(images and design by me | tools can be found at Hobby Lobby, Amazon or Etsy)

Very sweet ring. Thanks so much for sharing!!
Beautiful ring and great tutorial, I am doing jewellery courses soon and I am sooo excited. I’ve never seen a mandrel before either, interesting xx
Glad you all enjoy the DIY, it’s one of my favorite and the ring is so comfortable to wear!
@Tanya good luck with your jewelry courses, make sure to get the most out of it.
Thanks for the wonderful tutorial!
The ring is so easy to make and is very pretty!
That is really interesting, You are an overly professional blogger.
I’ve joined your rss feed and look forward to looking for extra of your
wonderful post. Additionally, I’ve shared your site in my social networks!