Overnight Playroom Makeover
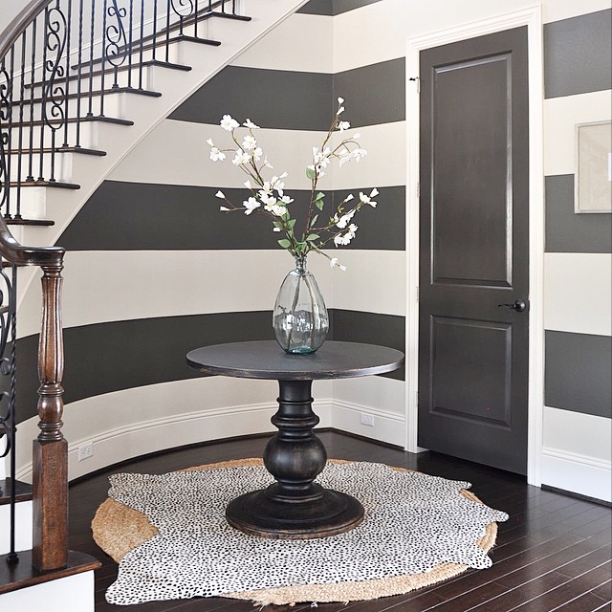
Today, I like to share my little overnight playroom makeover! I had planed on giving the playroom a new look for quite some time now, but I just wasn’t sure what color(s) to use and if I wanted to add a feature wall. Until I found HoneyWereHome entryway on instagram.
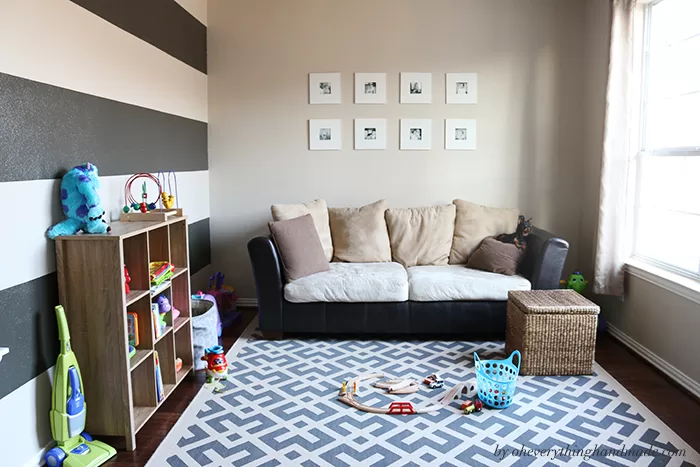
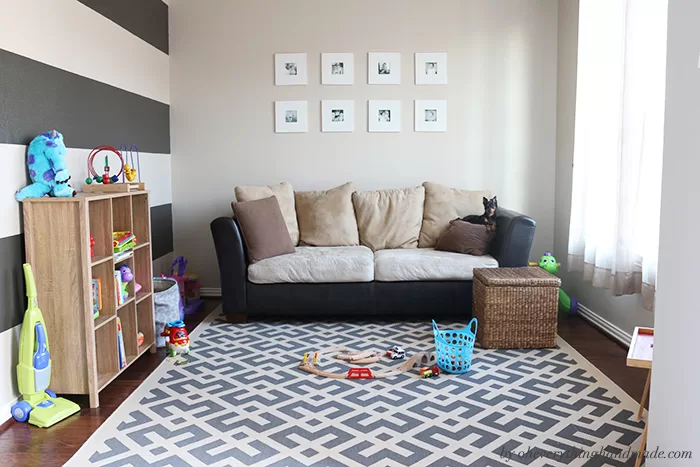
The big and bold stripes seemed just right for our playroom. But it took me one more night to sleep on it, just to be sure. The next day I gathered all items for the makeover. That night, after we put the kids down, I started painting and adding the stripes. And that following morning, all I needed to do was moving the furniture and finishing the black and white photo gallery. And that’s why I called this post the overnight playroom makeover.
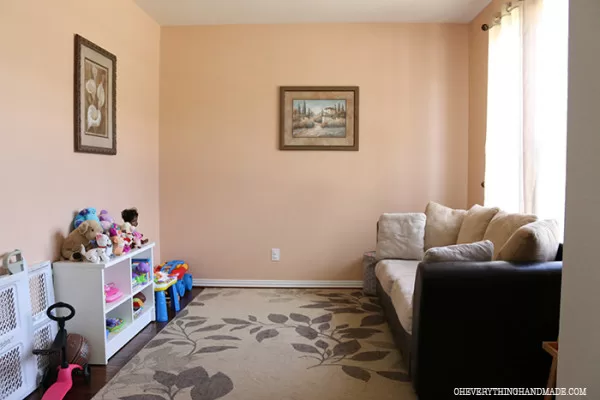
Here is a before image of the playroom room, the peachy wall color was so out of place in our house (you can’t imagine how much it bugged me).
Jasmine’s first reaction in the morning was priceless. While I was getting Bailey dressed, she was screaming “WOW”, “I LOVE IT”.
Overnight Playroom Makeover
My luck, that Target had this cute shelf on sale. We are still waiting on some fabric cubes, which will go into each corner and hopefully be organized with Legos, Duplos and some other toys.
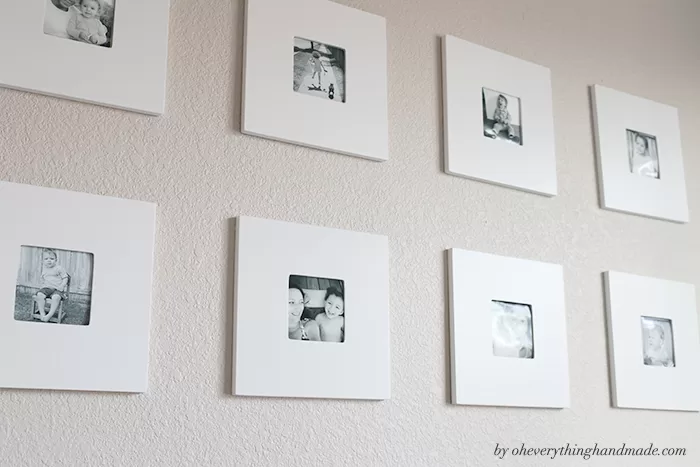
I also wanted to have something, preferably budget-friendly on the wall right above the sofa, then I remembered that I saw this tutorial on Pinterest, which was budget friendly and super cute! The best part about it, I already had some pictures on Photo paper, so all I had to do was, cut them out and glue them to the mirror’s.
This makeover has been a great success, and is my kids favorite makeover, of course!!!
Tell me, do you like it?


Oh my I love this! We just bought a house and it’s in need of a fresh coat of paint. This is great inspiration!!
Renae, glad it inspired you. Thanks for stopping by!