
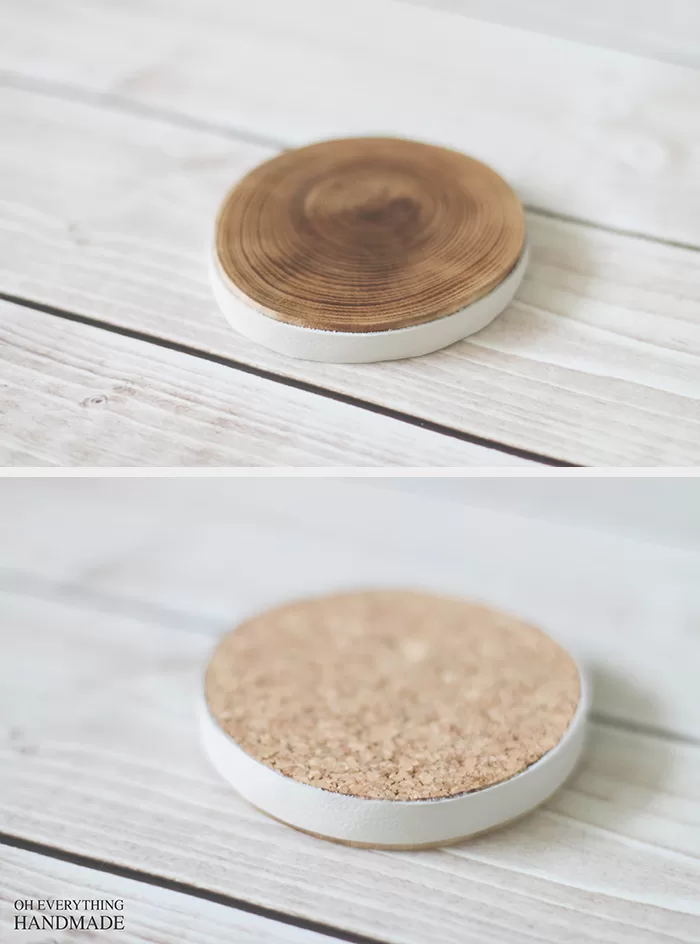
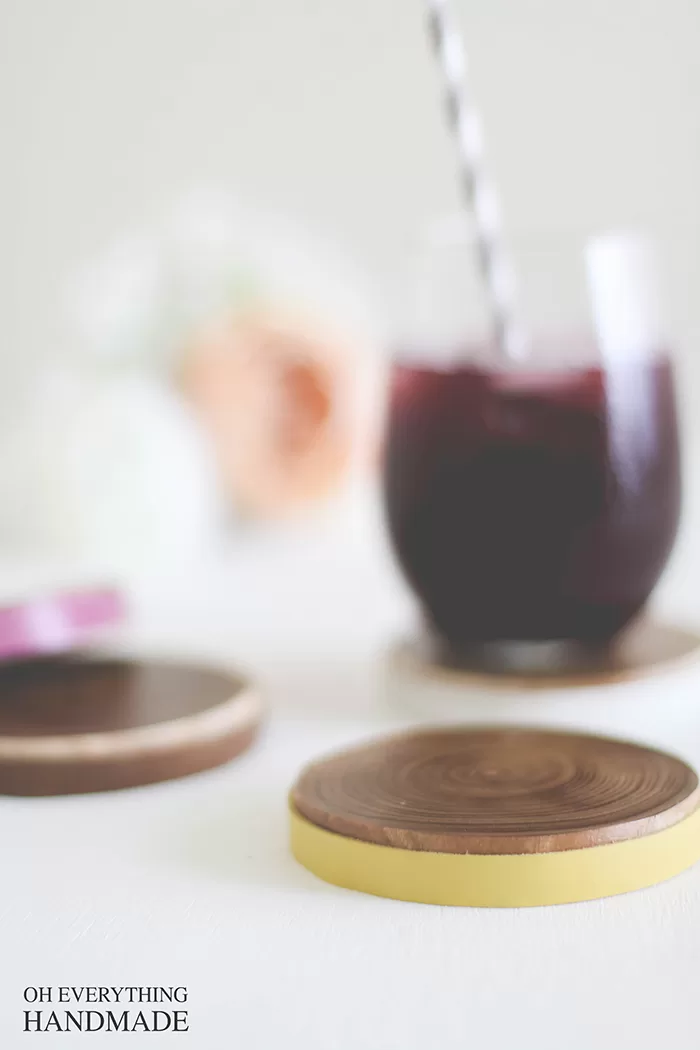
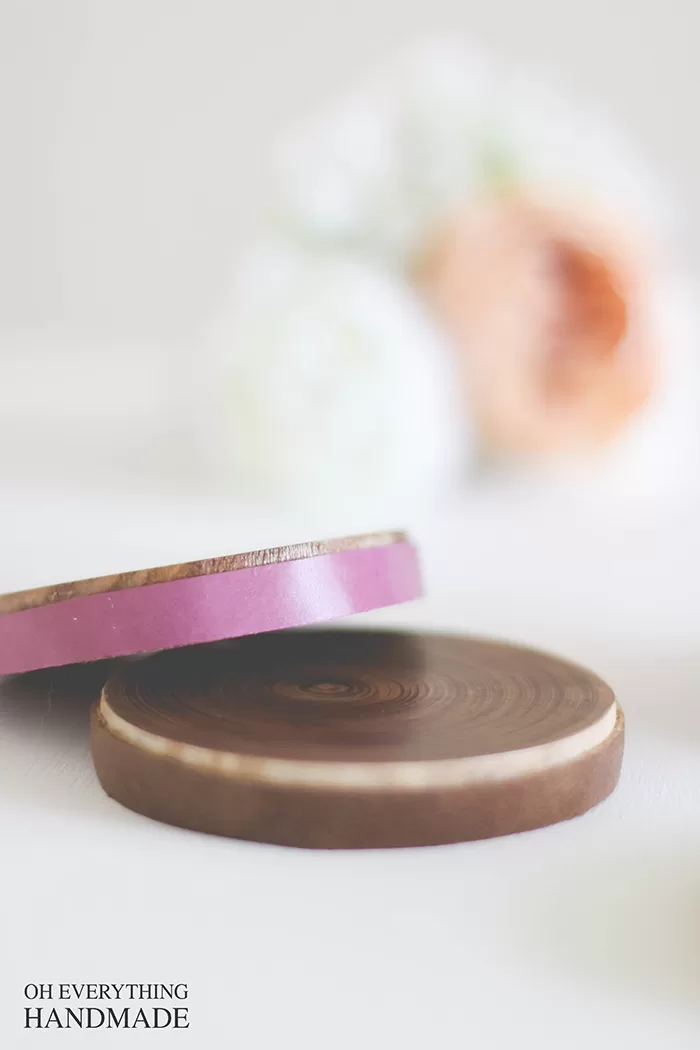
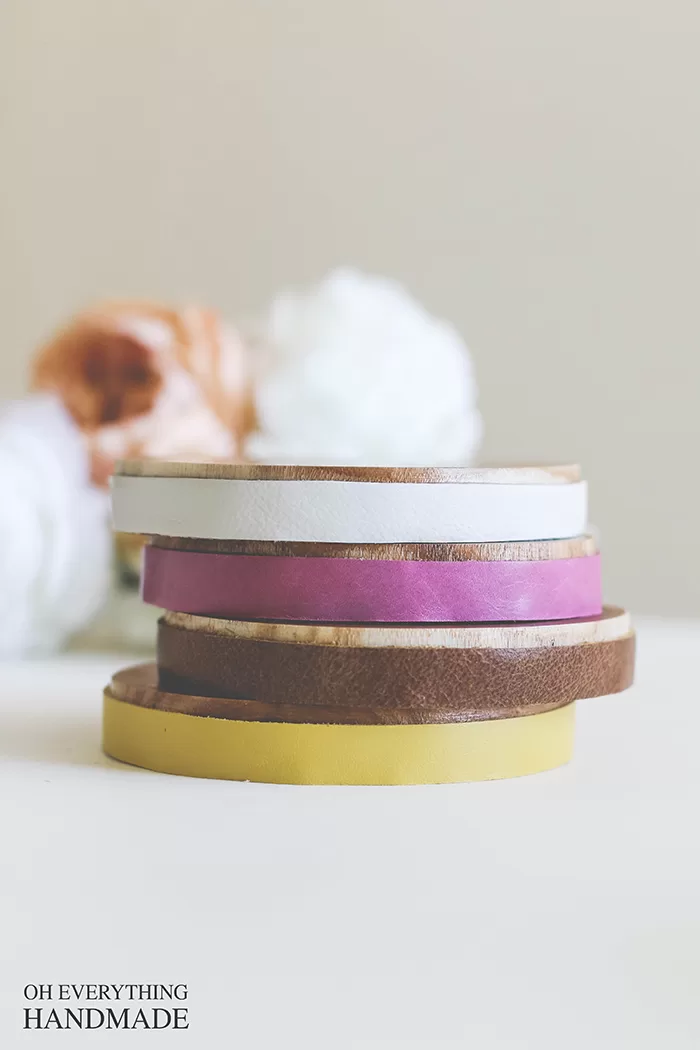
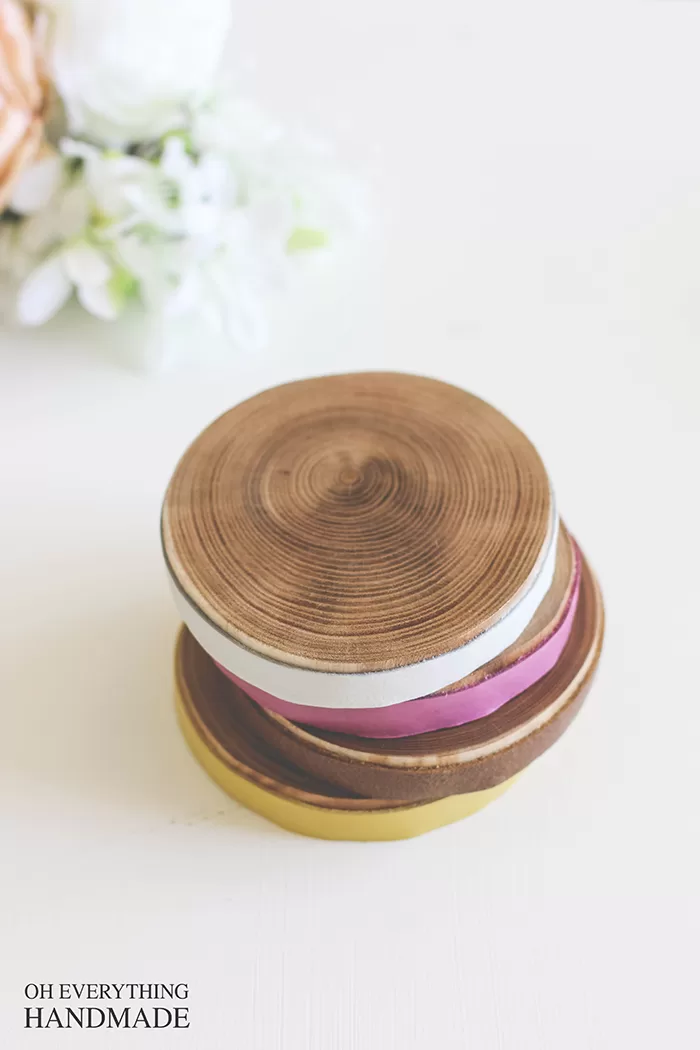
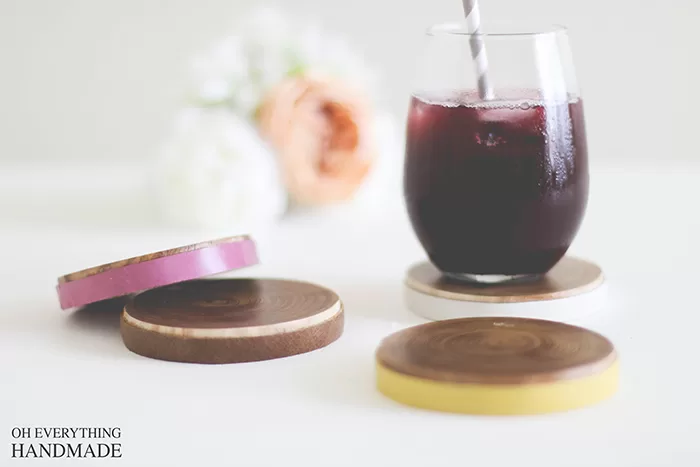
Leather Wrapped Wooden Coasters
“One day we’ll be fancy enough for coasters. But for now they double as Frisbees for the boys.” Such a cute statement from one of my friends on Instagram, she has adorable boys by the way!
I love coasters, and ice-cubes in my drinks… which concludes that I REALLY am in need of some coasters, preferable stylish and durable coasters.

It all started when I found this beautiful wood at a Home Improvement store. I knew exactly what I was going to use it for – Leather Wrapped Wooden Coasters!
So, today I like to show you how I turned them into durable, stylish coasters. Here we go…
Leather Wrapped Wooden Coasters
Material needed:
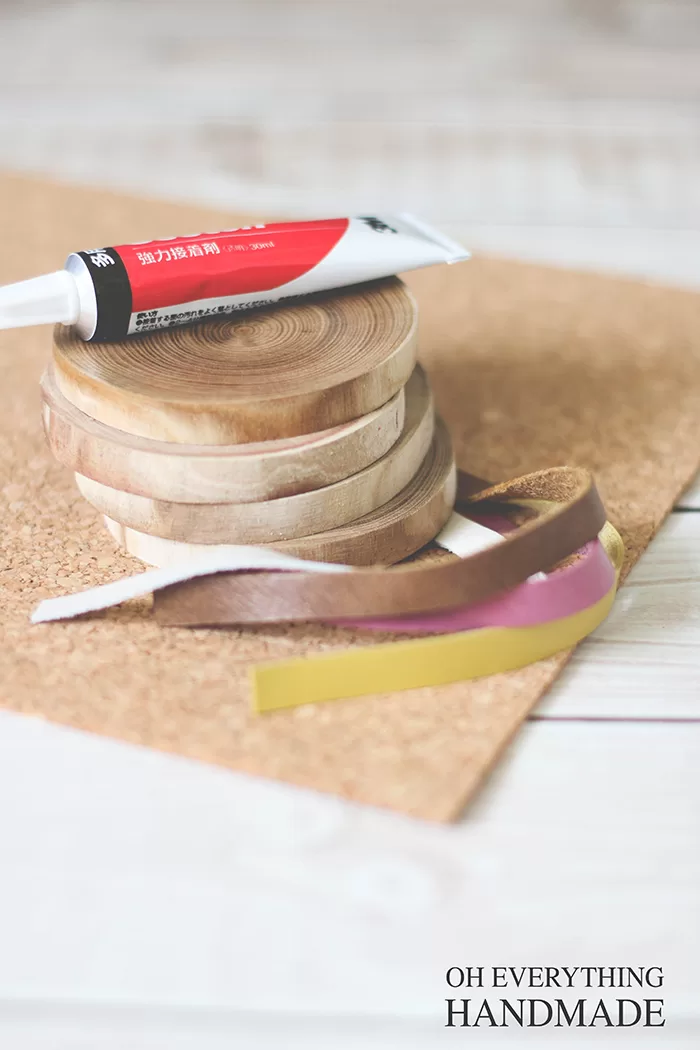
- 4 – 1/2″ Wooden Slices/Discs (Amazon Wooden Disc Selection
)
- 1/4″ Cork (can be found at your local Craft supply store)
- Glue
- Waterproof sealer ( my favorite Earth Safe Finishes Sealer, No VOC, 8-Ounce )
- Assorted Leather Trim Pack (I used these Leather Pack comes in different colors)
- Scissor or Rotary Cutter
Instructions:
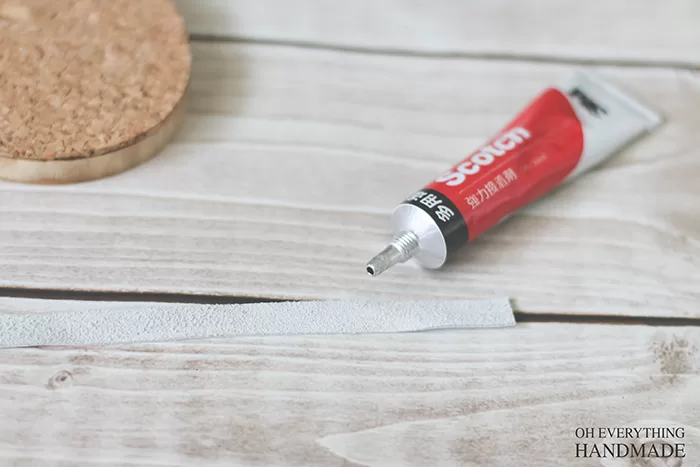
Step 1.
Trim the leather to the width that the coasters are, mine were 1/2″ – so I used a rotary cutter and a ruler to trim the leather. This method created a nice straight line with no frizzing on the backside of the leather.
Step 2.
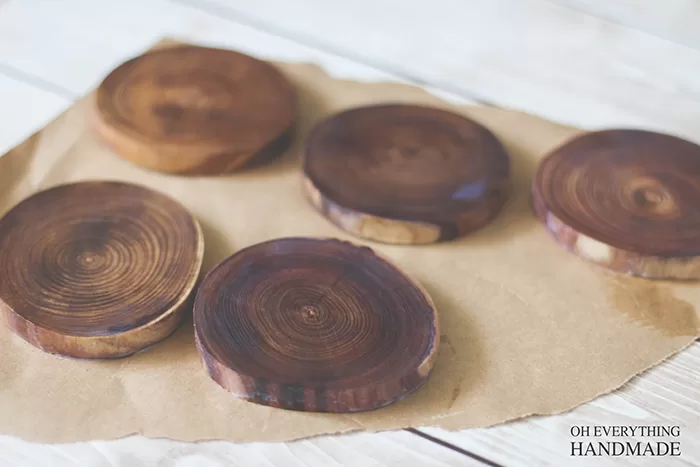
Seal the wood discs, cover the top and sides in sealer (thin coats, use multiple coats with the required dry time in between).
Step 3.
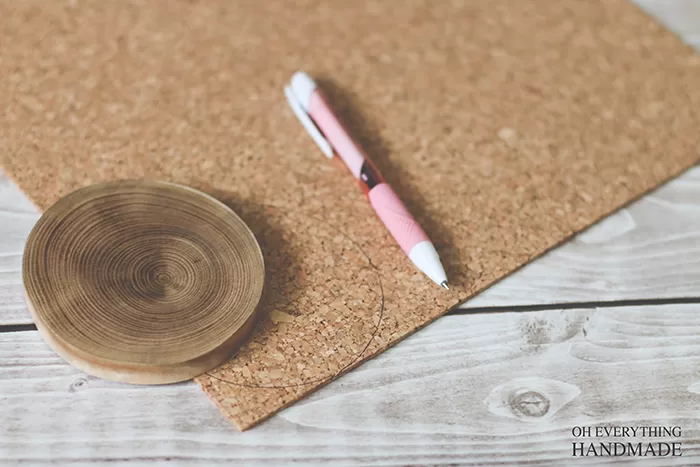
Once the discs are dry, trace each disc on a piece of 1/4″ thick cork. Mark each piece (cork and disc) with a number for easy identification. Each disc is different, numbering them will allow you to not make mistakes when gluing the cork to the discs.
Step 4.
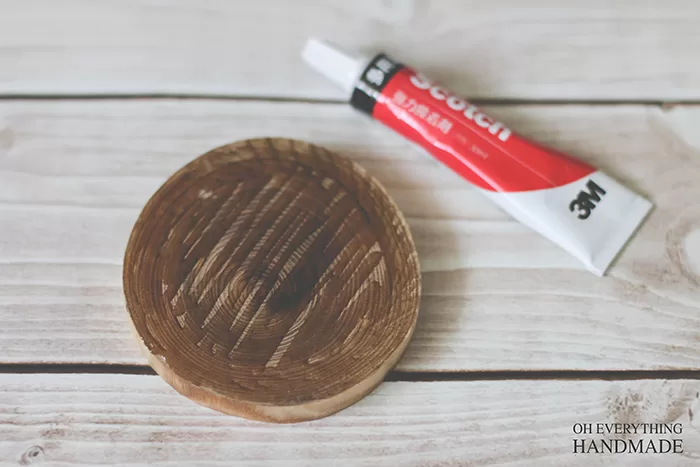
Glue the cork backing to the non-sealed backside of the disc.
Step 5.
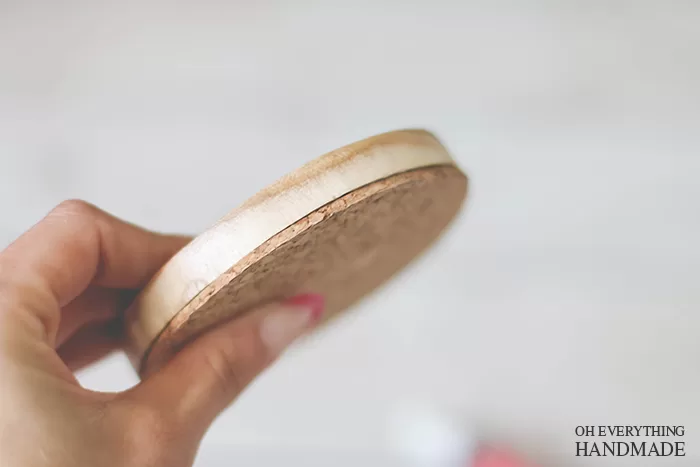
Apply glue to the leather strap, and wrap it carefully around the disc and cork bottom.
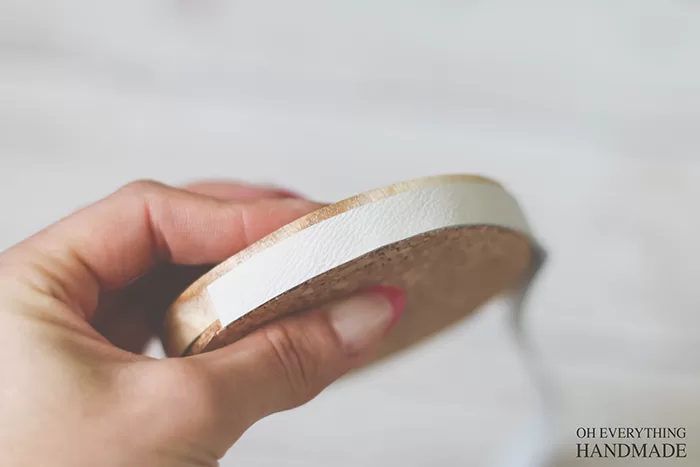
Step 6.
Let the coasters fully dry, and apply another coat of sealer to the top and the side of the disc, but do not get sealer on the leather. The sealer might change the texture, or color of the leather.
Thank you for stopping by, hope you enjoyed the tutorial. For more inspiration, please visit me on Pinterest or Facebook.

These are time saving as well as creative too. Use them as Wedding Favors with Name tag tied on each coaster for guests.