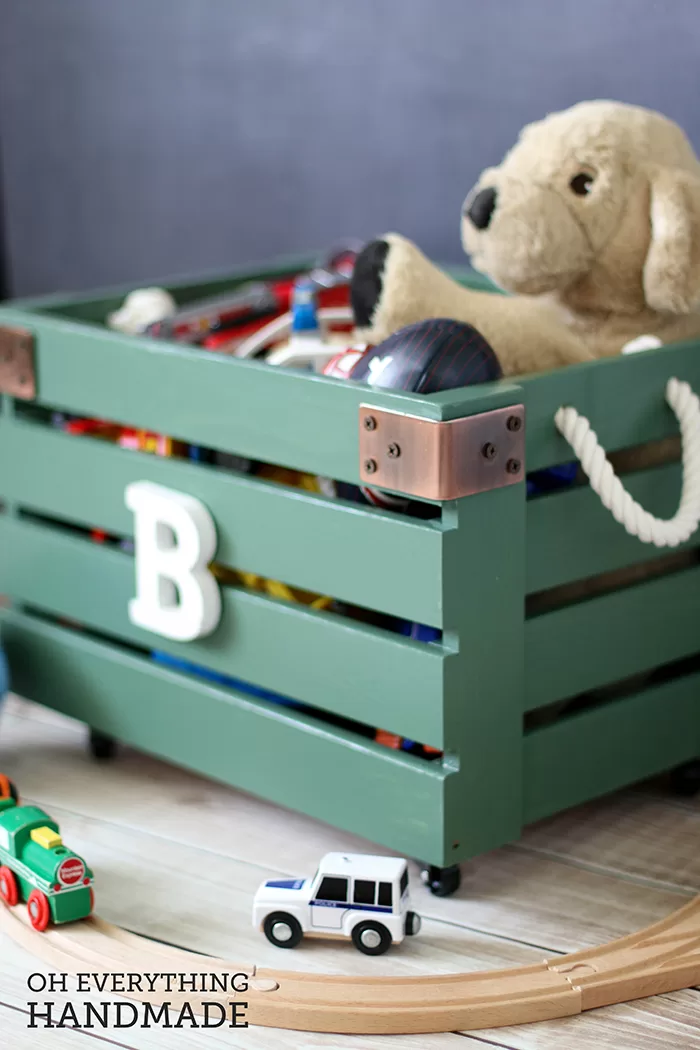
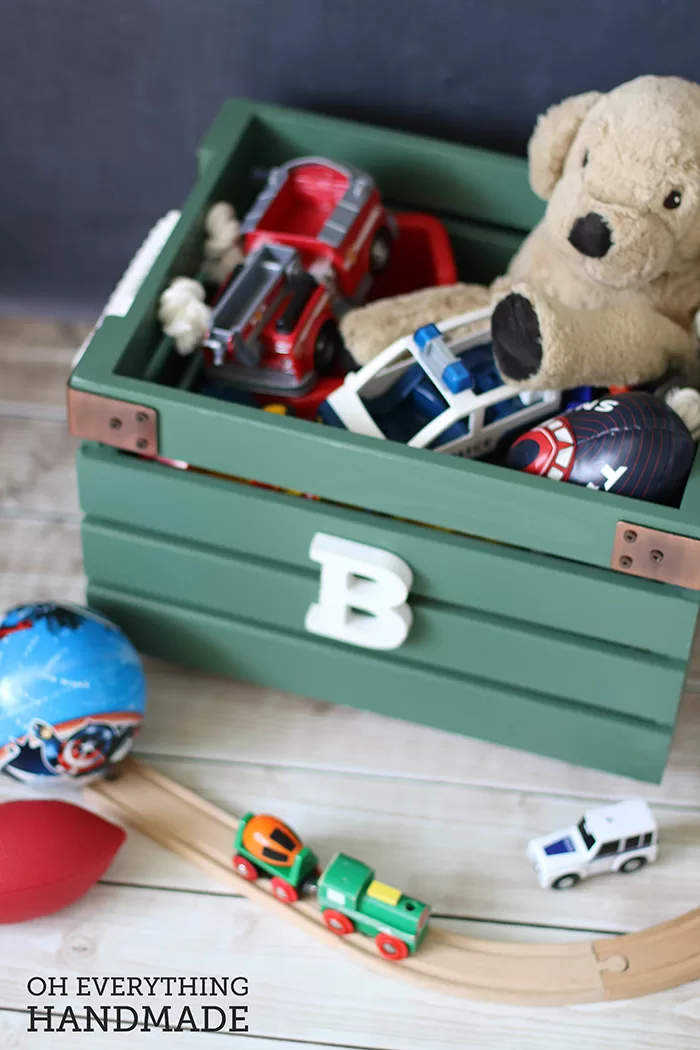
DIY // Toy Crate on Wheels
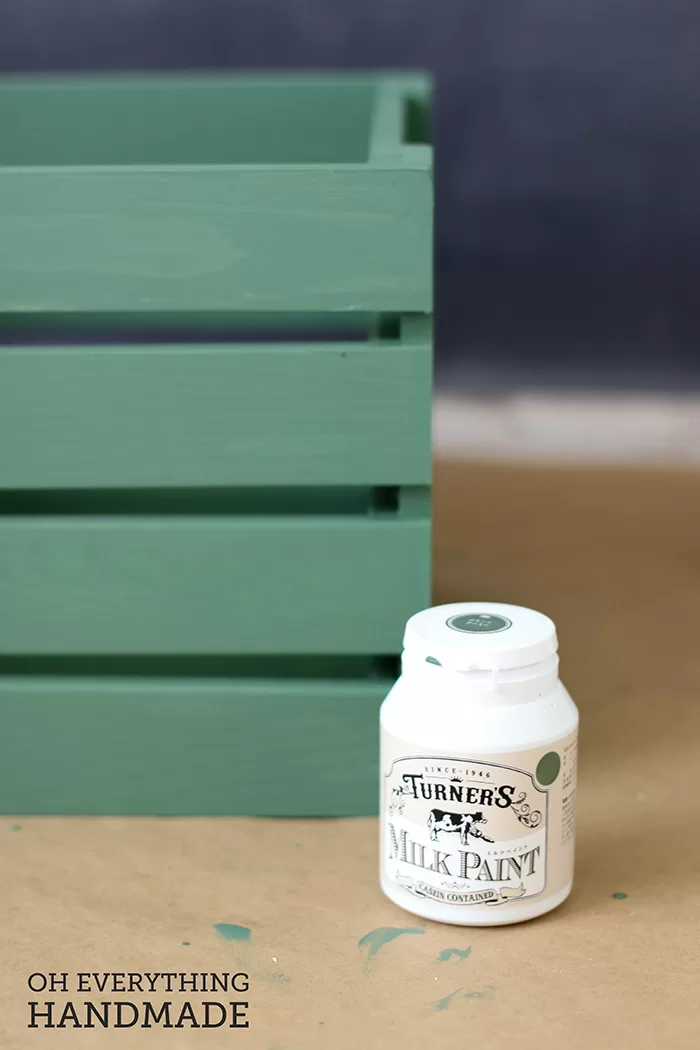
Crates are always a cute organizing solutions, they can be finished in so many different ways. I created this little boy Toy Crate on Wheels with a simple green milk paint finish and my sons Initial. Adding small casters to the bottom of the crate, is going to allow my son to pull the crate out and relocate it to a preferred location without lifting any heavy weight.

DIY // Toy Crate on Wheels
This cute crate is not requiring any heavy duty tools, its beginner friendly and can also be make in your home.
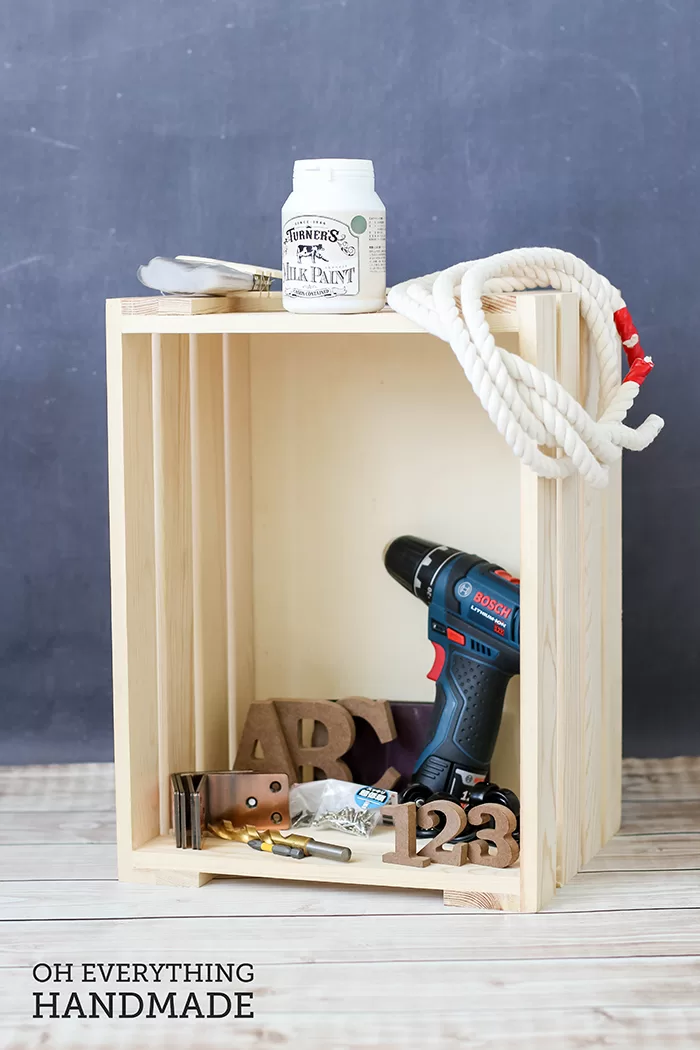
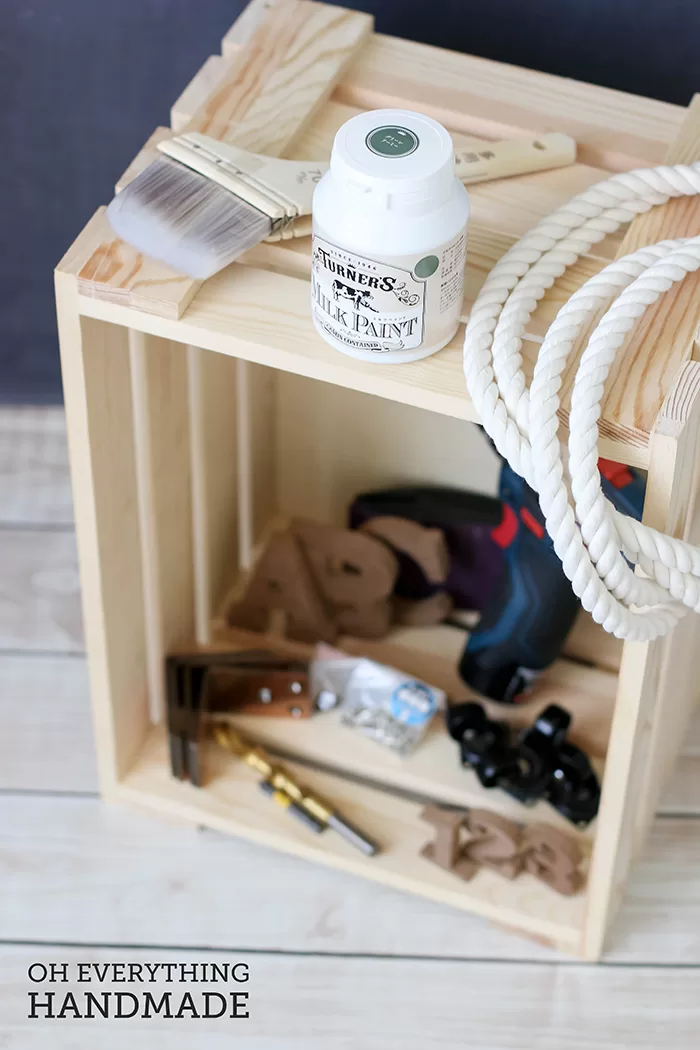
Material needed:
- Crate (find yours here)
- 4 Casters (fine yours here)
- Copper corner brace (fine yours here)
- Milk Paint (from Amazon – Milk paint
)
- Sealer (from Amazon – Milk Paint Sealer
- 2 ft Rope – Knot and Rope 1/2 Inch Diameter Cotton X 50 Ft
- Wooden Letter(s) – Wooden Letters (Set of 300)
- 1/2″ Copper screws – for the braces
- 3/4″ screws to attach the casters
Instructions
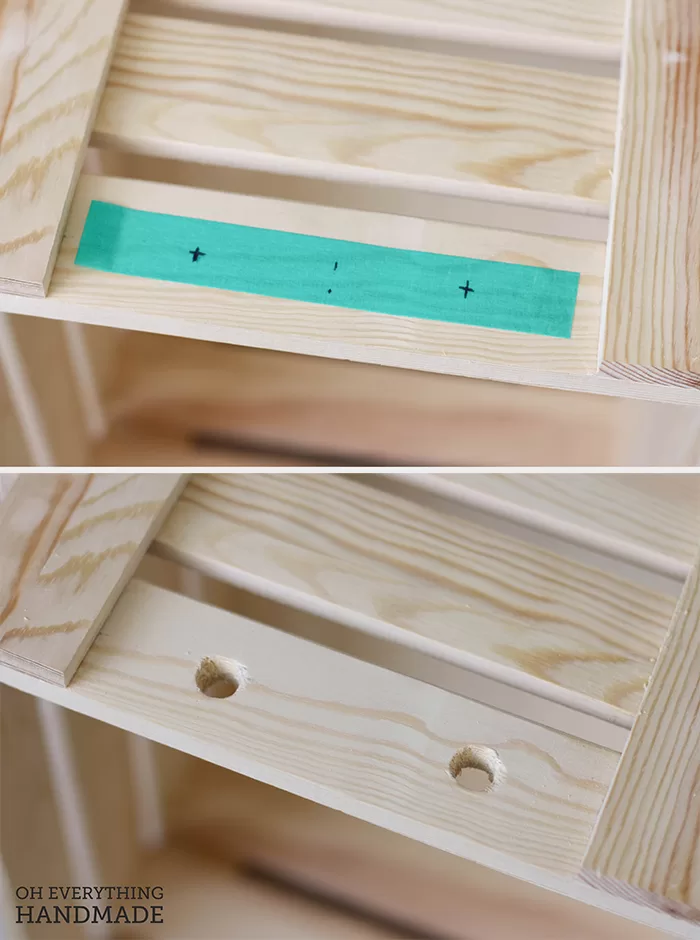
Step 1.
Drill the two holes for the rope, start with a small drill bit and move up on drill bits – make the holes big enough to fit the rope through.
Step 2.
Paint the crate in the desired color or stain. Follow the manufacture instructions before the sealer is applied.
Step 3.
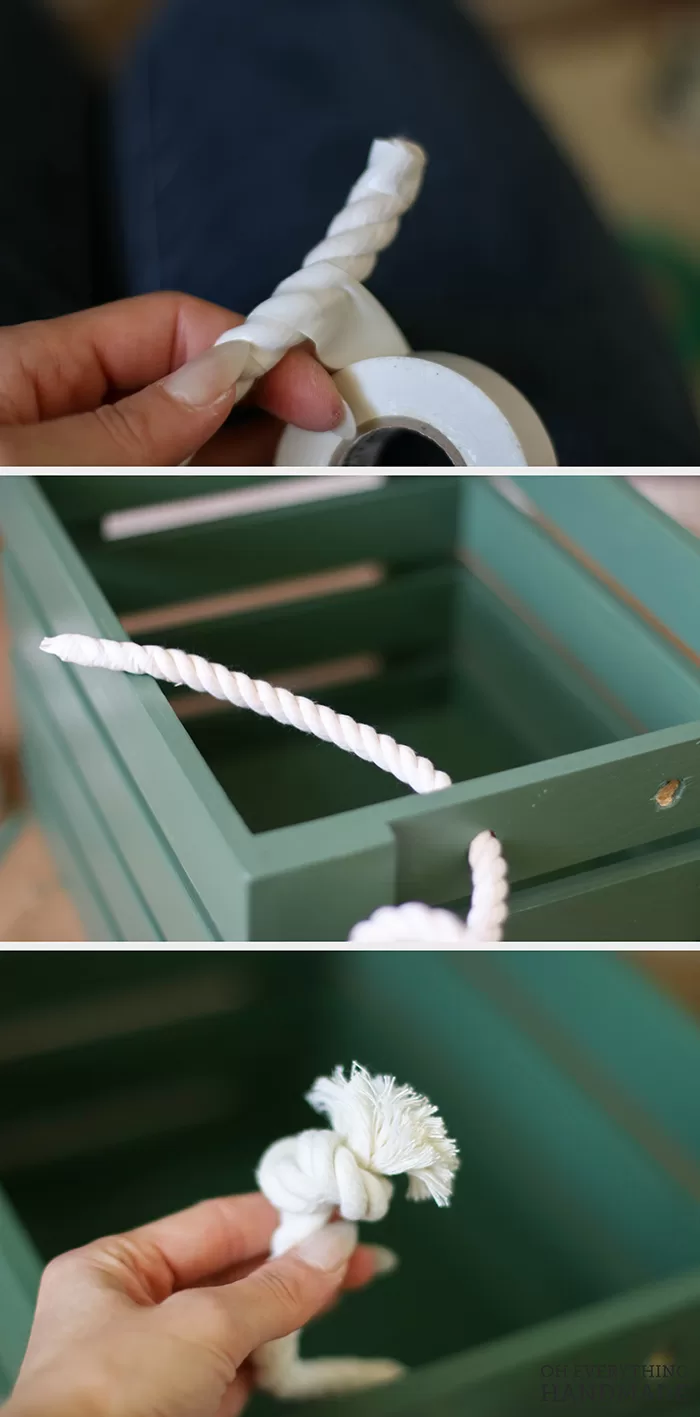
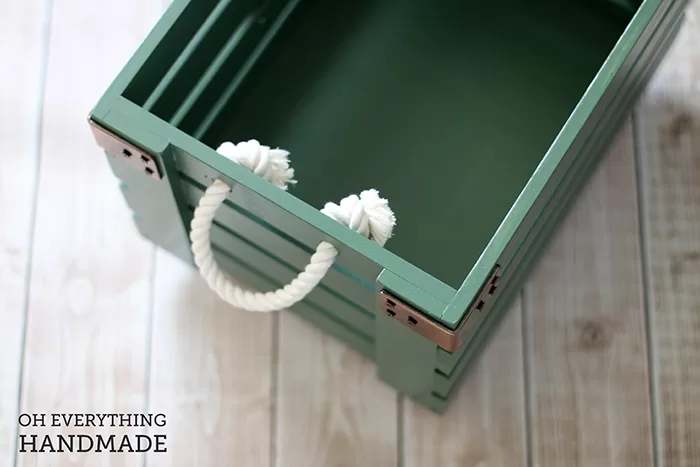
Wrap the cotton rope as tight as you can with electrical tape, this will allow you to slide the rope through the hole without frizzing.
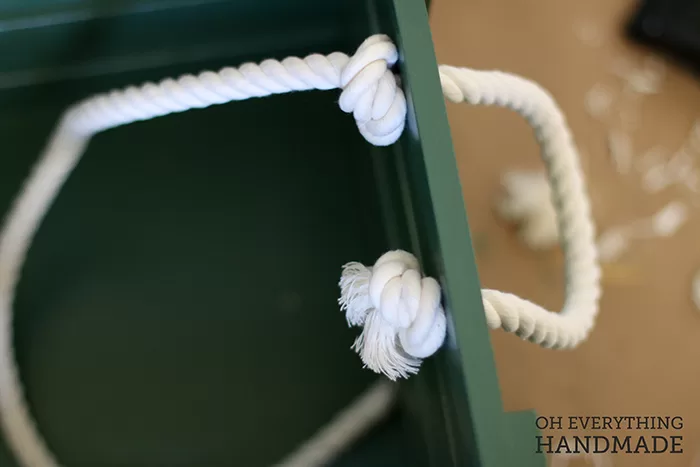
Once one side of the rope is in place, tie a know and remove the tape. Repeat with the other side!
Step 4.
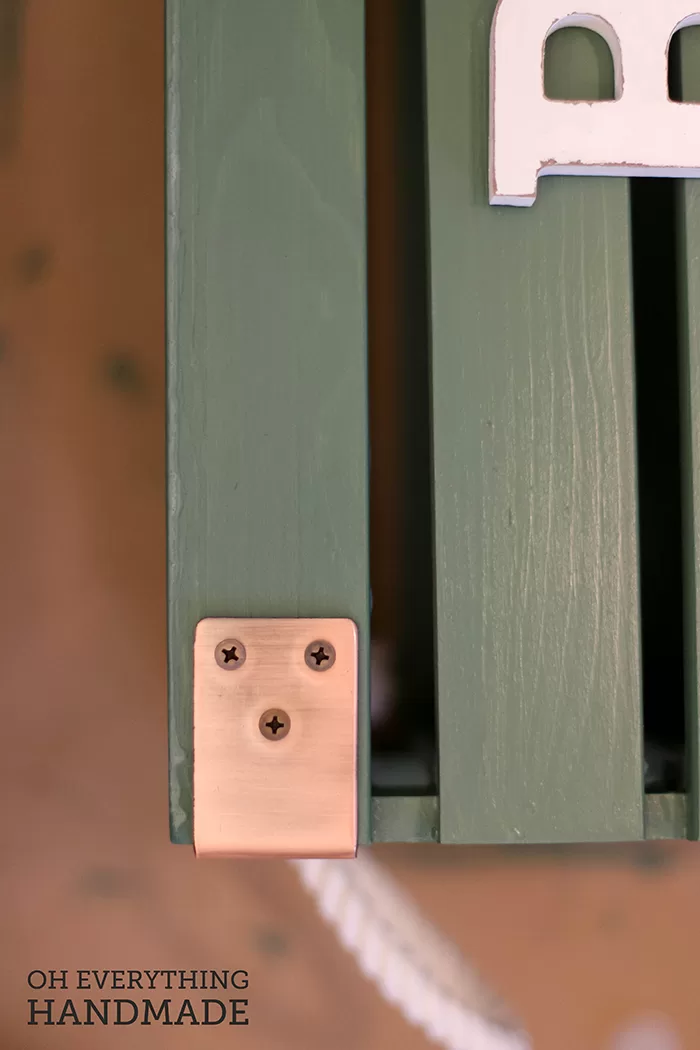
Next step is to screw the brace in place, this is optional and only for decorative purposes.
Step 5.
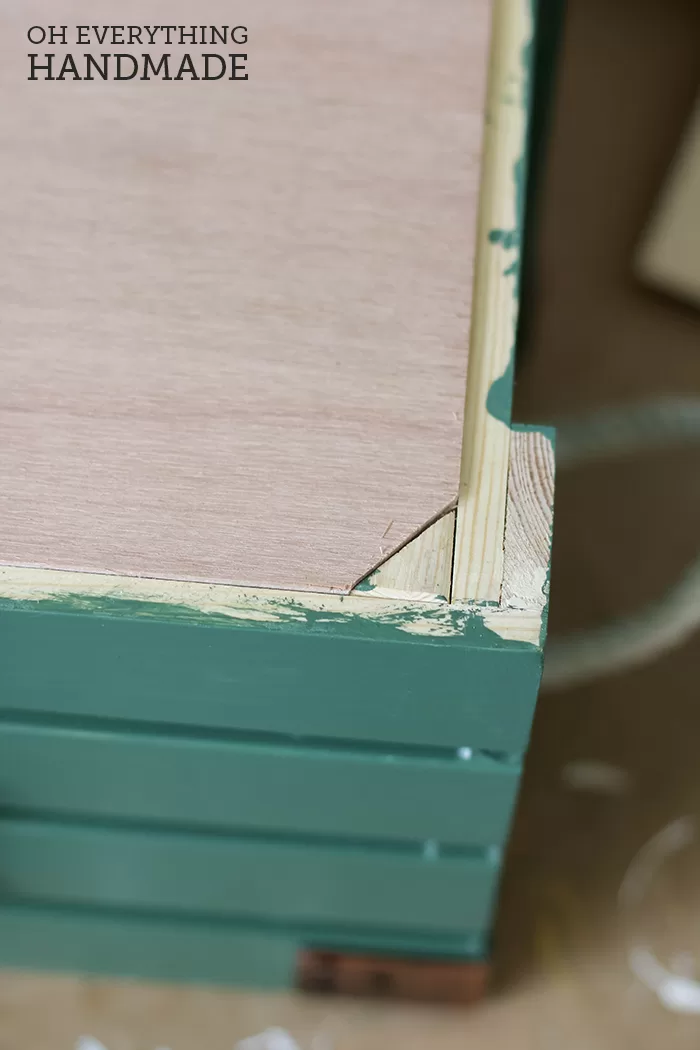
This step is optional as well! The crate I used for this tutorial had a very thin bottom, which didn’t allow me to screw the casters in place without screwing through the inside of the bottom.
To thicken the bottom, I glued a custom cut board to fit the underside of the crate. The casters were screwed in place after the glue had fully dried.
Hope you enjoyed this little tutorial, please feel free to share this tutorial on Pinterest.
Follow Oh Everything Handmade’s board Beautiful Home & Garden Blogs on Pinterest.