
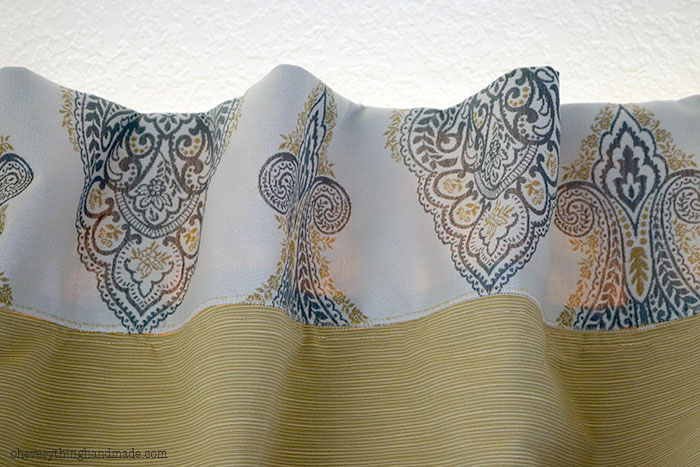
DIY // How to make back-tab bedroom curtains
Thanks so much for all of your comments last week, you guys are great! Today, I’m sharing DIY // How to make back-tab bedroom curtains. I went with a 54″x84″ length, and 3 blocks (pattern on the top and bottom) it’s SO gorgeous in person, I am in love!!

Few things to keep in mind prior to selecting your fabric.
- these curtains are heavy once done, so make sure to install your rods with supporting threaded anchors.
- The oversized threads on these anchors are designed to screw directly into drywall. They’re available in nylon or brass. The brass version with hook holds more weight than the center screw type. While threaded anchors hold well and are easy to install and remove, they leave a nice sized hole behind should you decide to redecorate in the future.
- buy your fabric in one piece, so if you want to make two panels add everything together (you can cut it yourself once you start making your curtains). This way you will save a few extra bucks.
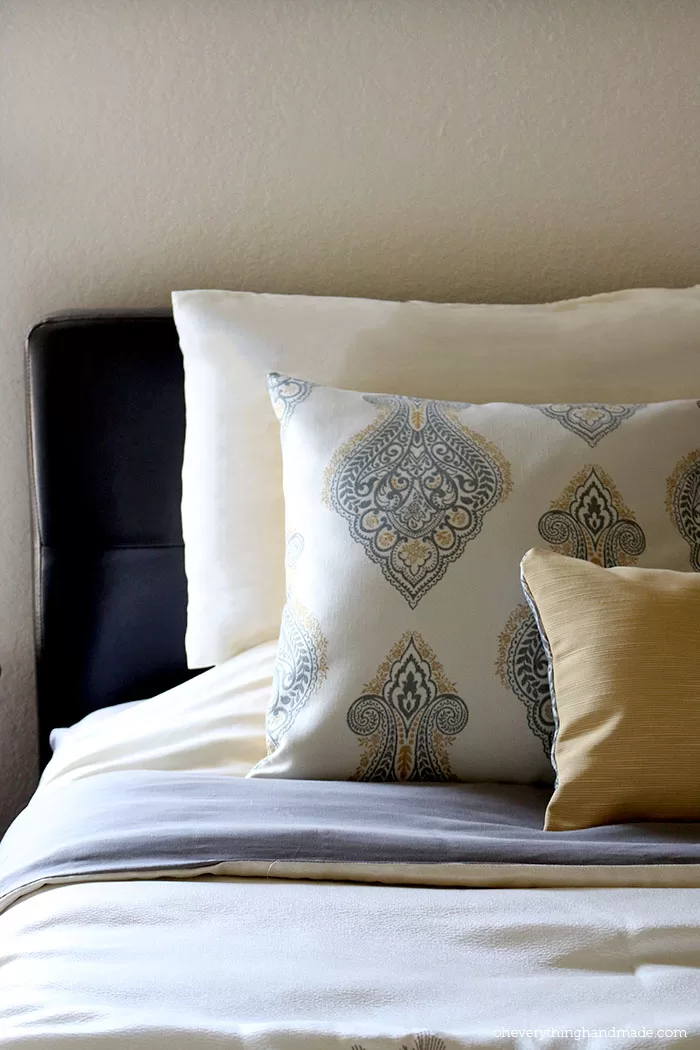
- get an extra yard of fabric for your throw pillows, it will look great to have the same pattern on your bed as well.
- making bedroom curtains require’s blackout lining to keep the light outside.
Here’s our process: (*This was my first time-making curtains, so a few of the tips I picked up from Home Fabrics and Rugs while checking out, and the rest I figured out as I went.)
[do_widget id=text-102]
You will need:
- 4-yards fabric for your middle section – includes .5 yards for two 18″ throw pillows
- 2.5 yards of fabric for the top and bottom – includes .5 yards for two 18″ throw pillows
- sewing machine
- colored yarn that is in the same color as your fabric
- 4.6 yards of backout lining, I got mine from Hobby lobby for $5/sq ft
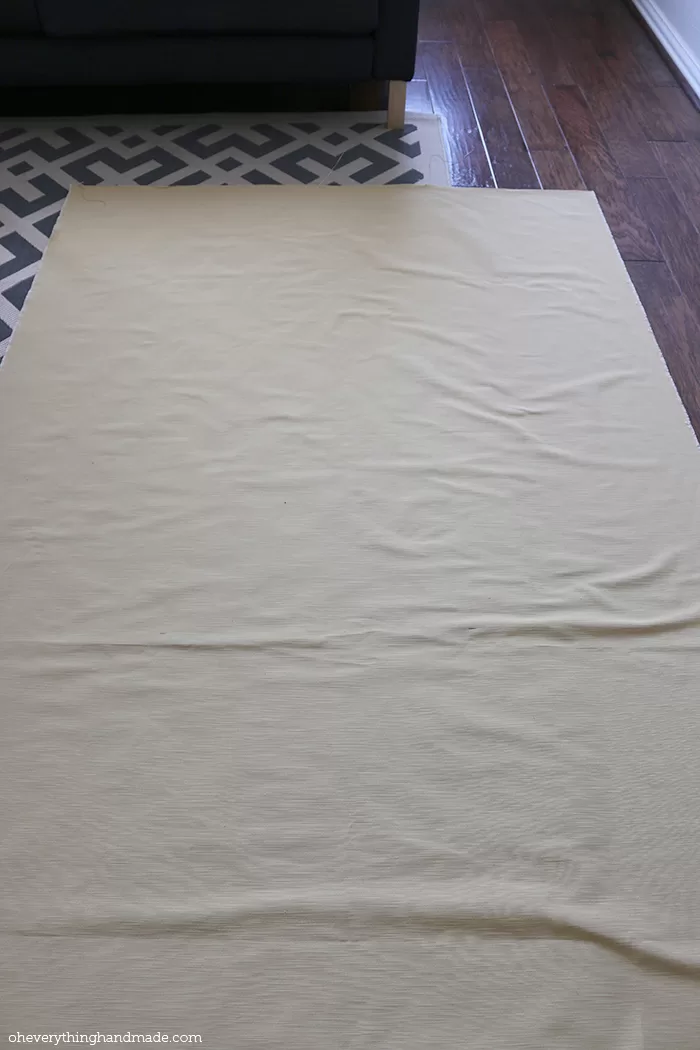
1. lay out the fabric that you’re going to use for your middle section, and measure/cut two pieces of 56″ inches and one 7″ inch piece for the top (back piece).
2. cut two 28″ inch pieces of your fabric that will go on the bottom, and a 7″ inch piece that will go on the top.
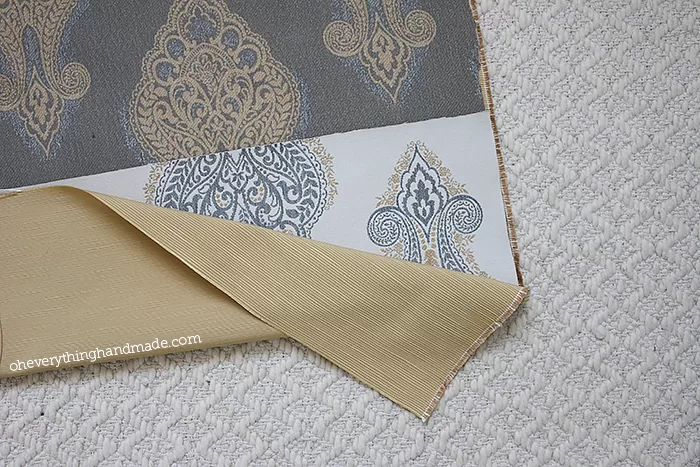
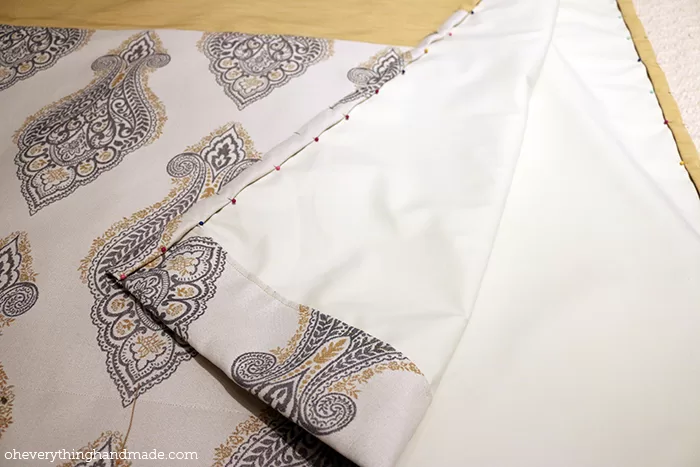
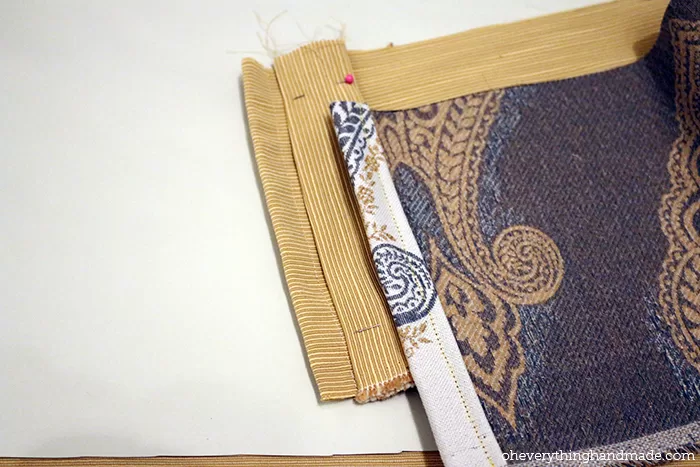
3. sew together the bottom and middle piece, both fabrics facing each other on the pattern side.
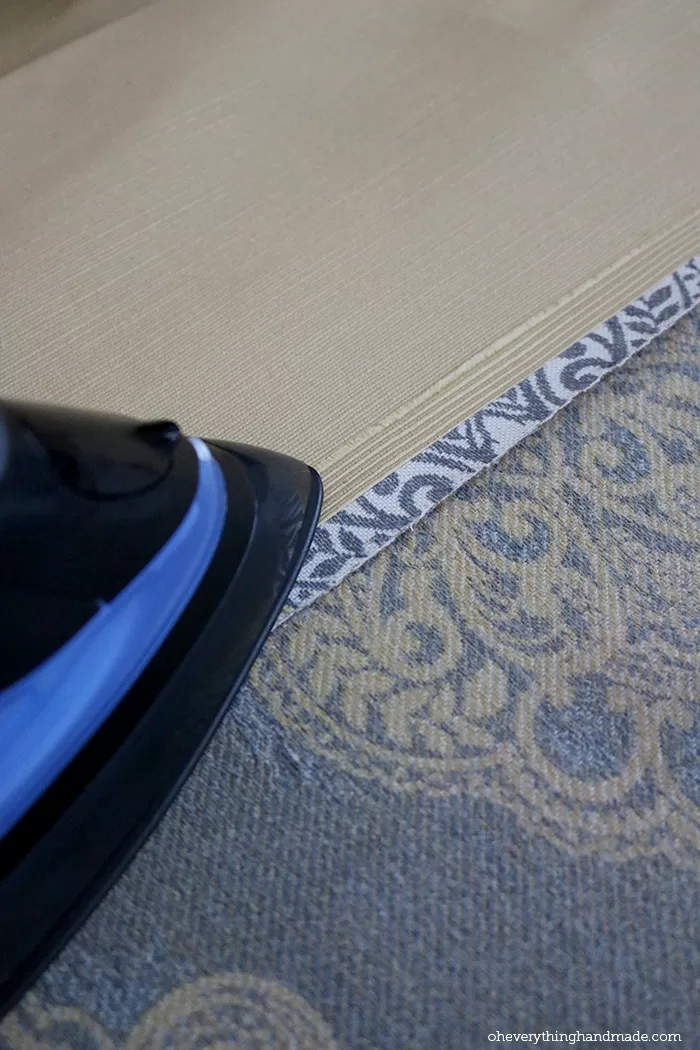
4. iron the folds, for a finished look.
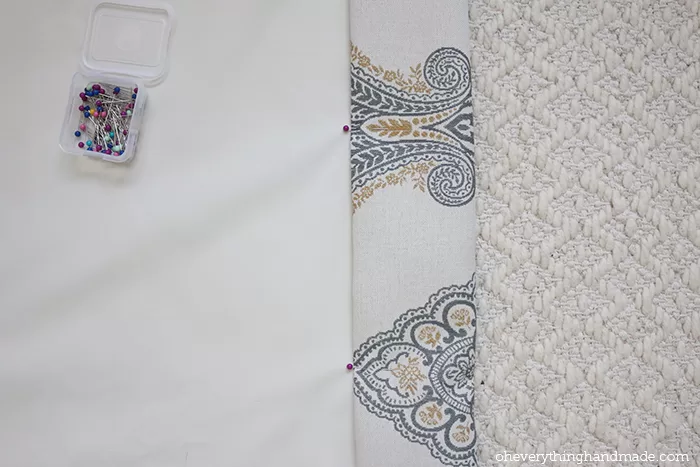
5. cut two 84″ inch pieces of your blackout lining, and lay them on the backside of the sewn fabric (from steps 3-4). I was told at Hobby Lobby that you can use either side of your blackout lining for the top, so use whatever you prefer!
6. fold the bottom up and inside, my fold was 3.5″ inches. Now sew it together!
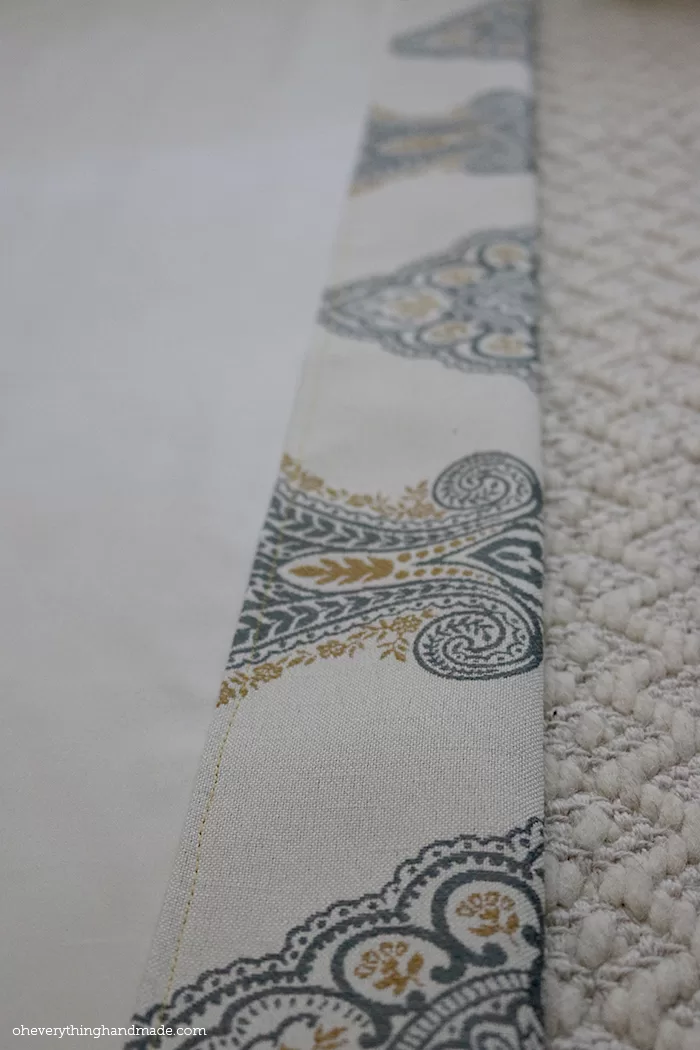
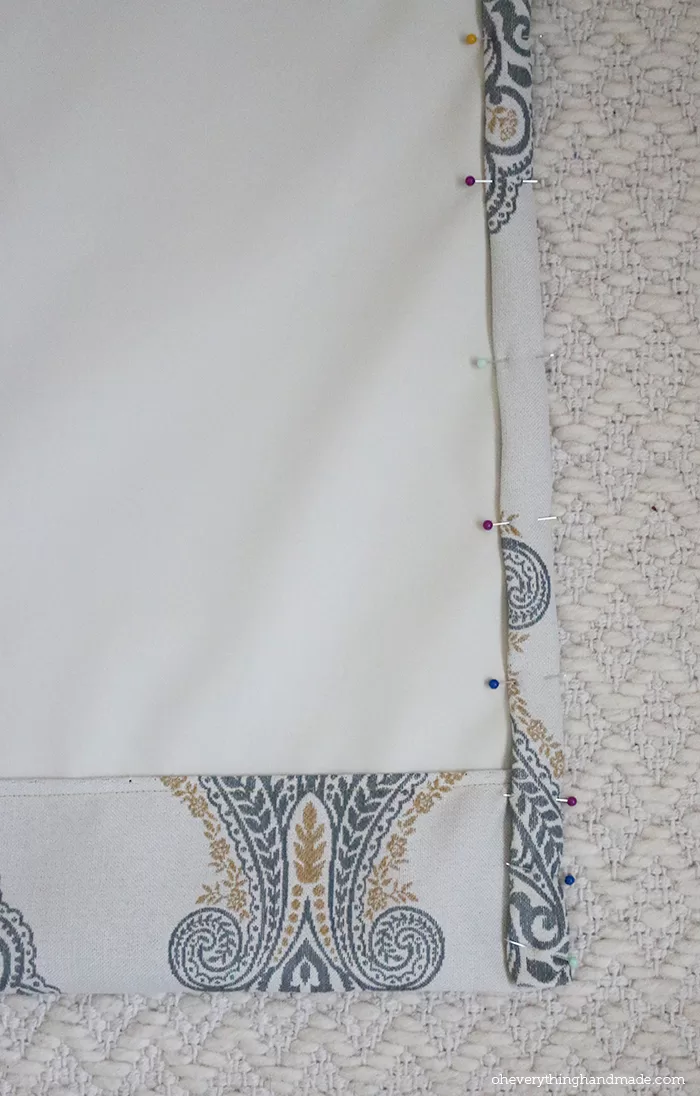
7. fold the sides and sew them together, mine was 1″ inch on each side.
8. I made my curtains in a lined back tab style, since it seemed the easiest for me. But you can finish your curtains in lots of other styles.
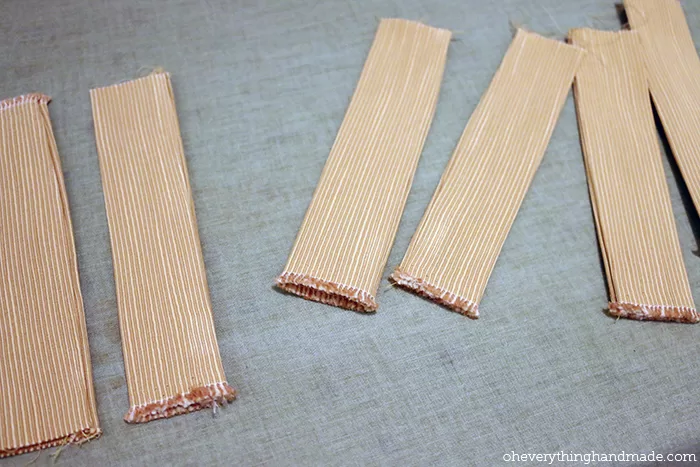
9. for the top part I used my two 7″ inch fabric cuts, and added six tabs to the back.
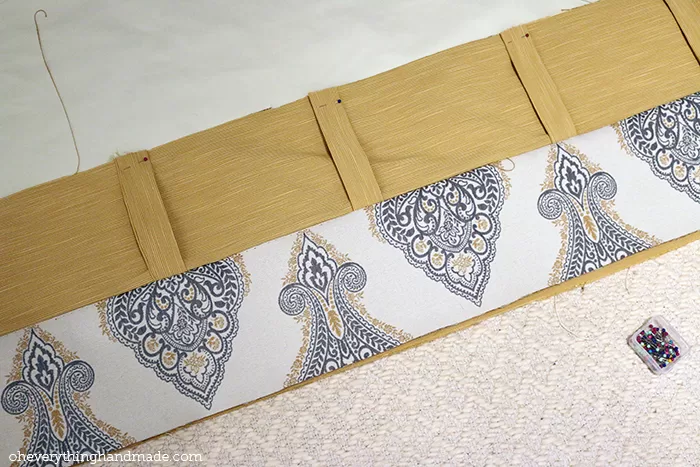
10. once I sewed the top together, I attached it to the rest of my curtain.
I believe I could have done this last part better, so please sew the top (front fabric) on first before you add the back fabric and the tabs.
Here are also the reversible throw pillows for our bed. I love them!!!
[do_widget id=text-101]
Spending for two 84×54″ curtains and two 18″ pillows:
- 8 yards of Fabric – $61.56 with a coupon of $26.36 in savings.
- 4.6 yards of blackout lining for $19.95
- yellow yarn for $1.95
Total: $83.46
This would make the curtains around $30 each, and the pillows $10 each. Pretty good deal for a custom-made set, don’t you think?


It is beautiful Bettina! And I LOVE that fabric you used to trim off the top and bottom! Gorgeous!
Beautiful! I’m going to give this a try. Thanks!
Hi there everybody, here every one is sharing such experience, thus it’s good to read
this webpage, and I used to visit this webpage every day.
I love reading through a post that can make people think.
Also, many thanks for allowing for me to comment!